How to Build a Pergola
Attached to Roof
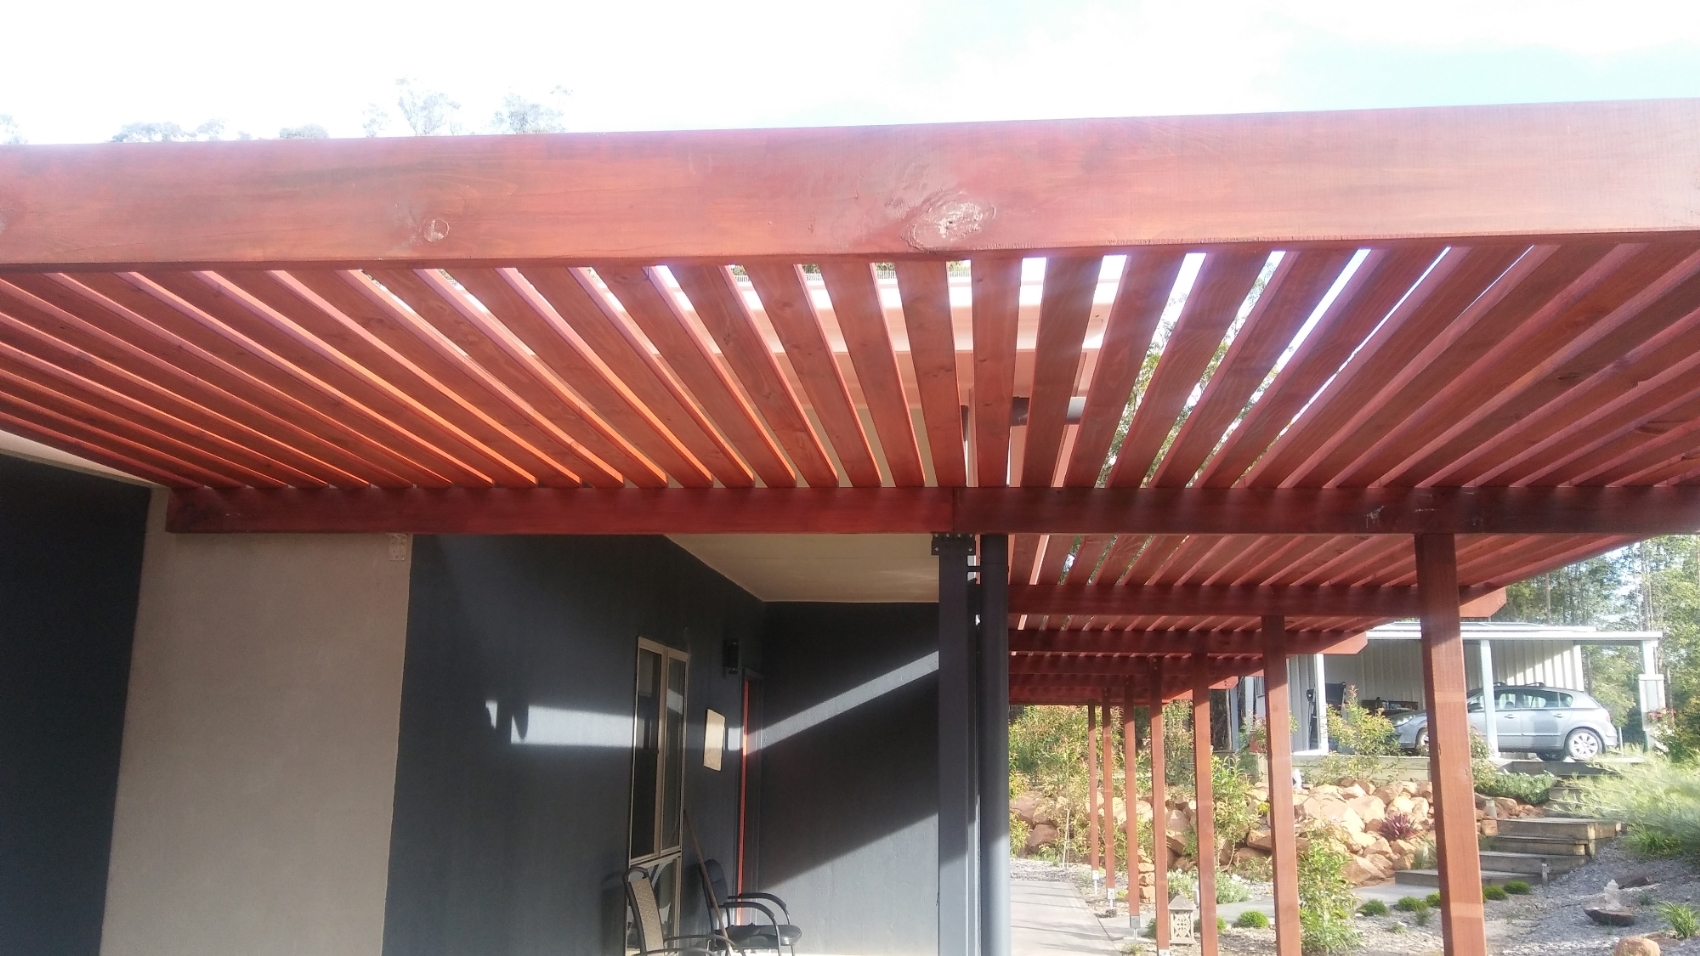
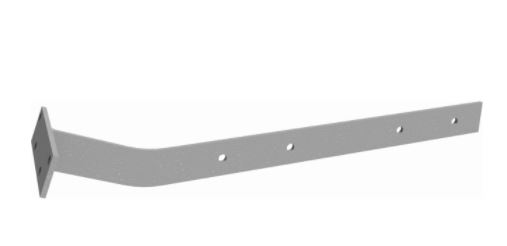 Pergola rafter bracket
If you want to build a pergola butting up to a modern, thin aluminium fascia, that's not meant to take much weight, you need to go inside the roof to find a solution.
I lifted and flipped a couple of tiles out of the way to choose the 'top chord' of a roof truss to attach my rafter brackets.
These brackets were a metre long, had four bolt holes to
connect along the truss chord, and a face plate welded to the end to
secure my top fascia plate. Below you can see them bolted to the truss outrigger and coming through the hole I cut in the fascia.


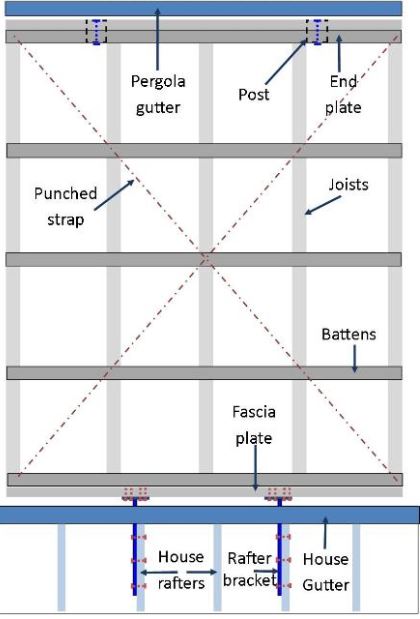
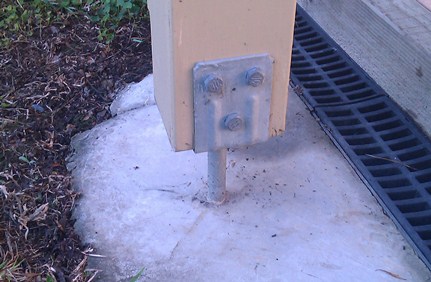
Build a pergola: Rafter bracket plate
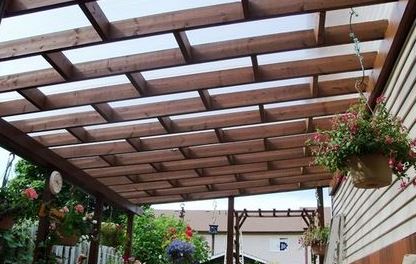
Although the span of this pergola design was going to be 5 metres I decided two brackets and two posts would hold up the structure, as my plan was I would set them up at 1/3rd intervals and use wide top fascia plates. I carefully cut a slot in the fascia to slide the bracket through, then bored the holes and connected the brackets to the truss top chord. I sealed the fascia cut around the protruding bracket with silicon to stop pests etc entering.


With a little help, I lifted my pre-sealed and painted CCA treated pine top plate (190x50mm) up to the bracket face plate and bolted it on with heavy gal bolts. These brackets had 4 bolts holes so I used them all. I also used large square washers to reduce compression of the wood when tightening. This setup enabled me to build a pergola: roofed and secure, without worrying about whether it would tear away in a storm or sag under the weight.

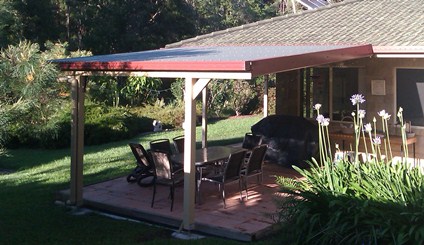
Attaching this top plate to a modern gutter system looked difficult at first but with these specialised brackets it can be done like a professional would build a pergola.
Go to the Pergola Posts and Plates graphic below which describes setting posts and hanging joists to learn more about how to make a pergola with metal roof.
 Pergola plans Pergola plans | ||
Go back to DIY Projects or
Return to Kithomebasics home page
