Building a retaining wall
These pages describe building a retaining wall with CCA treated pine sleepers. The previous page Retaining Wall Design, outlines how I excavated and prepared for the project, and the list of materials I utilised. This page with describe the initial post and drainage setup and some of the tips and checks to keep it straight.
Excavation complete, I started with an initial set-out using small stakes, measure tape and spray paint. I started with 2.4m section lengths and sprayed spots where the posts should go. The last section was 2.8m so I determined that, as it was the lower end and rather than put more posts in, I would use 3m rails and cut them down to suit.
Building a retaining wall: footings
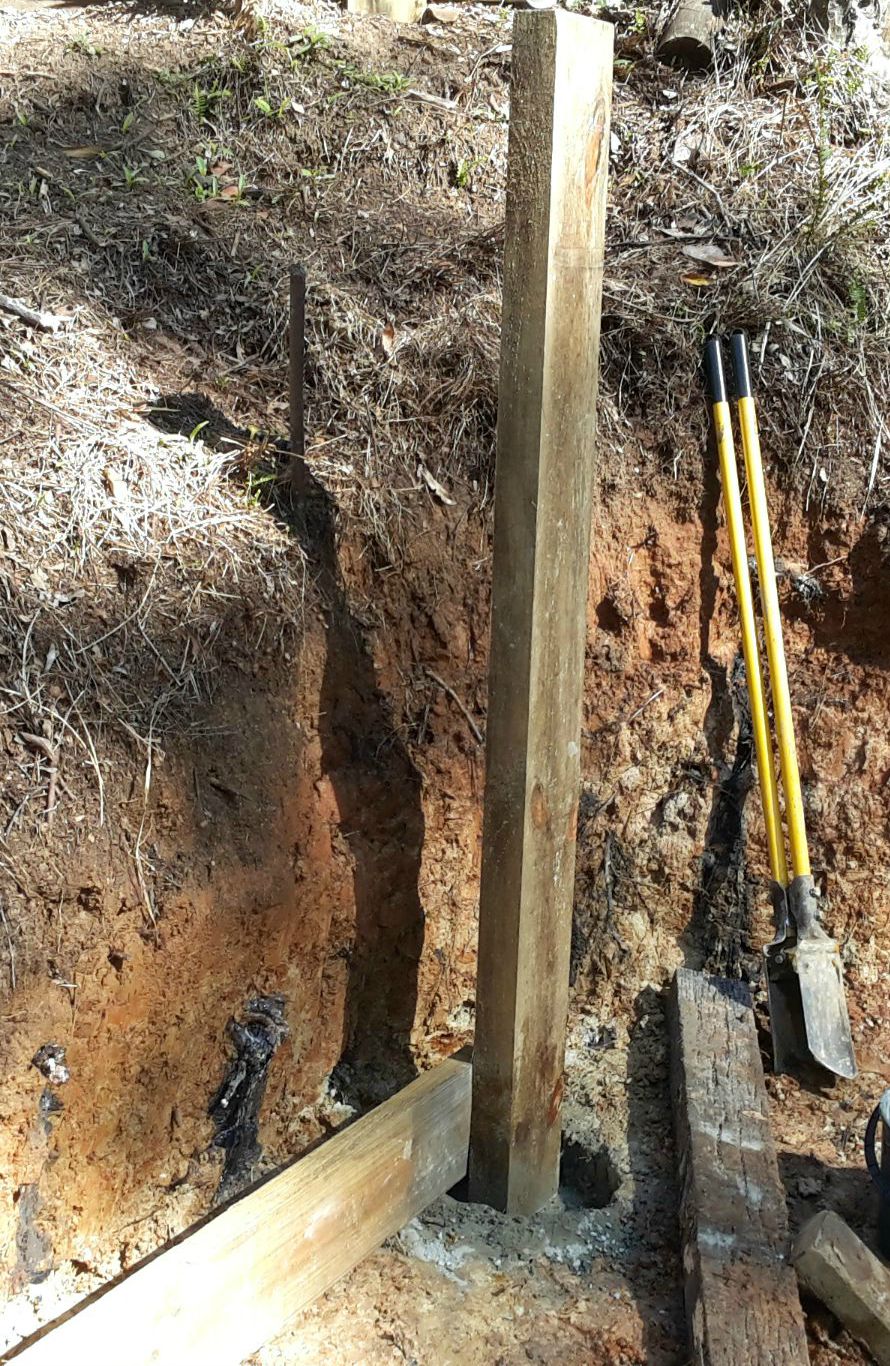
Wow, did I regret not having those holes bored. It was soft clay for about the first 300mm then very hard dry compacted dirt. At times my crowbar bounced back at me and sang like a tuning fork. But I wanted to build a retaining wall solo, so in the end I used a long masonry bit in my electric impact drill to get down past the compacted earth..worked a treat!
The posts were 200mm x 75mm CCA H4 pine sleepers, the 'H4' meaning they were designed to be 'in-ground', resist rotting and pests. I dug 800mm deep post holes and dropped the full 2.4m post on a gravel base and set up some stays to secure it vertical. I figured that I'd cut them off once the rails were all on and a decision had been made whether to take them off level with the top rail or above for a different effect.
One was just too hard and I only got down 600mm so I decided I would use a retaining wall deadman anchor, connected to a stake hammered into the slope on that one. I mixed up and poured in my trusty postmix concrete and set a slight dome on the front with a flat spot on the back to lay the bottom rail onto. Post mix is about 30% more expensive than delivered, but it was my schedule and I didn't want them all poured at once anyway.
Building retaining wall drainage systems
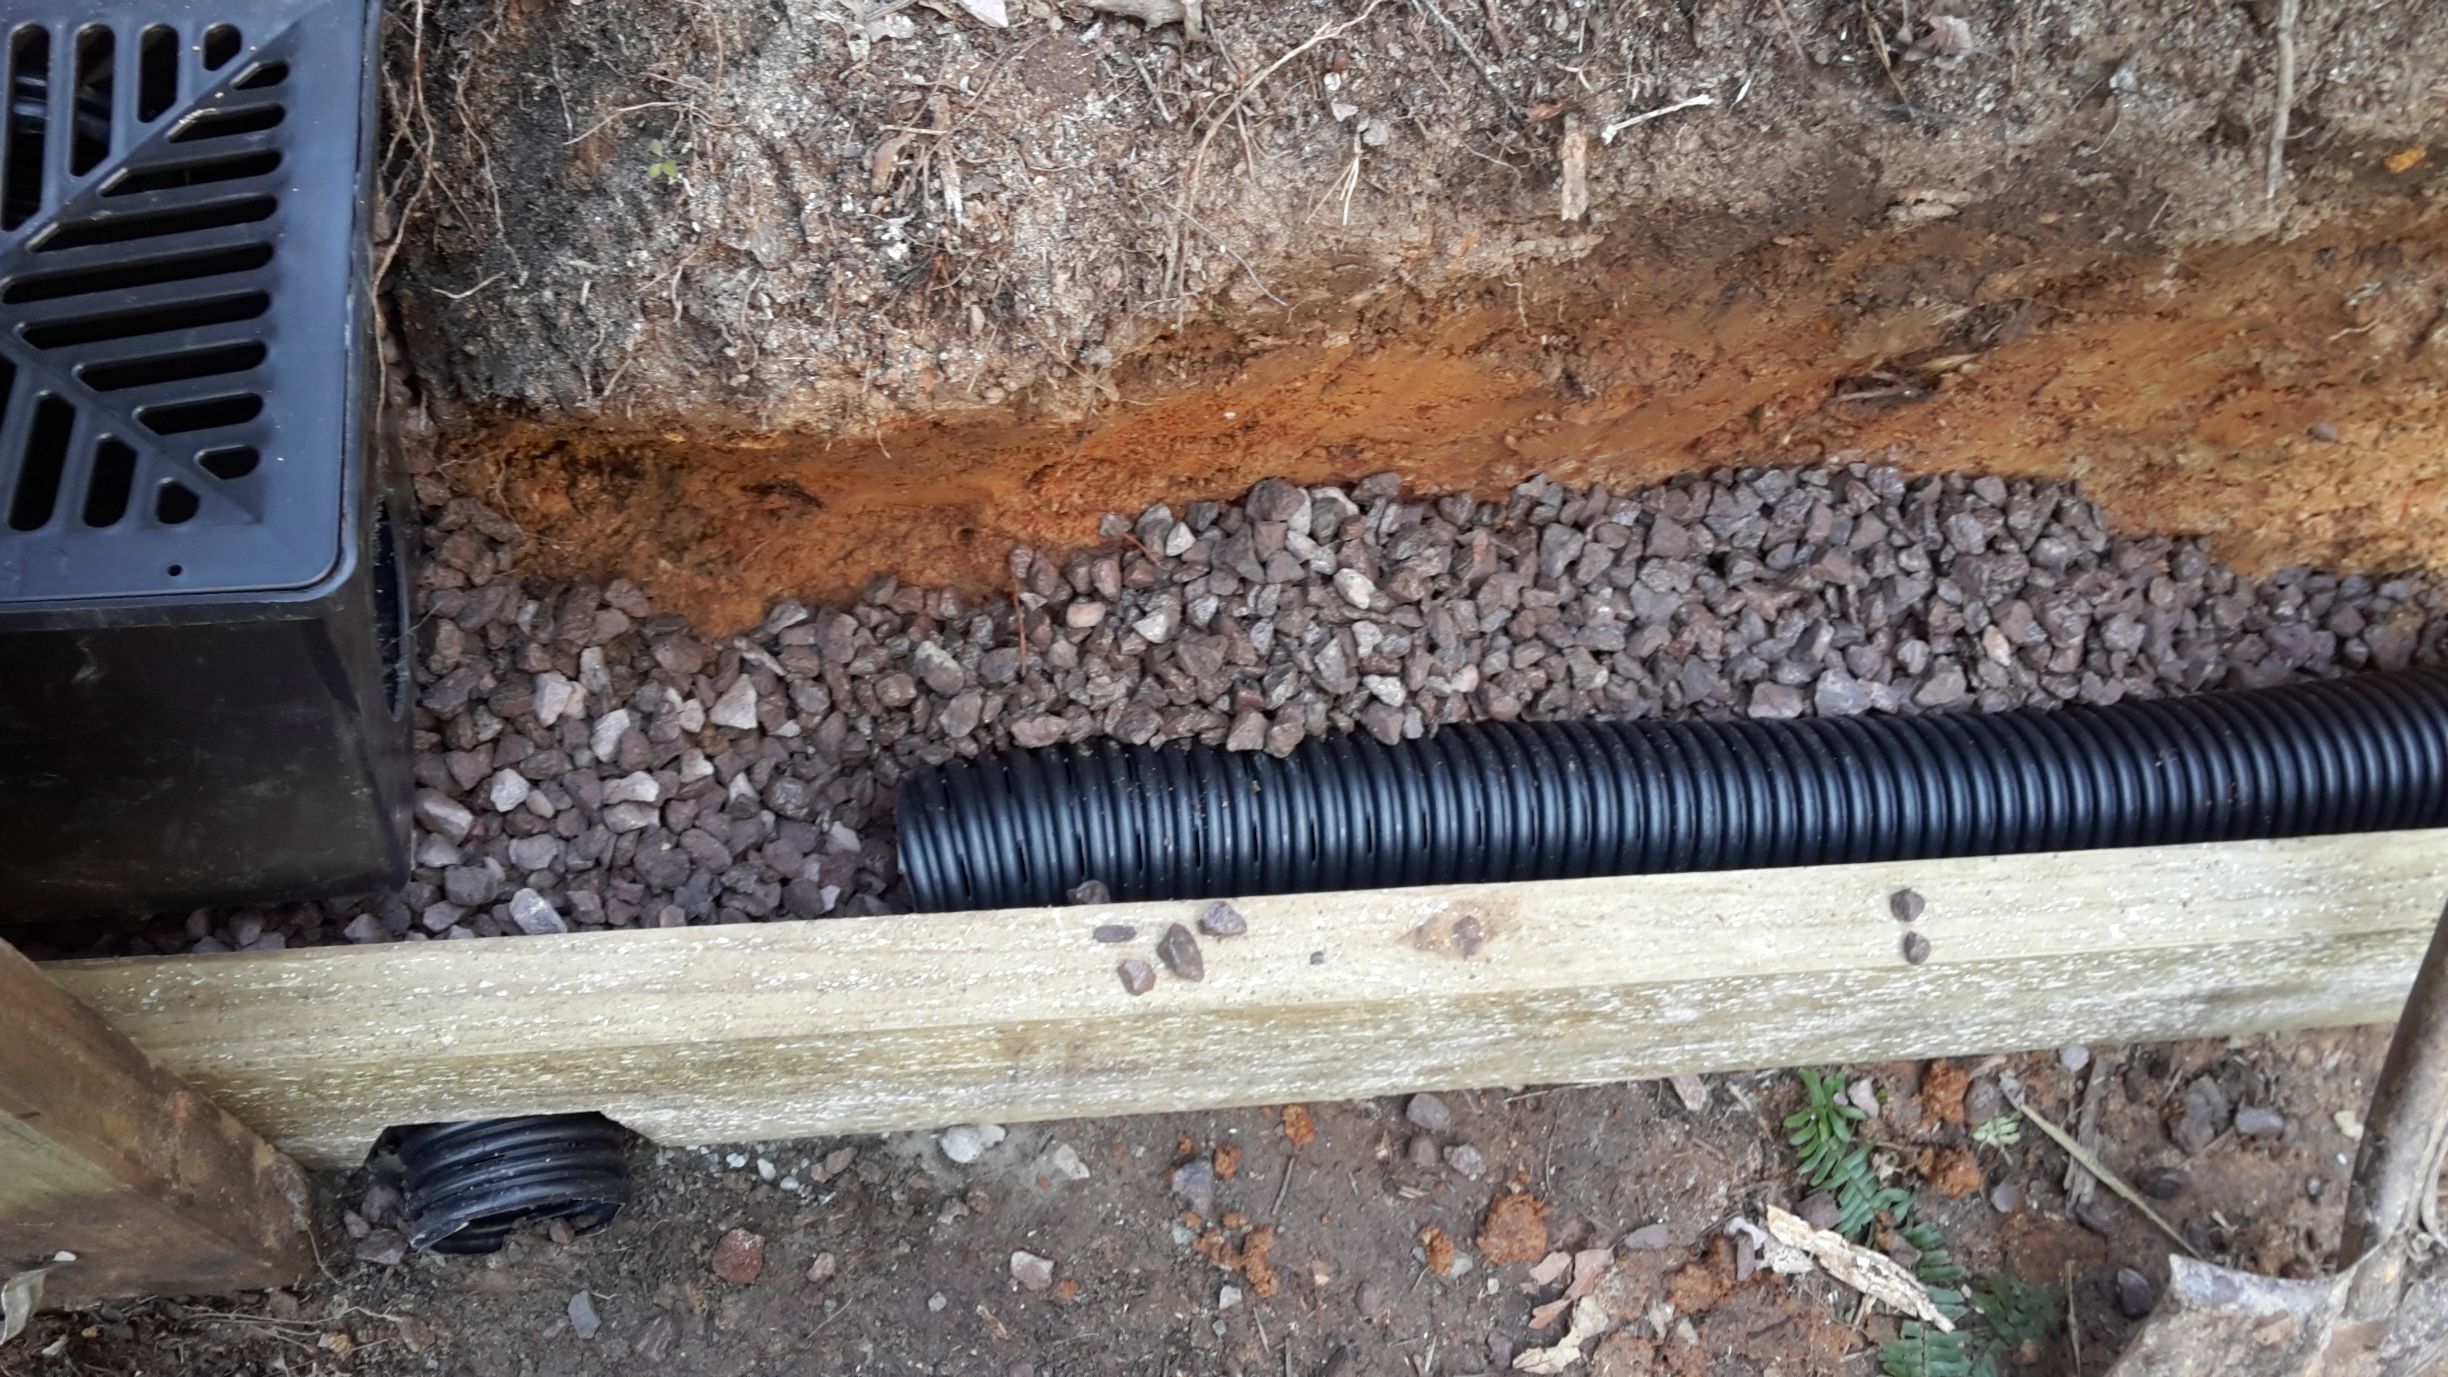
Next day I layed the bottom rails around, including cutting the last one to fit. As there was a gradual slope down, I had to bury the ends of most and cut a notch off so they still perched on the post-hole concrete. Keeping them exactly level all round is the key to a great looking wall, so start level and finish sweet. Make sure you keep all the rails in line around the wall length as well so it looks uniform.
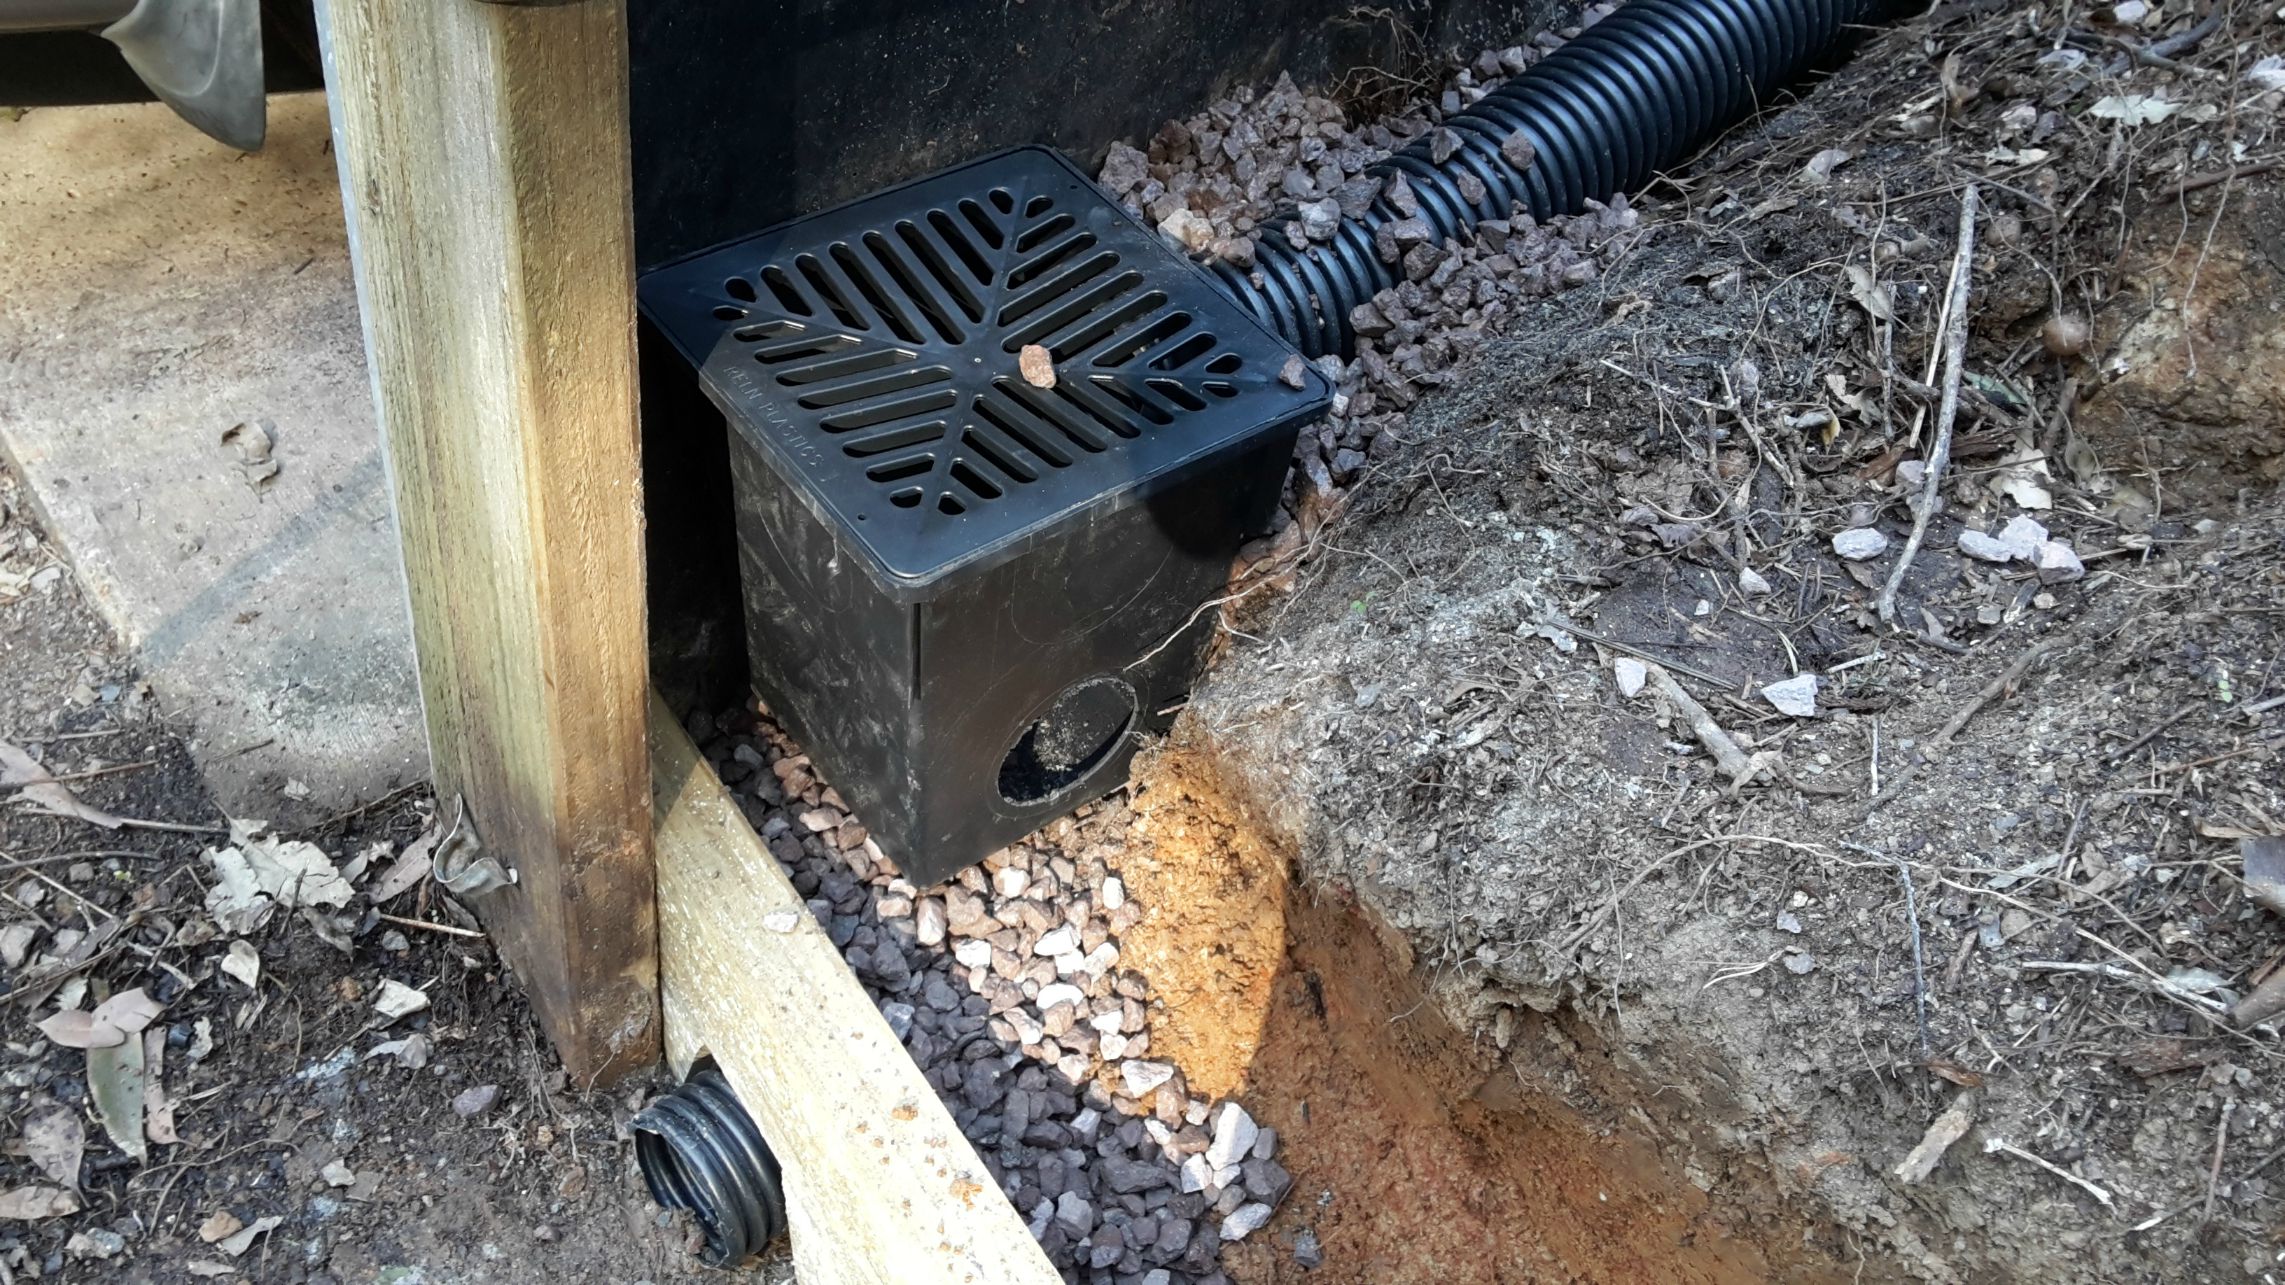
All seemed well, so I started to nut out the drainage. There was lots of water flowing from the higher part of the property so I had previously dug a diversion drain to take the majority of the runoff away. Walls retaining high runoffs need lots of plumbing and diversion and there would still be plenty of water hitting the slope, a carport up against an edge and I also had a shed above, which collected gutter water which had to be removed. So I started setting up PVC water pipe and box drains as well as perforated 'ag' pipe.
I determined where the ag pipe exits would be and cut holes in the base of the rails for wall outlets. I got a cubic metre of 20mm drainage gravel delivered and packed about 30-50 mm down behind the rails to lay the ag pipe on. Part of building a retaining wall was assembling the storm-water drainage collector boxes, pipes and connectors. The storm-water pipes would mostly run along above the ag pipe. That's part two of this building a retaining wall series.
Part 3 Retaining wall construction.
Go back to Part one Retaining wall design
Go to DIY Projects or Back to Kithomebasics home page.


