A Garden Path built
from Pine Wood Sleepers
A garden path was needed across the dirt to our clothes line and beyond and the options were limited for us in regional NSW. Garden paths can be made of many materials: concrete, stone, hardwood, crazy paver, normal paver, etc. I wanted flagstones, but I just couldn't find any at a reasonable cost. I opted for sleepers and decided against hardwood due to the 40-50 kg weight of each plank. CCA treated pine sleepers would have to do, but more work would be needed to aid longevity of the home path.
Although CCA treated pine sleepers are H4 certified, ie they can be used 'in ground', they commonly don't last very long, 'in ground', unless precautions are made. Water is the main problem. Making sure the site is well drained is the key as well as under board draining. Most sleepers are sold 'wet', meaning they are still full of moisture from the treatment process, so they are quite heavy. They also tend to bend, warp and cup as they dry so extra fastening is required. Good idea to dry them in the shade for a day or two before the job.

 Selection of tools I used
Garden Path Materials and Tools
Treated pine or hardwood sleepers (200 mm x 50 mm x 2.4 m), galvanised bugle screws (100 mm), sand, gravel, smooth stone, small posts for set-out, deck oil or equivalent, digging equipment, string-line, level, speed saw, planer, wood drill, impact drill, rasp file, tape measure, squares and clamps, saw table or saw horses, hand held stamper (soil compactor).
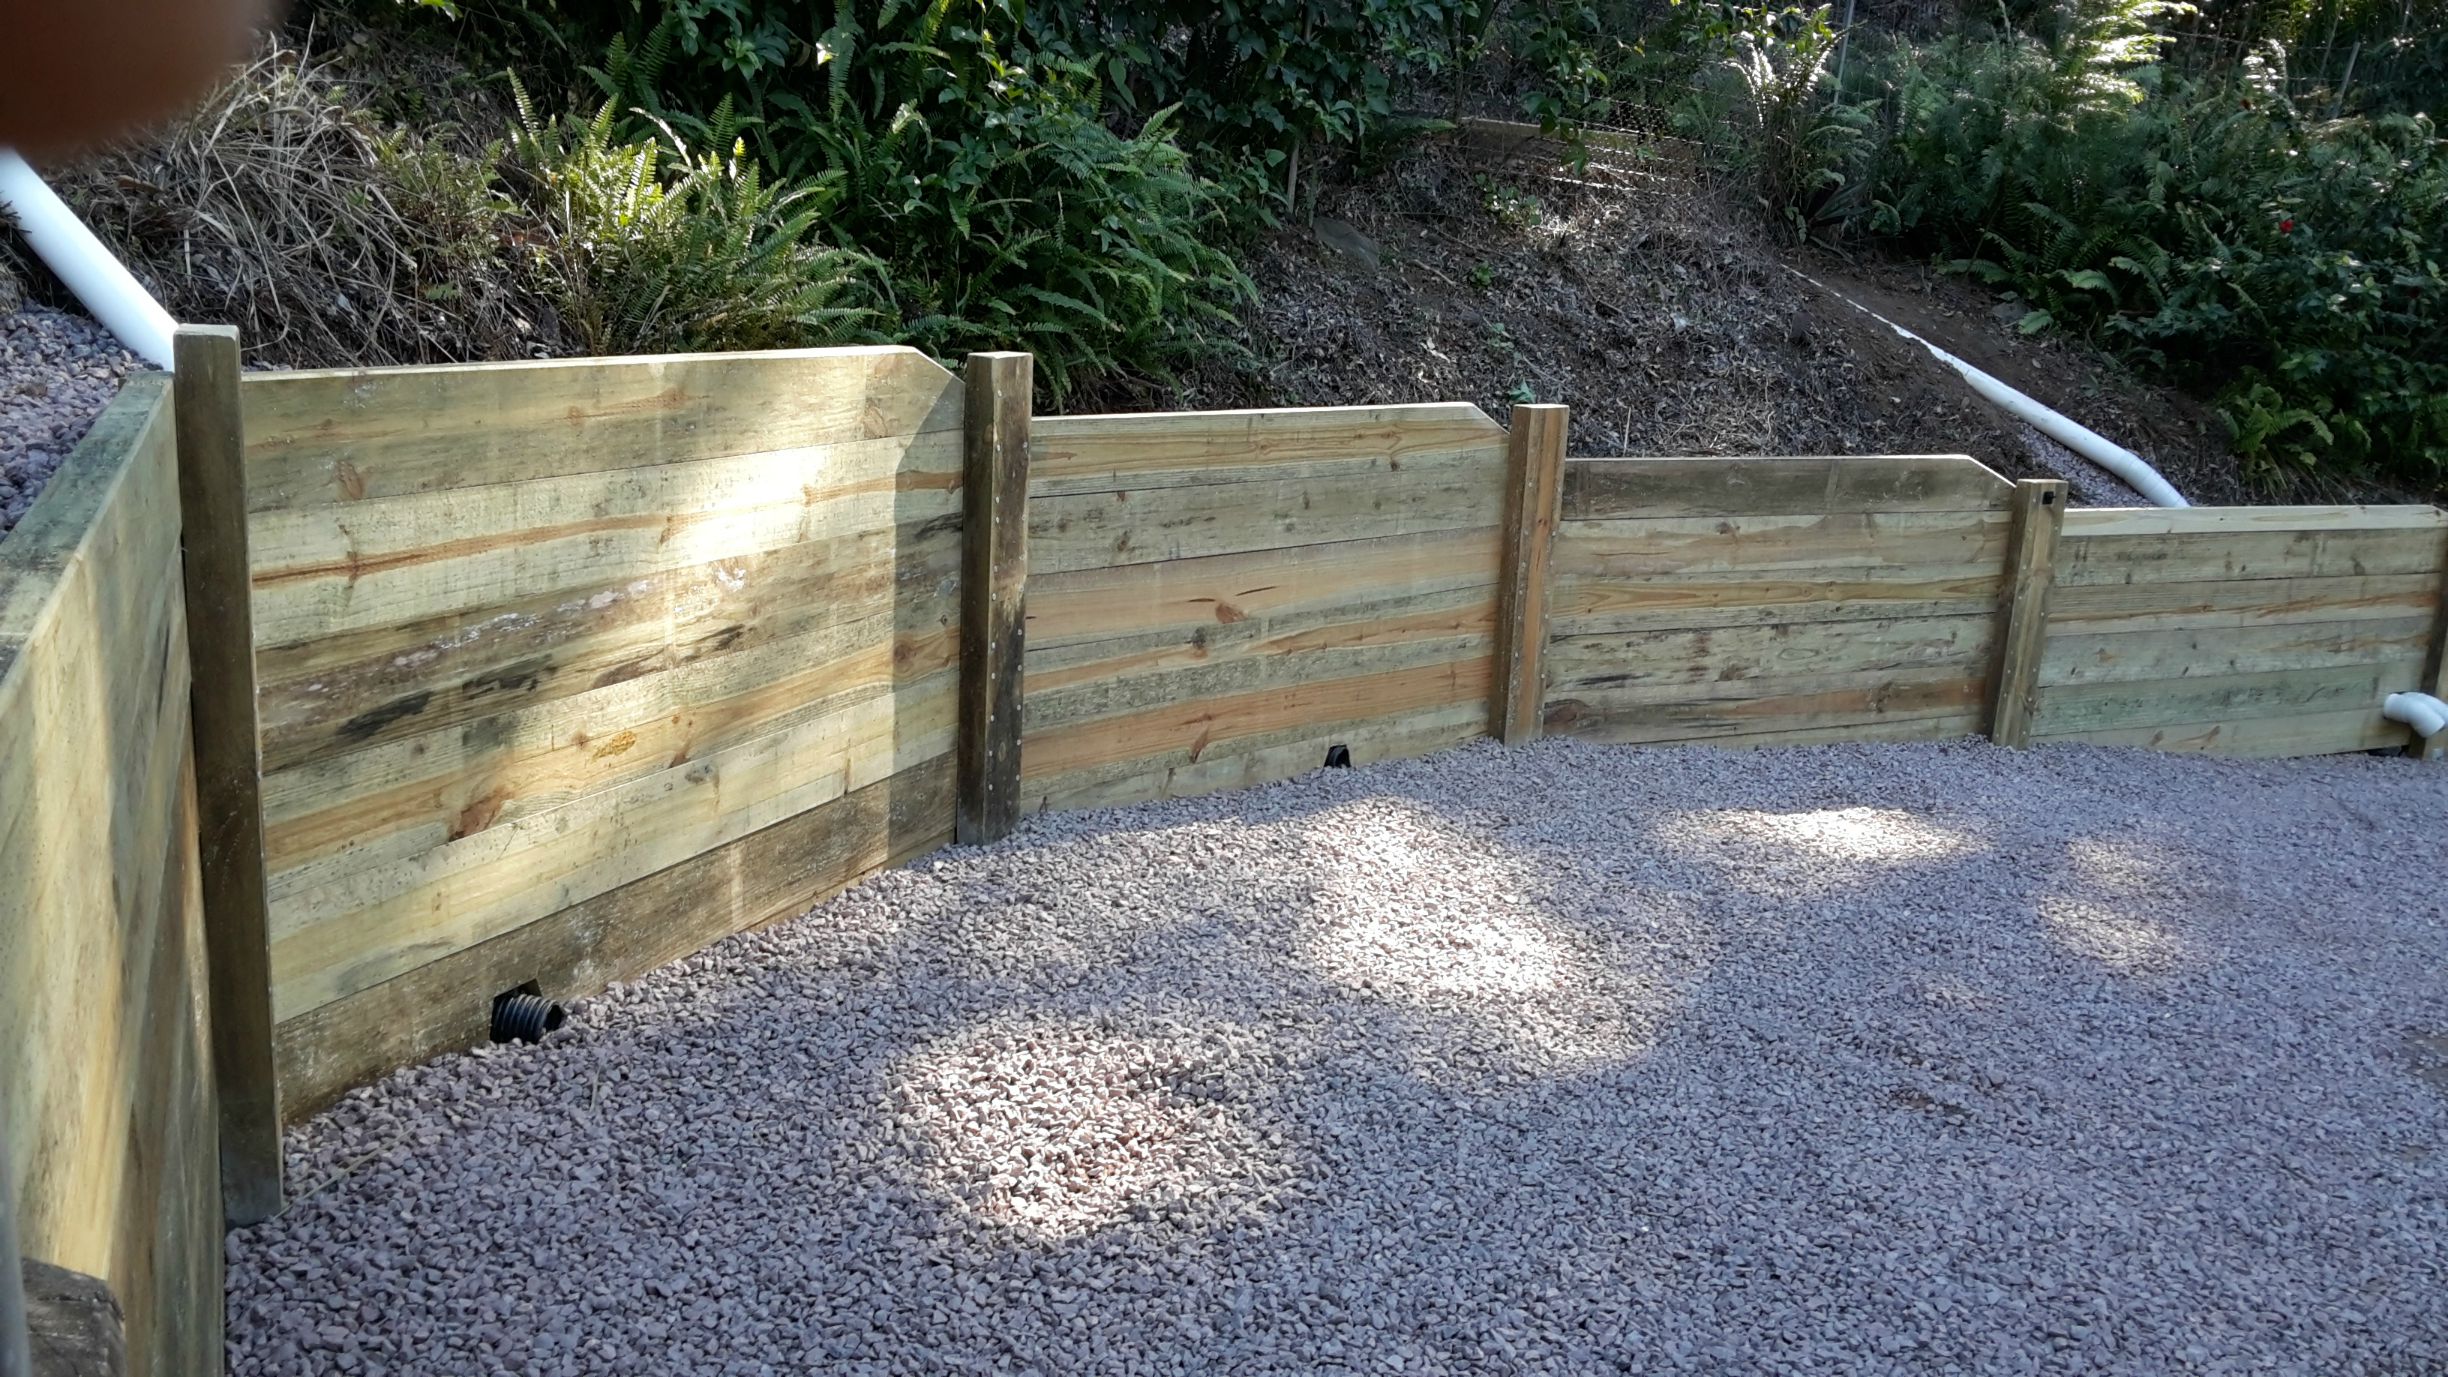
Garden path foundation
First job was to set out the job with string-line attached to posts. I decided that the path would be 1.1 m wide so two planks could be easily cut from one 2.4 m board. The path needed drainage so a slight slope away in all directions was required, and I kept the path at the same height as the concrete path around the house.
So a perfect square was initially required as a set out 5 metres by 1.1 metres. After checking my diagonals I started to dig my channels. As I was laying the foundation boards flat on the ground I dug down another 20 mm deeper to put sand and gravel down for the boards to sit on. I used a heavy 'stamper' to flatten and level the gravel and sand. Constant use of the level ensured a perfect foundation.
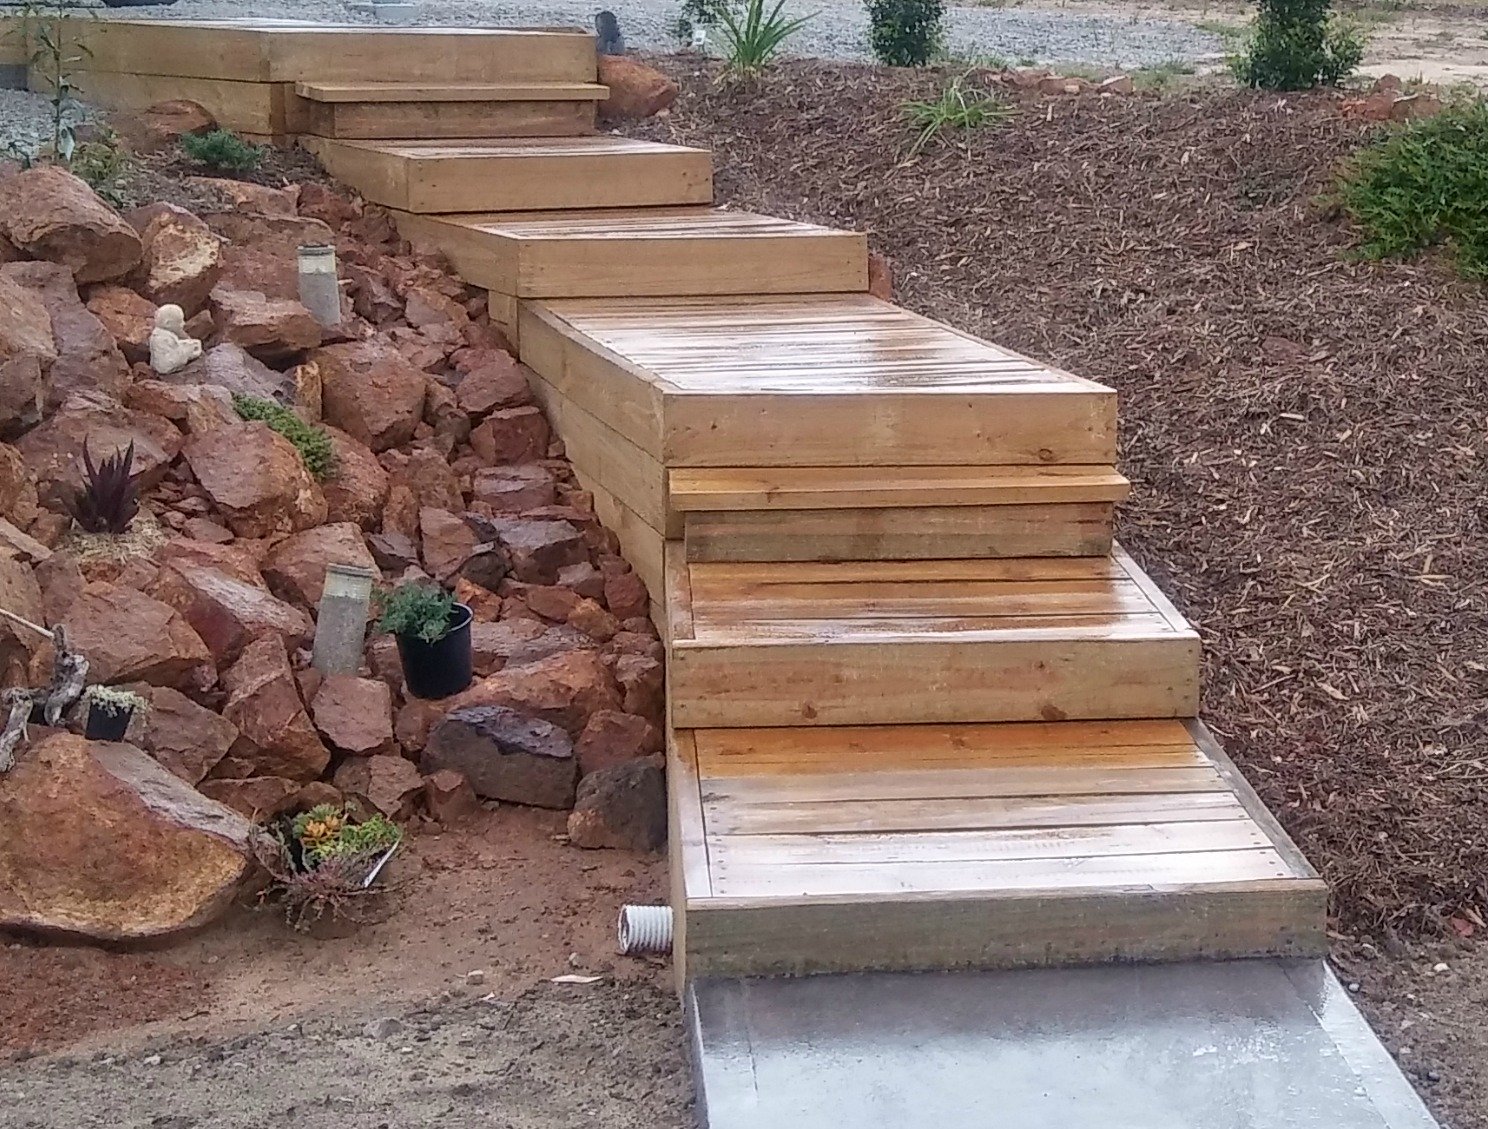
Garden path top board installation
I started cutting and adding the top boards making sure all of the top boards would be supported on all edges. This was important as the start of the path was on an angle to the concrete path.
When I cut the top boards I used a planer to edge each one. This aids water displacement and aesthetics. I pre-bored each board before using my impact drill to screw in the 100 mm galvanised bugle screws: one at each corner and one in the centre to reduce cupping.
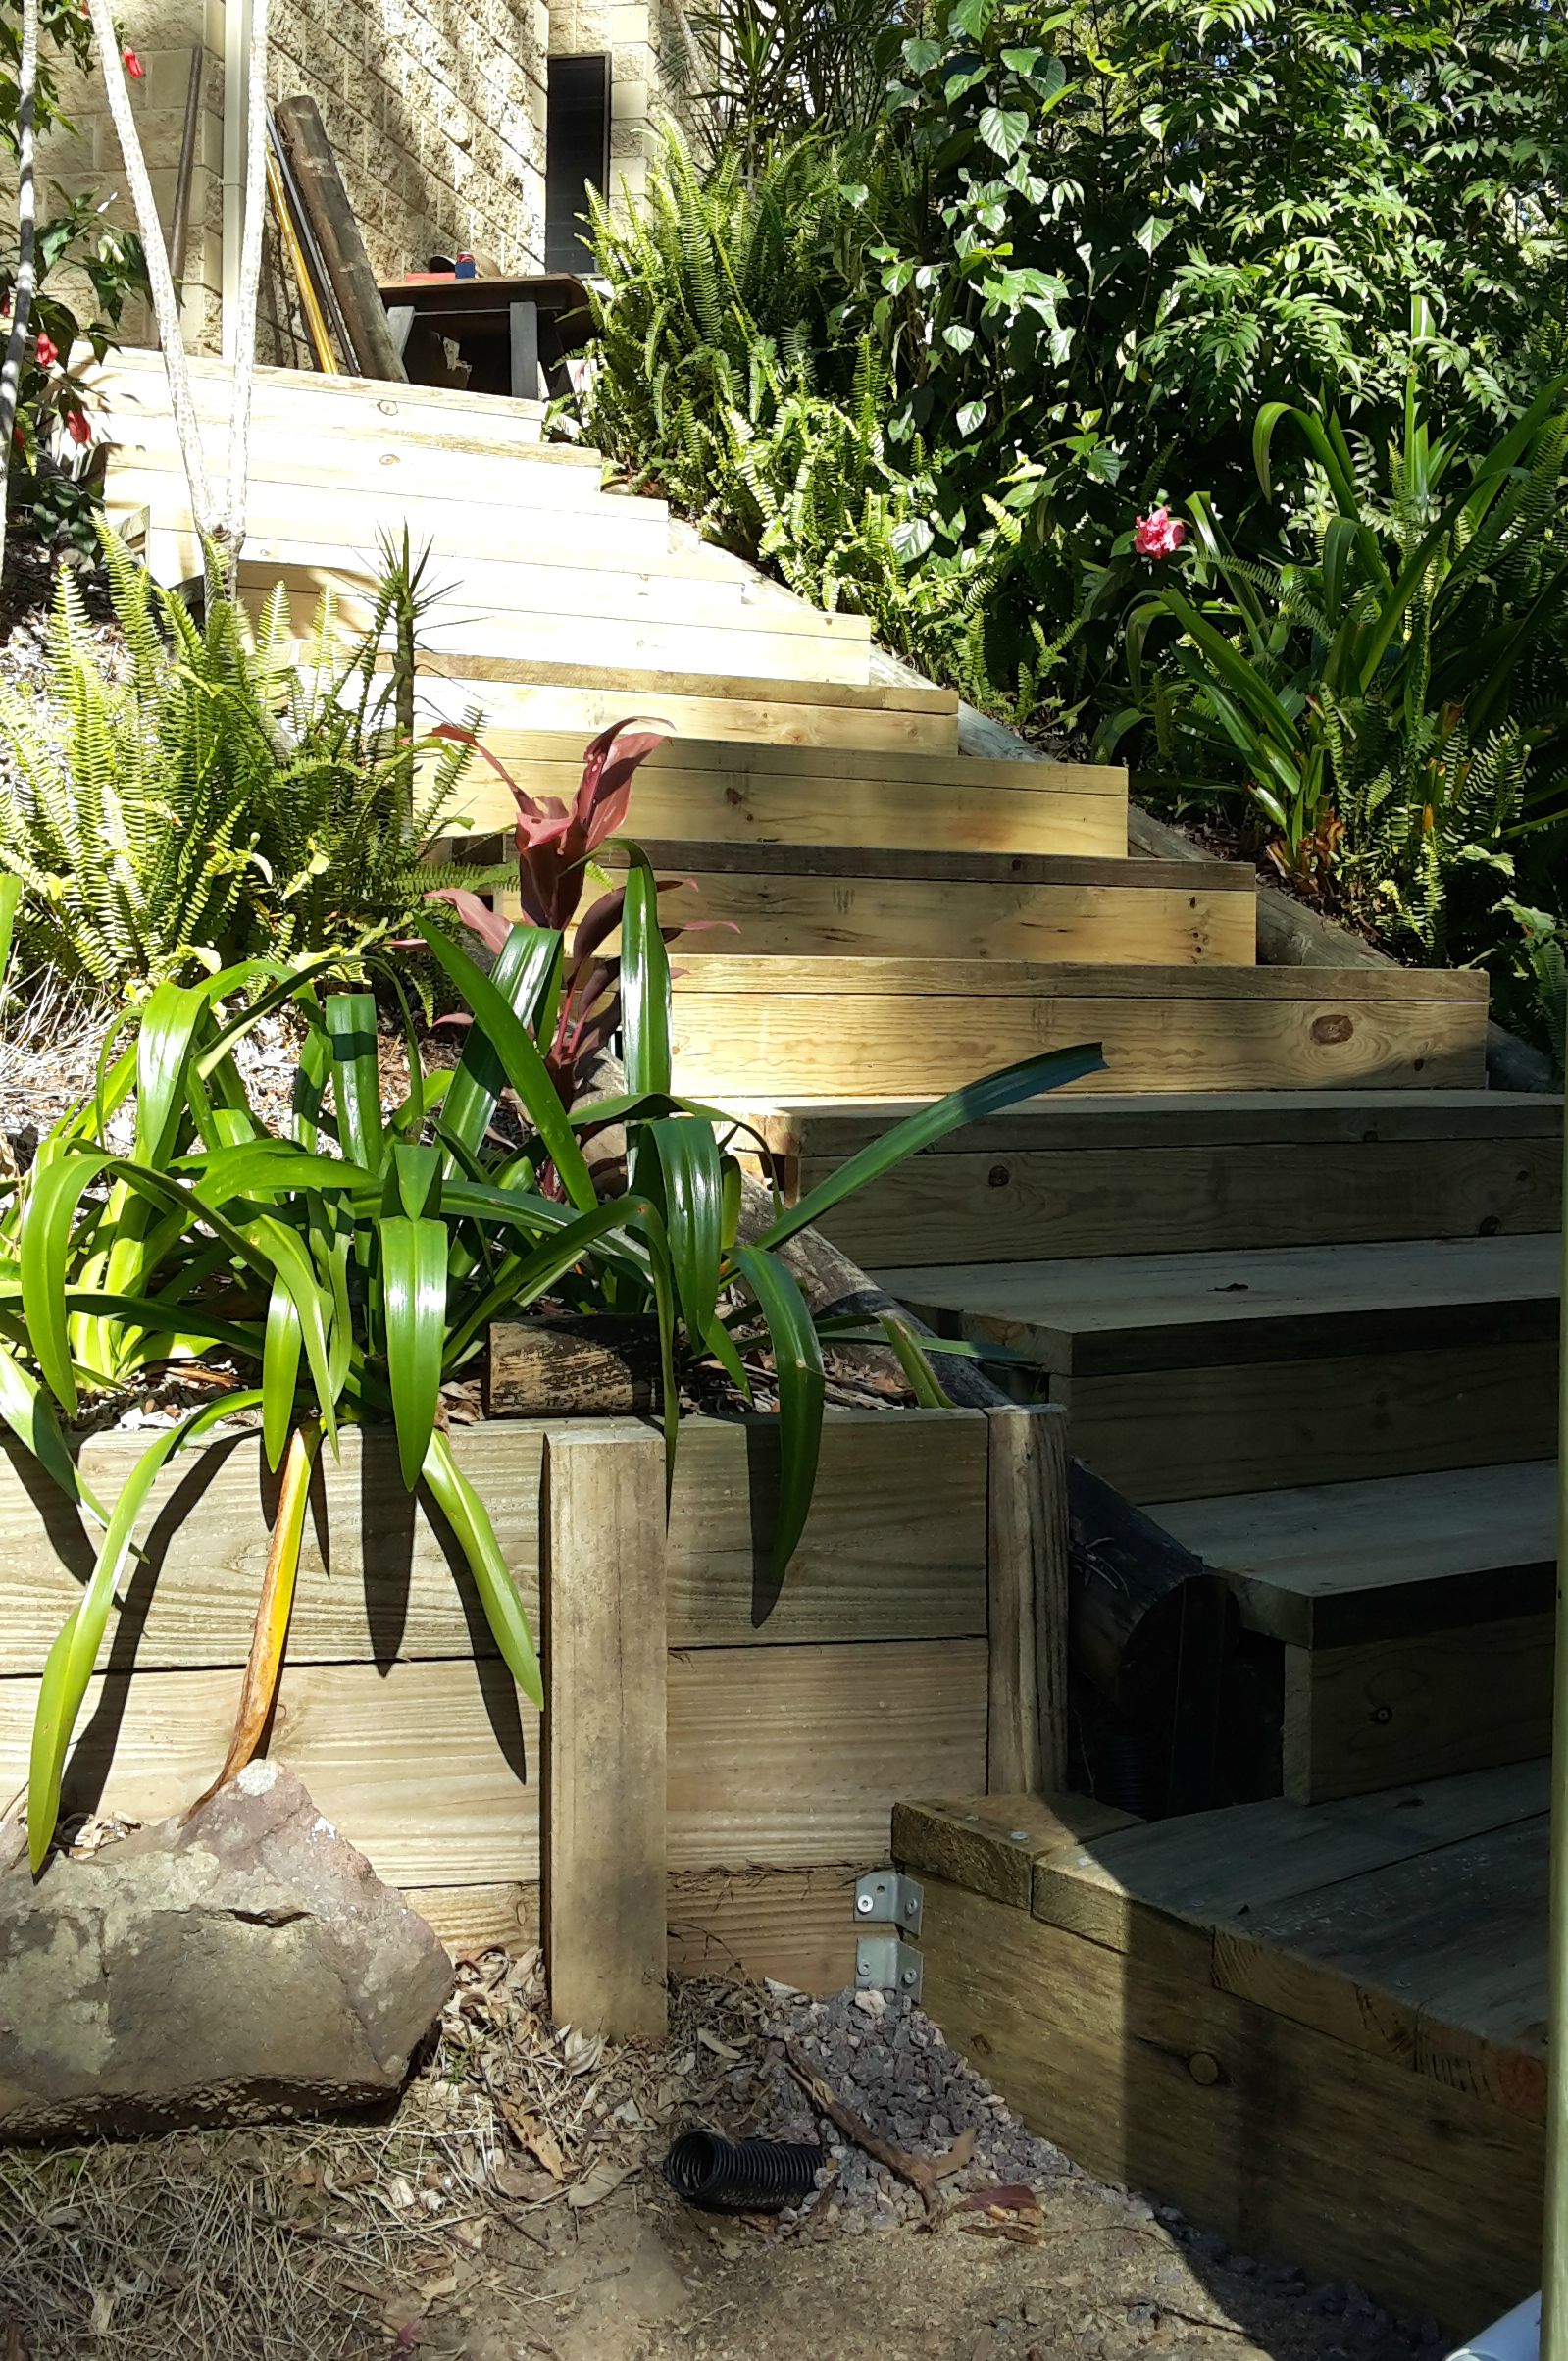
 Foundation excavated


Lastly, I added linseed oil (the anti-mould type) to my garden path, but decking oil is also a good option. I intend to insert some smooth white pebble between the boards and add some outdoor path lighting as well.
Go back to my DIY Projects page
Or return to Kithomebasics home page


