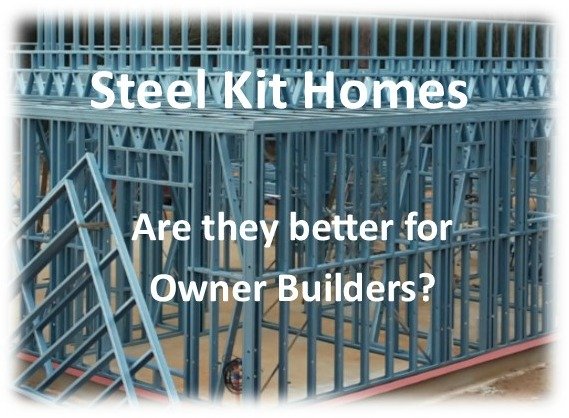
House construction of steel kit homes
This page describes the house construction of steel kit homes, specifically the standing of the metal wall frames. For an owner builder, it has been a challenging process to get to this stage. See these pages for how I did it:
Due diligence land purchasing, Kit home building planning checklist, Project management,
Getting a land survey, Land clearing and Concrete slab construction
For steel home plans and layouts of this project go here. My frames were fully constructed in the factory within about
three weeks of paying my deposit. I specified 2.75m (9ft) ceilings so the frames were rather large.

House construction: delivery
The frames were then transported and craned onto the ground beside my slab in piles. When I first saw the pile of frames on the truck I thought I had enough for two stories, but this kit home structure consisted of four types of frames: wall, ceiling, support and roof frames. So
I started my house construction by sorting the well marked frames out
and moving them a little closer to their destination.

House construction: frame management
As a lone worker,
I used a wheeled dolly to move them around: some were six metres long!!

House construction: wall framing basics
Standing the first frame was the most challenging, especially by myself. See how I did it here... Once it was upright it was relatively easy to position it along the slab edge. I laid some damp course first and temp nailed it down with concrete pins.

I set up a second wall frame on that corner to stabilise the first, and get this house construction steel wall frame process rolling. I did some initial plumbing of the frames on the corner before temp screwing them together with tech screws. A cordless impact driver worked a treat for the tech screwing. I used the frame layouts to plot the positioning of each subsequent frame as I went. The layout also showed the orientation of the frame, so I didn't place it back to front: easily done I assure you, as they are mirror image, back to front.


I made sure I stood internal frames as I went, not only to strengthen the structure. but to make sure I didn't 'frame out' internal frames. It is not easy to throw a frame over the top, if you catch my meaning. When I had finished a frame wall I got out my string line and some small blocks and straightened the bottom plates. Being on the edge of the slab doesn't mean they are straight, by the way. Each frame connection required a minimum of six tech screws.

These wall frames came pre-plumbed, ie with K-bracing and straps installed, but that didn't mean they were straight. Included in the tie down kit was these strap tensioners (above) which made for easy squaring of the frames.
Steel house construction: tie-down

Once the frames were straight in line, and square vertically, I put in the last tech screws and bolted the bottom plates to the slab. Bolting down steel kit homes is the first of the tie down processes. This can be done many ways, including boring a bigger hole and using concrete glue and or boring a smaller hole and screwing them in with an impact drill. Either way, a good heavy hammer drill with a long masonry bit makes it much easier.
Tie down specs showed a bolt every 900mm
around the external wall frames, making sure a bolt is within 100mm of
each end of the frame and also if possible under each k stud and
underneath where the straps connect to the bottom plates.

So now what happens? Where are the ribbon plates? Well not with this setup. The horizontally affixed ceiling frames act as ribbon plates, and are next, so go here to see how they work in this steel framed house construction series. For wood framing details go to my framing a house page.
Go back to steel building kits or return to kithomebasics home page


