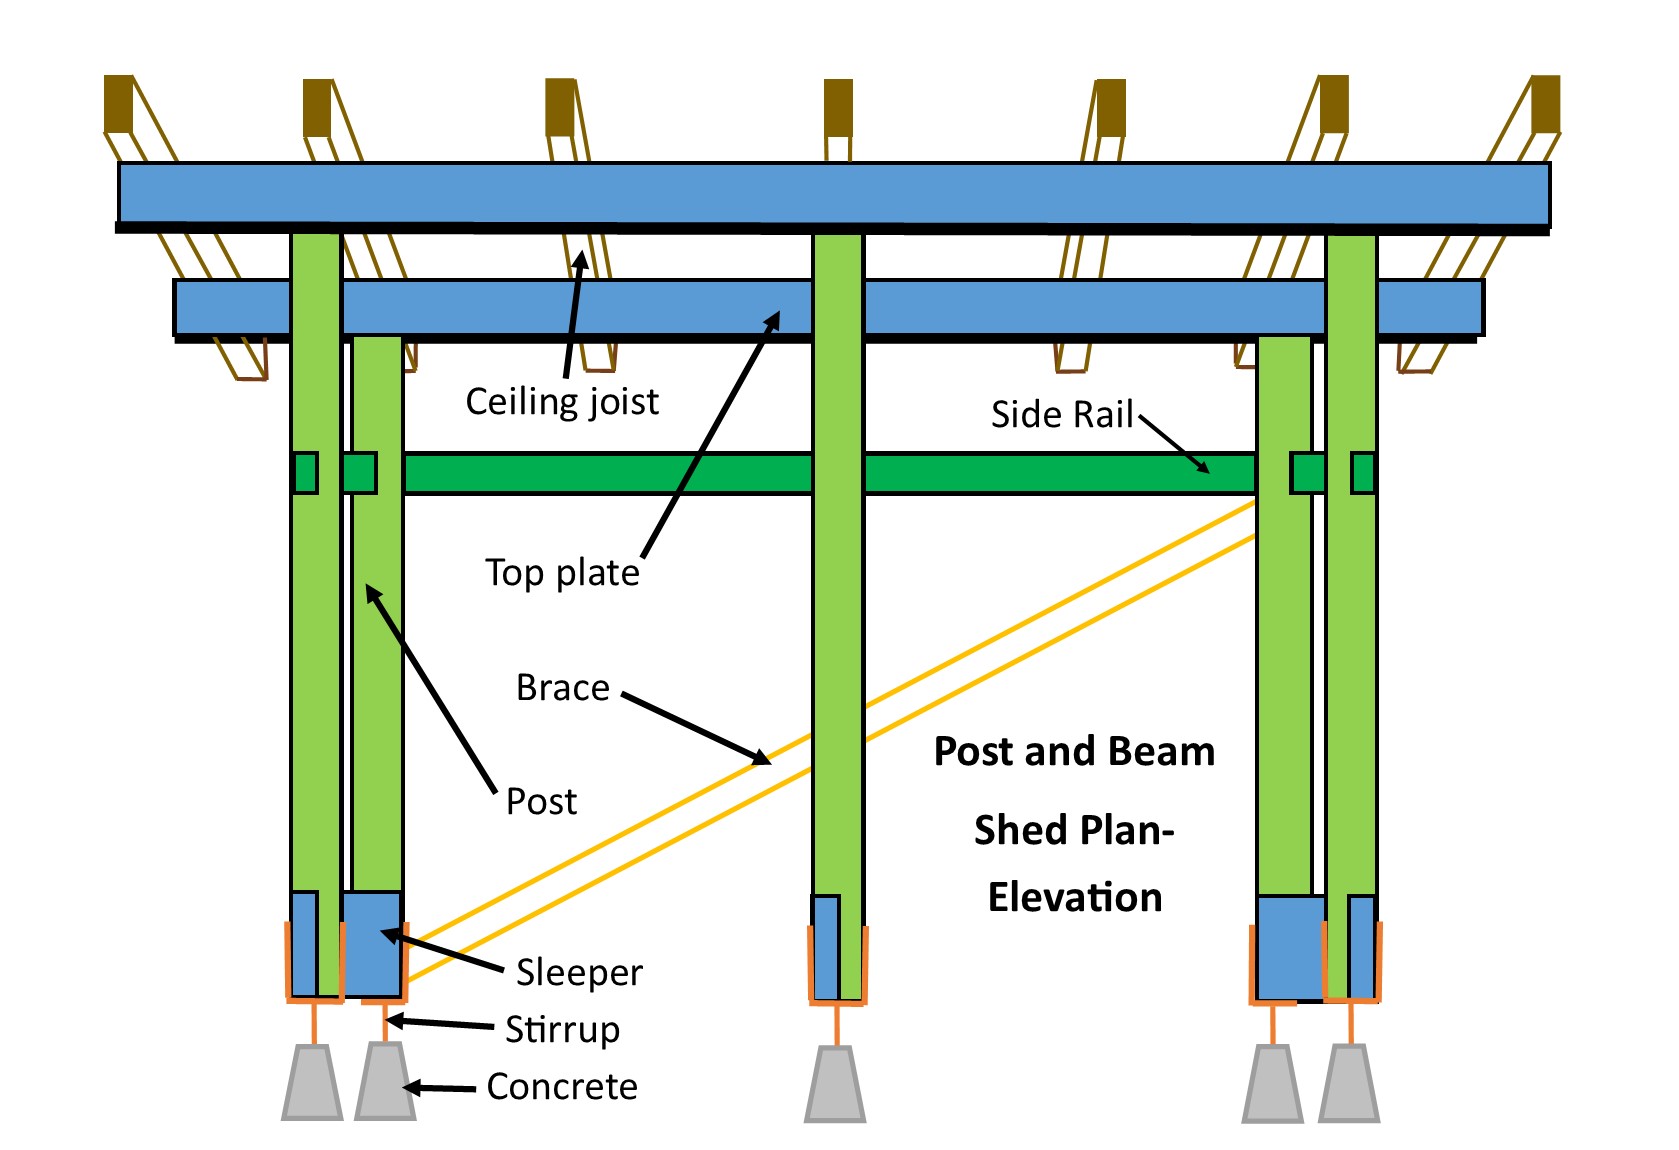
Build a Shed Roof
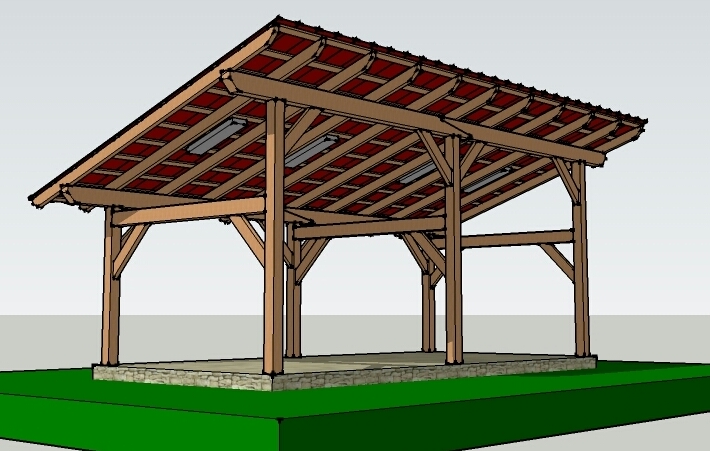
This shed roof installation page is the 6th in the build your own shed series. I began with the ceiling joists. Keeping with the post and beam building theme, I decided on a sloping skillion style, corrugated iron, insulated roof.
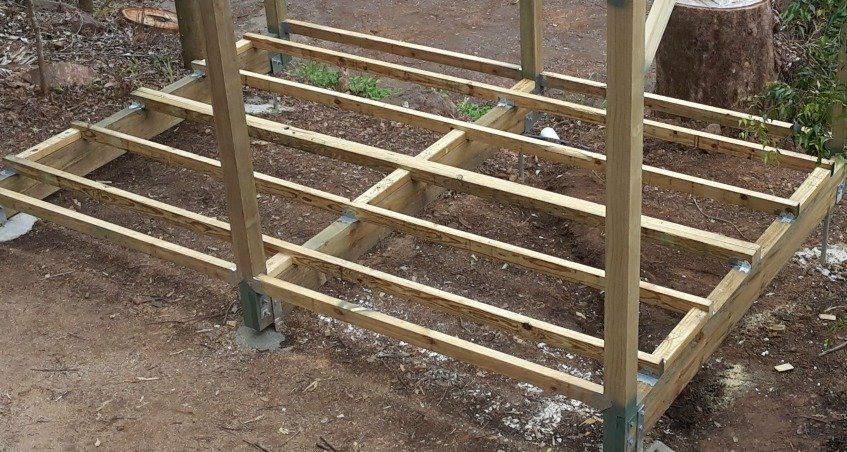
Using 90mm X 35mm (3.5" x 1.4") CCA dressed pine planks cut to 3.6m (11ft 10") gave me a good 600 mm (2ft) overhang at the front and rear to shade the shed a bit.

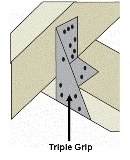
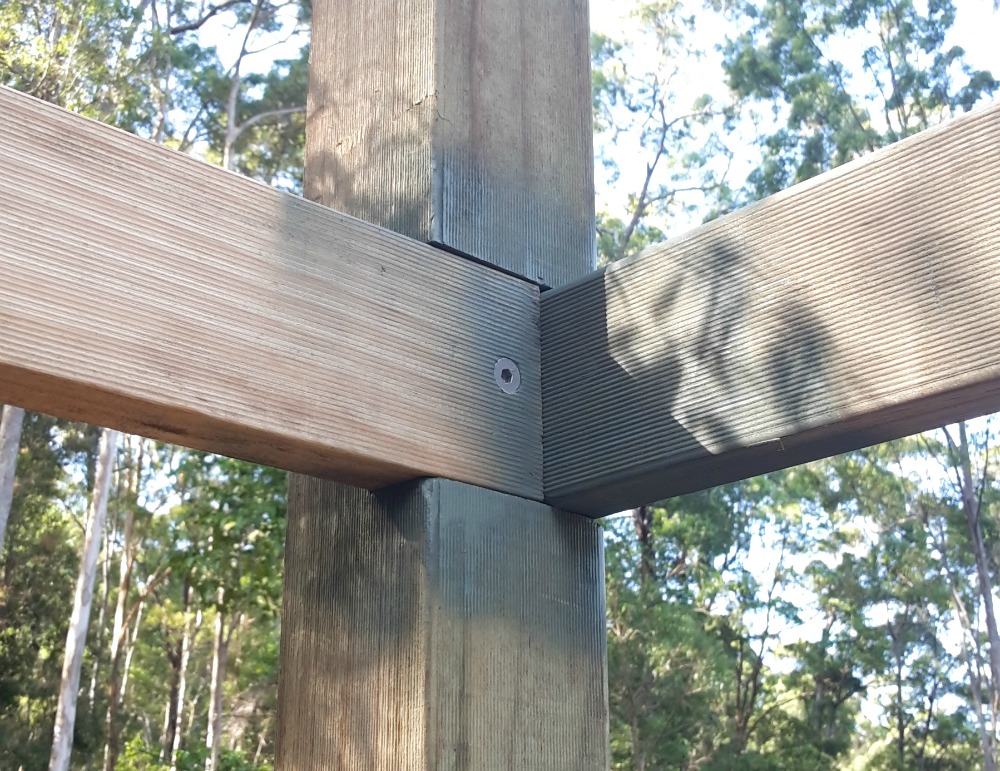
I used a Plumb Bob to find a vertical cut line for the joist ends. I used galvanised multi-grip (triple grip) and uni frame anchors to fix the joists to the top plates. I kept the joist ends in line with a stringline.
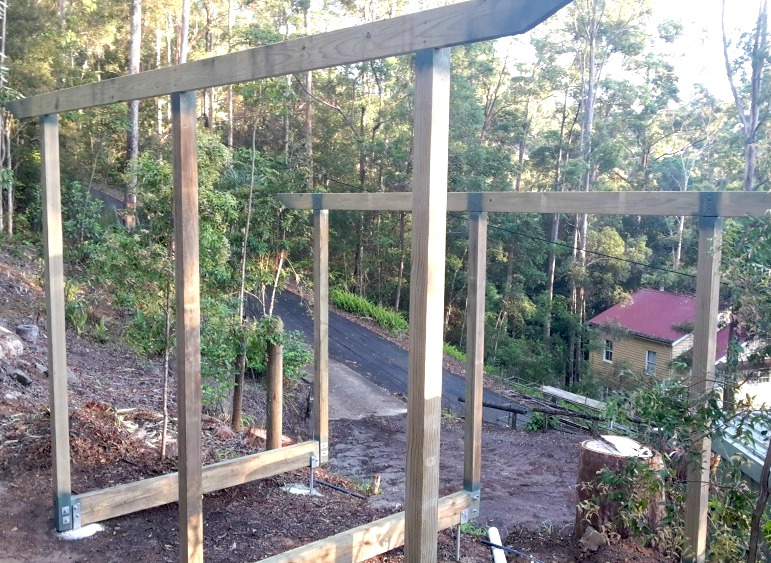
I then cut infill blocking (noggs) to fit between the joists to keep them upright and exclude weather. To get the roof properly secured I tied down the joists to the posts with cross bracing galvanised strap. This helps hold the roof to the foundation and stops the shed from twisting under wind load. You could also add cyclone ties if you live in North Queensland or...Tornado alley.
Shed roof battens
Next up for the shed roof framing were the roof battens. I opted for wood over the metal types to keep the wooden shed feel and used 45mm x 35mm (1.8" x 1.4") CCA treated and dressed pine. I cut them to 4.8m (15ft 10") so I had an overhang on the sides as well. These I secured down with Bugle head screws. The last gutter end batten I placed 50mm (2") from the end of the joist. I then secured gutter over straps to the joist ends ready for the guttering.

Shed roof installation
I measured up the roofing spans and added 50mm (2") to the length of the sheets as overhang into the gutter. I decided on regular corrugated iron (zincalume) for its reflective value and light weight. I also measured up for a gutter span. I ordered 6 Corro sheets and a piece of colorbond gutter with two stop ends. When I picked up the iron order from the hardware store I grabbed a roll of Sisalation to keep the shed cool to work in, and 60 gal roofing screws: the ones with the rubber washers.
 Sisalation
Working at height is dodgy at the best of times so prepare the site with a workplace health and safety view: clear the ground of offcuts and debris, assemble and inspect ladders and opt for renting simple gantries to limit ladder work. If you do use ladders, work out ways to clamp cross stays to them to keep them upright when you lean in to drive in screws. Limit the time spend on top of a high roof and use battery drills rather than corded. Best to wear a big hat, sunscreen and glasses when working with Zincalume as it's very reflective. Gloves come in handy as well, as iron gets very hot very quickly in the sun.
First up you have to install the gutter. Rivet on the gutter stop ends and cut a downpipe hole before it goes up. With todays gutterstrap systems, the gutter just snaps into place. Easy as you like. Go to my Guttering page for more info on this.
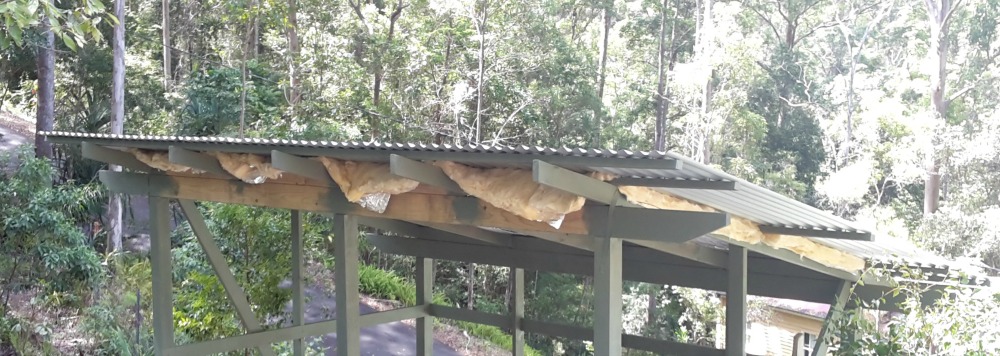
Installing tough shed roofing is not difficult, but it can be stuffed up if you don't keep checking your measurements. Roll out a length of insulation and tack it to the battens. Throw up a length of iron on top and square it with the joist line. Measure to the other end of the roof battens top and bottom, to determine how square it is.
You should also start at the end opposite the the prevailing wind blows. Make sure the overhang into the gutter is 50mm (2"). Tack down the iron as you go and keep the insulation taught. Try to determine before the second last sheet how much overlap is required. Keep measuring top and bottom back to the end to keep it square. A stringline across the top or the gutter line worked well for me. You can look at my DIY Roofing Systems page for more in depth metal roofing information.

Go tothe next page, Windows, of this build your own shed series by selecting the graphic below.

Go to DIY Projects or go back to Kithomebasics home page


