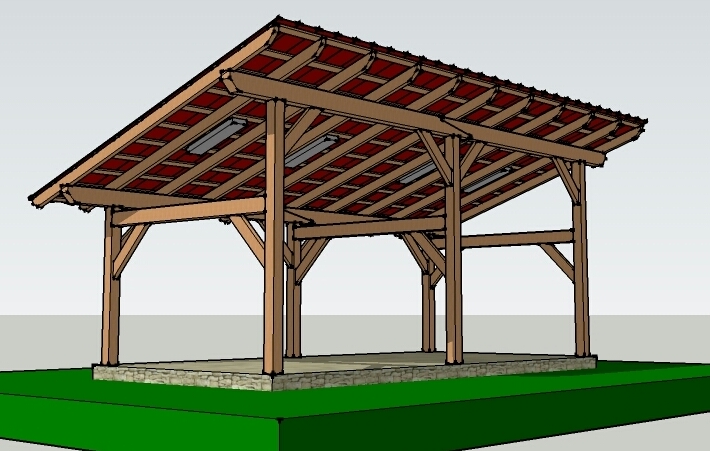
Build a Shed
with a Raised Floor System
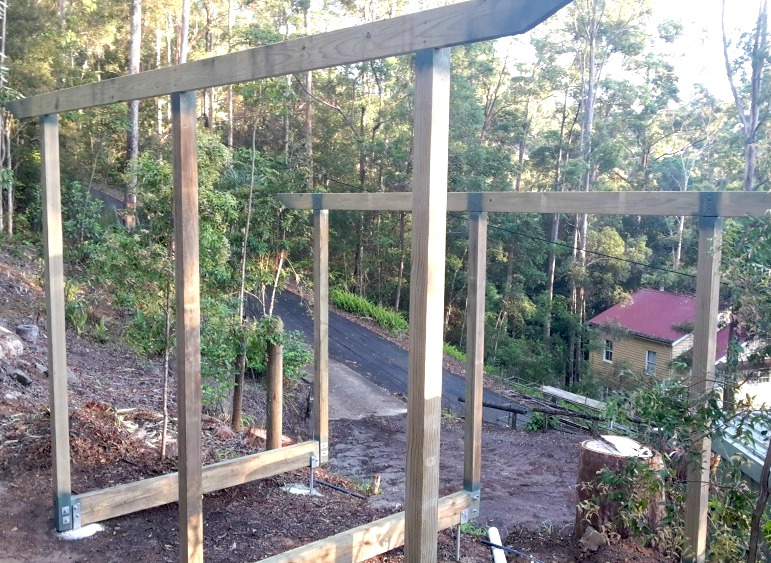
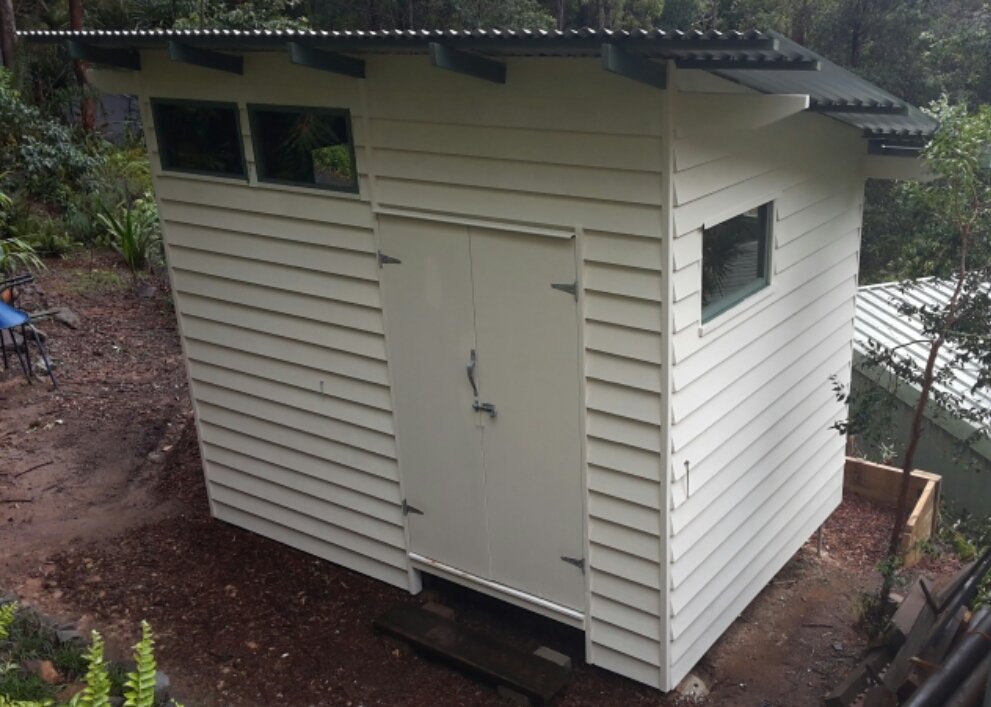 Completed raised floor shed
This Build a Shed page is the third in the DIY Project series of Post and Beam Wooden Shed construction. I will detail here the raised floor system that will support the frame.
The first duty was to clear the site, which required weed digging and some leveling, oh and getting a 100 foot dead gum cut down. Shed placement is obviously critical on your site so consider access to the house, to the driveway and to power.
I did the initial setting out with a string line, some temporary batterboards and paint. See my setting out page here.
I didn't need exact points yet as I had to dig the holes first. I decided to dig 800 mm (2ft 8") deep holes for the foundations as there will be a lot of weight in this shed, so my trusty twin spade post hole digger went to work. I used my home-made stamper to compress the hole bases for a firm concrete footing.
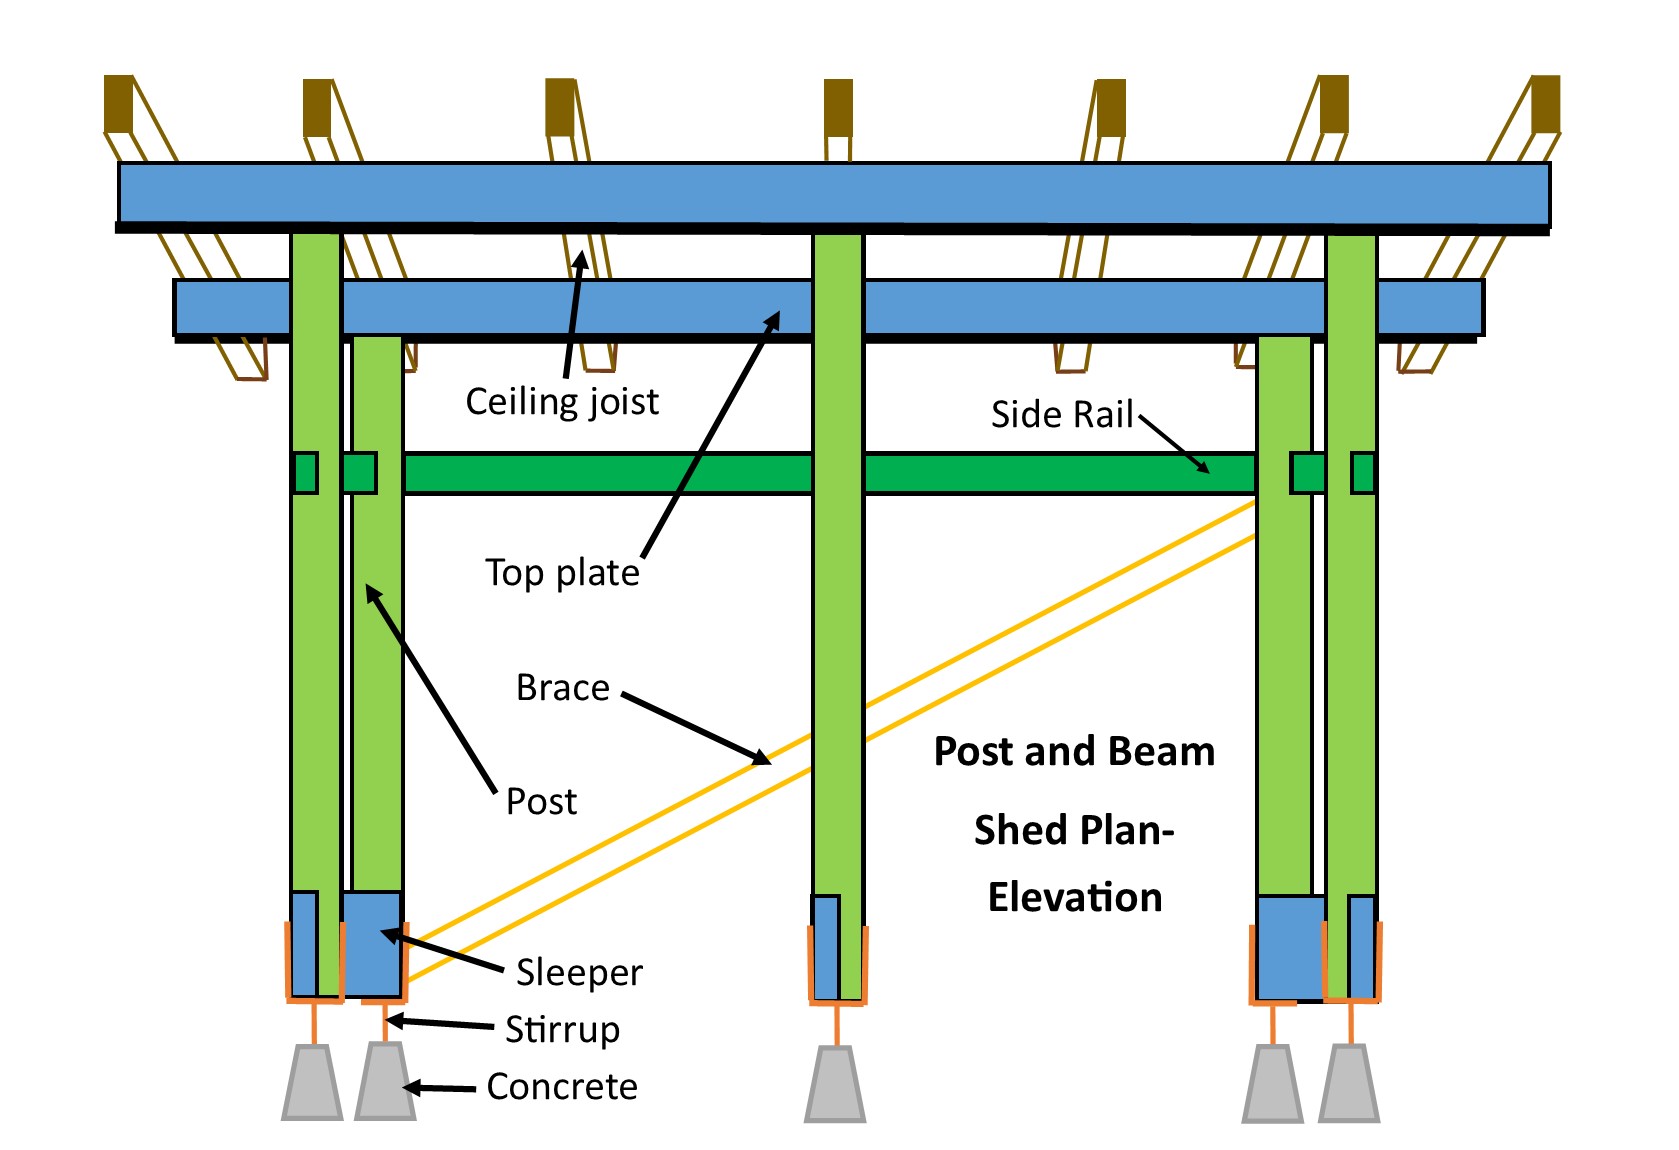
At this point I completed the setout, leveling and squaring the stringlines, and accurately measuring the depths to determine the pier lengths. I needed to find suitable galvanised stirrups for the sleepers, ones with enough length to be deep into the hole and, for the rear stirrups, high enough to jack them up half a metre. This required the rear ones to be a metre long.

Setting up the stirrup in place in the shed foundation hole took a considerable amount of time, but increased the accuracy of the shed foundation 100 fold. I did this by making supports to hold them in place over the holes. I sprinkled some water in the holes before pouring the concrete and I left the string lines in place until the shed foundation blocks were poured and domed.
How to Build a Shed Floor
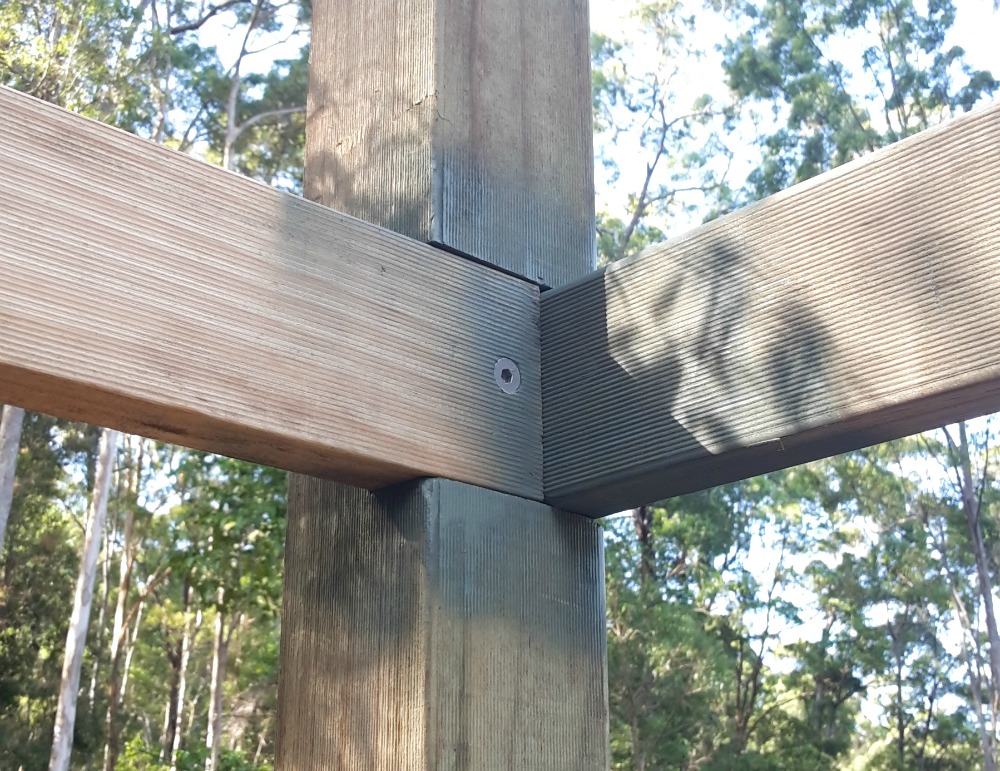
My raised floor system required space at the end of the beam to situate and mortice the posts into the corners. This required the shed foundations to be offset the width of the upright posts. So the stirrups were bolted 100mm (4") away from the ends. I decided to do the preliminary lap joint checkout before I laid the bearers so I sliced the 75mm (3") thick ends at 30mm depth and checked out 90mm (3.5"), the width of the posts.

I placed the bearers (sleepers) in place and pondered how to keep them upright as they were secured to the stirrups. Most stirrups are a little offset from centre so I used large washers as You can find more plans and details on my Raised Floor System page here.
Now normally in this 'build a shed' project I would have installed the floor joists at this point but due to the bearer arrangement and post and beam construction, I needed to stand the posts first: I detail that part here. But for continuity, I will complete the raised floor system on this page.
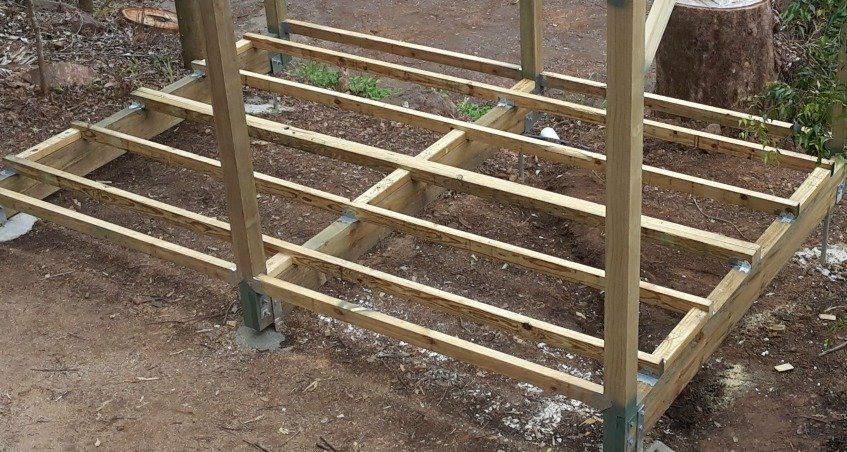
How to build a shed floor: Floor Joists
The shed floor framing consists of 2.4m x 75mm x 50mm (7ft10" x 3" x 2") treated H3 pine as my floor joists and infill noggs. I decided to sit them on the bearers rather than nesting them within with joist hangers...a couple of reasons: I wanted to get the floor up higher off the ground and joist hangers will eventually yield a squeaky floor.

I used triple grips and skew nailing to install them at 45cm (1'6") centres. I added a double joist to the centre of the shed and (later) one across the entry side to aid step tread installation. I then installed bridging noggs to enhance upright rigidity.
Wooden shed flooring
I had been pondering long about the flooring, which had to be pest resistant, tough and smooth. I decided on tongue and groove treated 19mm (3/4") Red Tongue Structafloor. It is resin impregnated to resist water as well. I cut them off the trailer before moving them into place as they were too heavy for a sole worker. I glued and screwed them down with liquid nails and gal screws. The easiest floor I ever laid and solid. So far, if you build a shed this way, no termite will bother it.

That's the Raised Floor System completed. If you want to follow this DIY Project, go to Page 4

Or return to DIY Projects page or back to Kithomebasics home page.


