Backyard Shed Cladding
I decided my backyard shed cladding would be CCA treated Pine Weatherboards. They aren't cheaper than other cladding eg fibrous cement, are definitely dearer than corrugated iron, but they are very good looking and have a traditional wooden shed look. So that was that, the shed cost was raised a couple of hundred dollars.
Timber weatherboard cladding can also be cedar, hardwood or composite wood. There were also choices of veneered sideboard, a range of profiled fibrous cement, masonry, and even plastic and vinyl. If I chose corrugated iron it would be 'colorbond' and I would have insulated the walls as well as the roof.
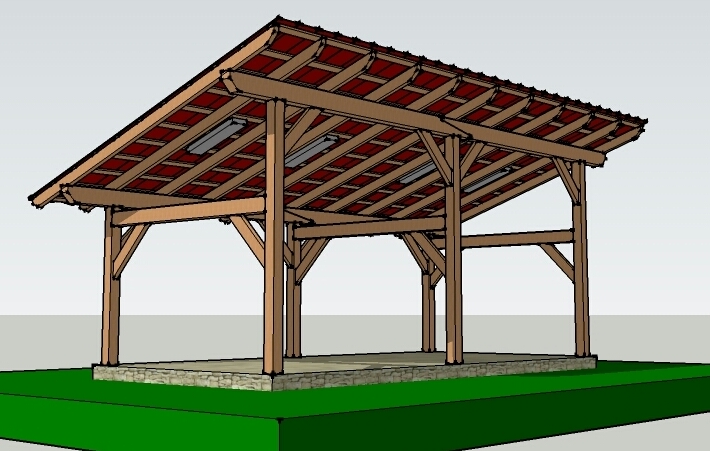
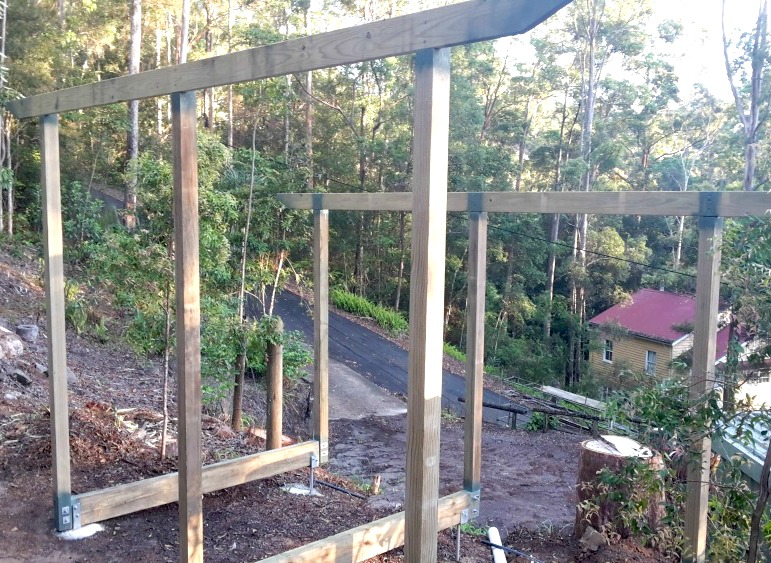
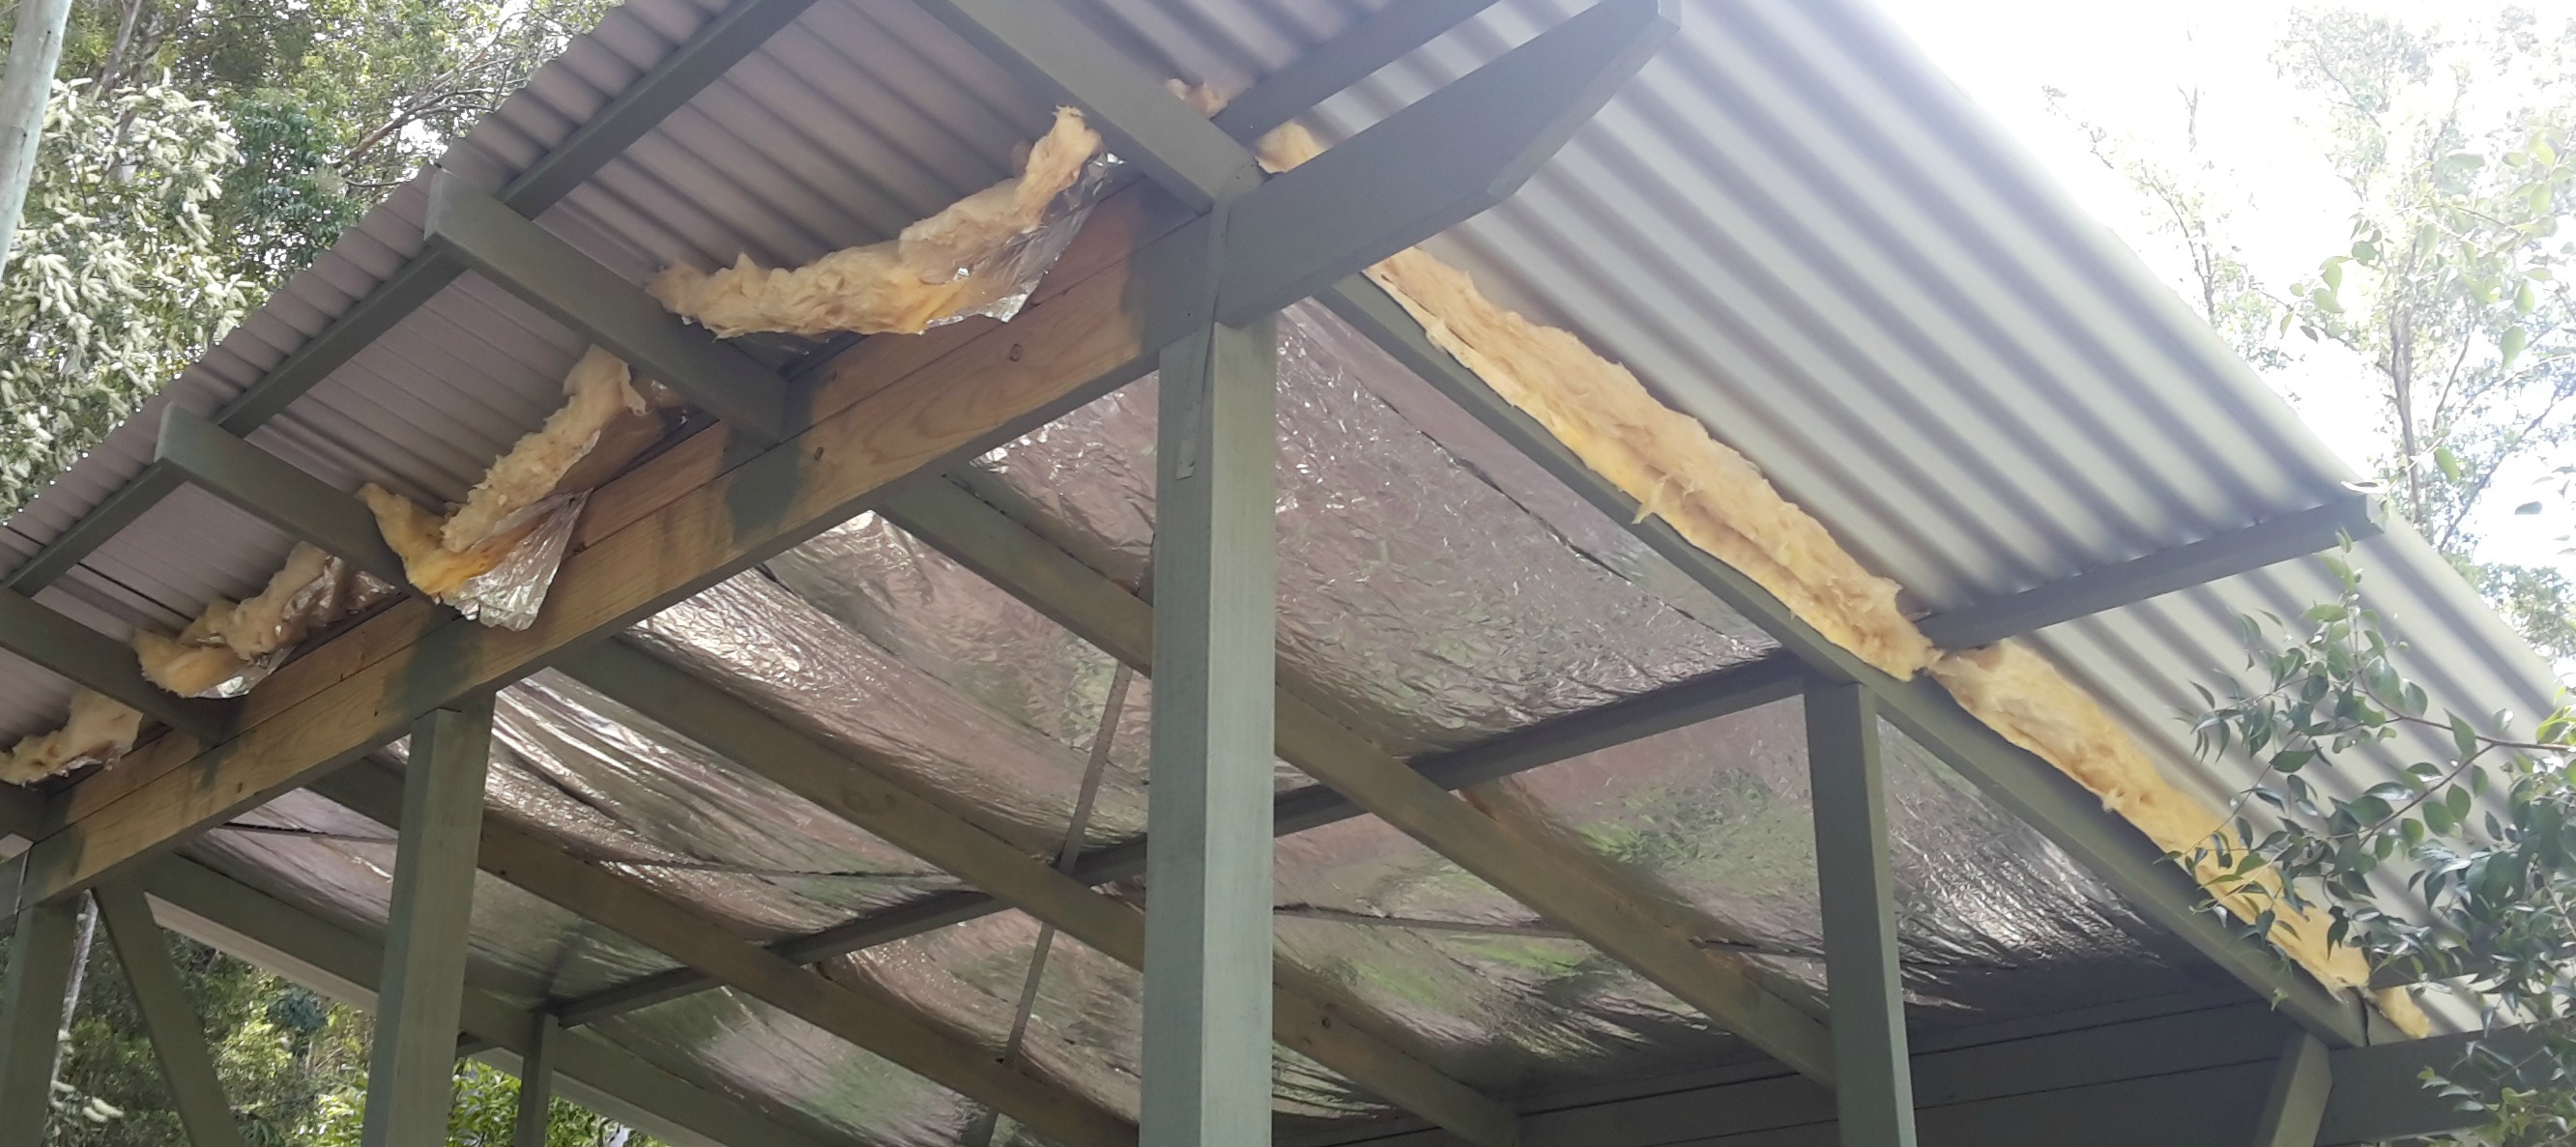
This is a work shed, not a storage shed, so I have to be able to work in it without baking. And that was the reason I made the 'lean to' skillion roof quite tall. Most prefab sheds have low ceilings which are meant for storage rather than dwelling in for any length of time.

To see the planning and how to build a shed, go to my previous build pages:
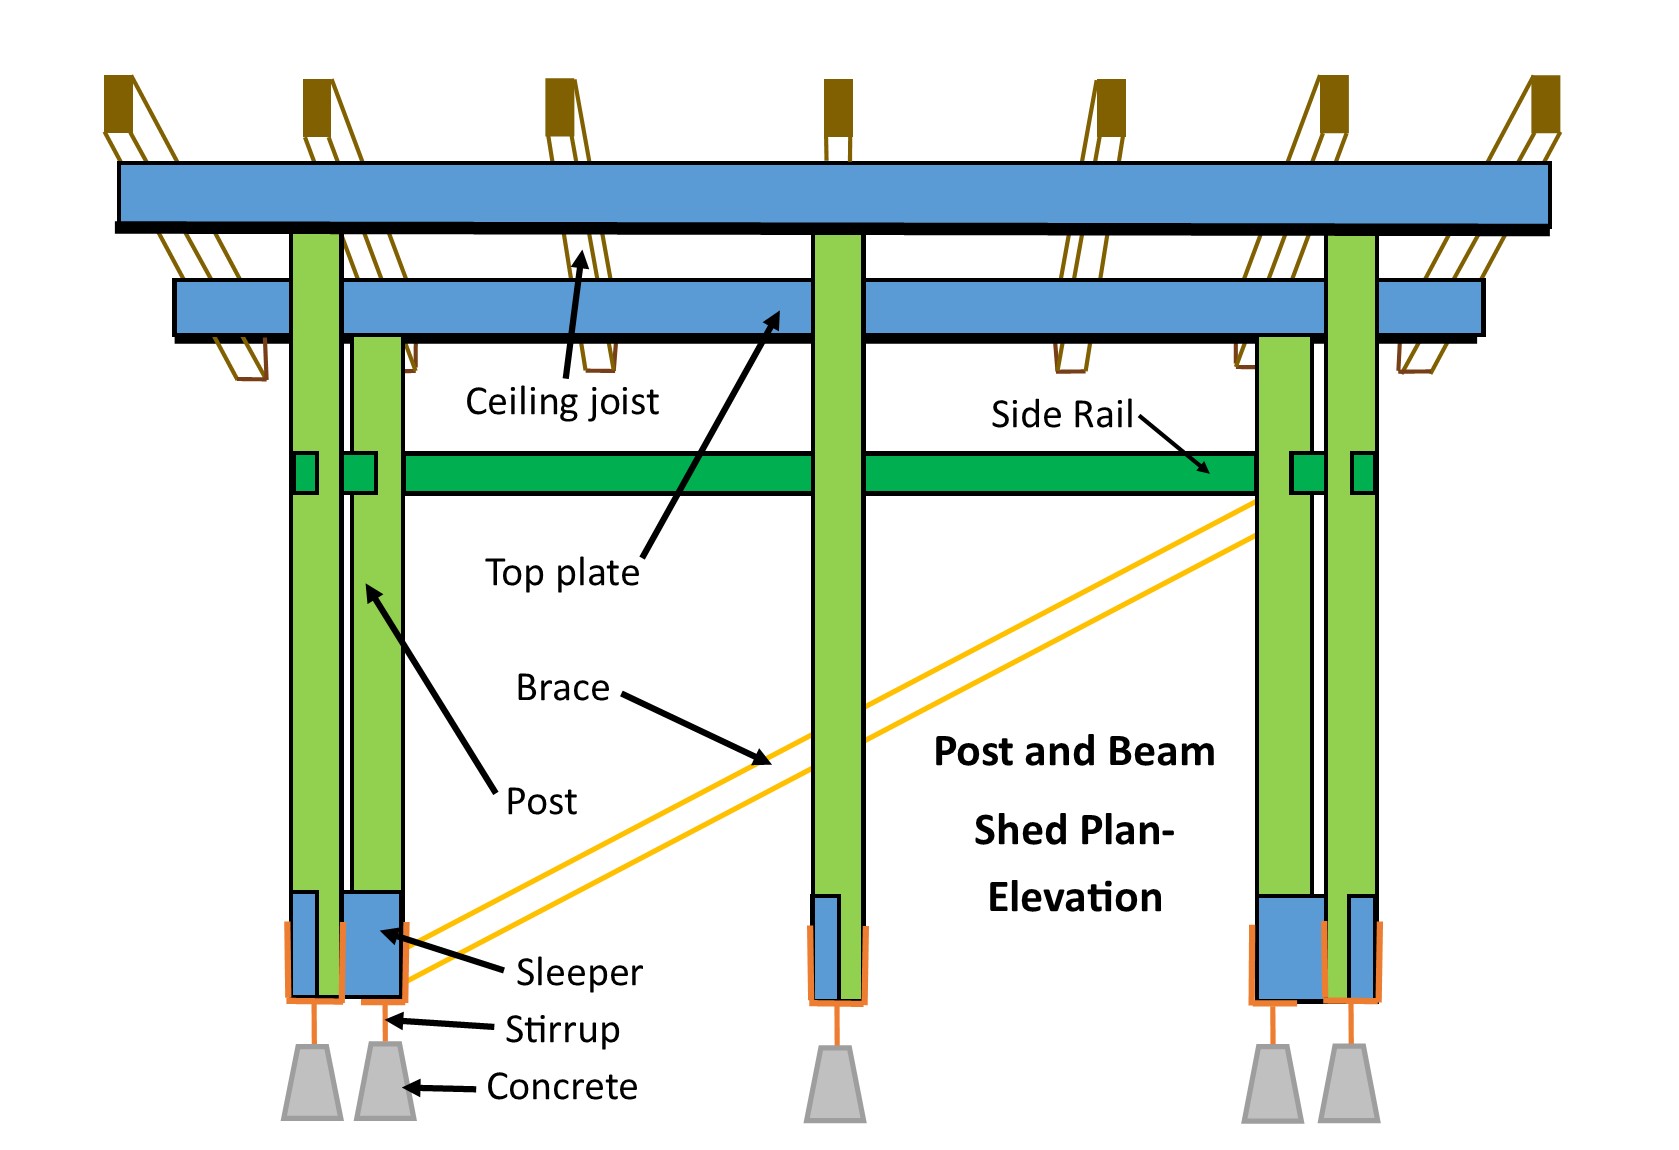
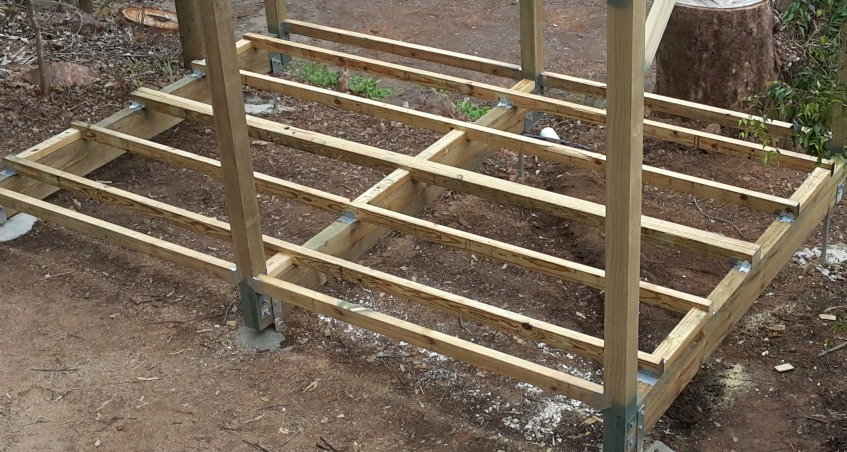
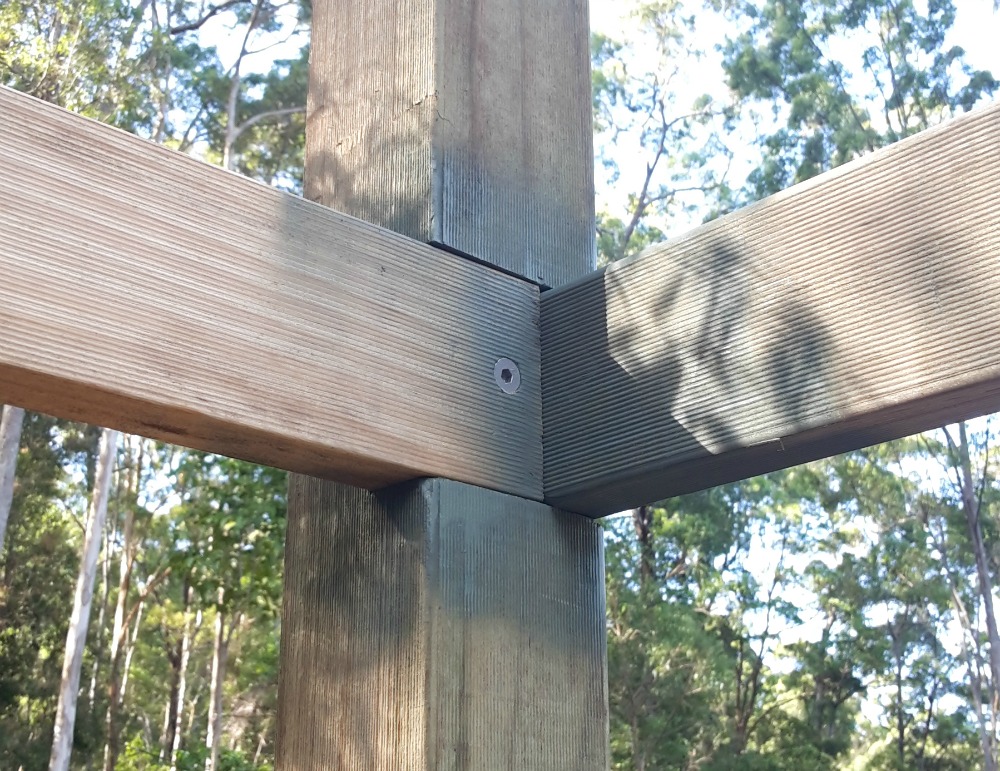
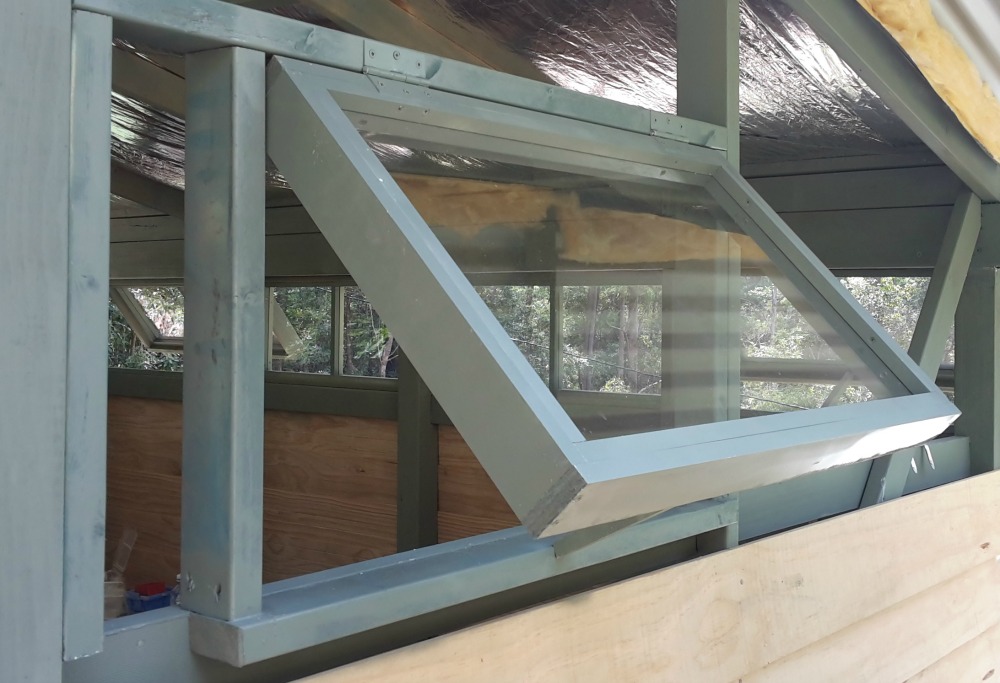
My shed ideas, Wood shed plans and materials, Building the raised floor, Posts and top plates, Shed roofing, Framing the shed, Window installation.
Backyard shed cladding materials list
- Measured quantity of CCA Treated Pine Weatherboard 200mm wide
- Galvanized clout nails 40mm
- Galvanized screws 60mm
- 45 x 35mm or larger CCA pine for stop ends
- Spacing rod or similar gadget
- Sealing paint
- Outdoor gap sealer
I ordered about 80% of the weatherboards that I needed so I could do it in stages and more accurately estimate how much more I needed to finish my backyard shed job. They do say to add 10 to 12% wastage but off-cuts are useful in the build and I had about 5% wastage in the end.
Firstly I added pre-sealed 45 x 35mm timber stops to the building corners and around windows and doors to butt the cladding up to. This required some tricky cutting near the roof line to make sure the area around the eaves end up sealed. I fastened these with 60mm gal screws.
I then attached temporary blocks along the base exactly level to sit the first board on. You can nail on a packing strip to get the first board to angle correctly, but I didn't get that pedantic.

I then cut a base weatherboard to size and clamped it across the base of the building. Nail the board through the packing strip (if you have one) and check it is level before completing the nailing. Use a spacing rod to mark where the base of the second board should be.
Make sure there is about 20 mm overhang to keep out the rain. Before butting the weatherboard against the stop-ends, make sure the butt ends are sealed/painted. I fabricated a temporary movable seat to sit one weatherboard end as I nailed in the other end.
|
When installing weatherboards on adjacent building sides, keep the alignment as level and correct as possible by checking around the corner and using a spirit level. Keep adding boards up to the building making sure the underside of windows are sealed. Use a good quality outdoor gap sealer to ensure the butt ends of the weatherboards are gap free. This will ensure longevity of the boards and prevent water intrusion. |


Well that's my backyard shed cladding done and it's time for some paint. On reflection, this wooden shed project was an exercise to see if I could build it for less than half the cost of a supplied wooden shed kit. Well the final cost was about $3500aud and with the cheapest same sized kit coming in at $7-8000, I have accomplished my task easily. The pace of the build, of course, was much slower. I would guess I could whip up a kit in 3 weekends or less. This project took me 2 months of weekends and there was a fair bit of carpentry involved.
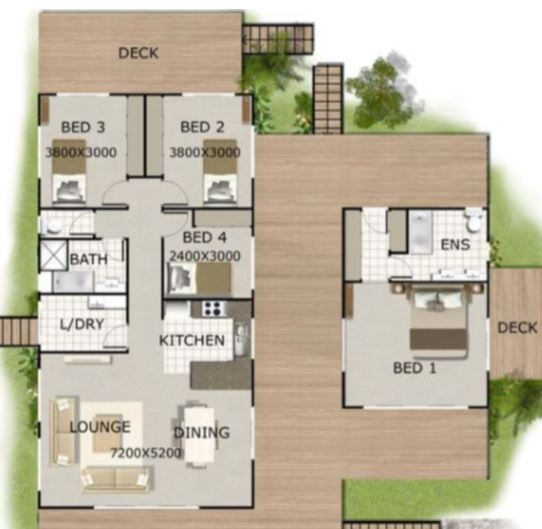
I also reflect on how easy it would be to convert this into a tiny house or visitor bungalow. Obviously it's a little small and it needs to be lined, but the idea is sound. The bigger granny flat kits require a lot more work including full Development Approvals, but Tiny Houses, not nearly as much.
For the full description of this build your own shed series, select a graphic below.

Go back to my Projects page.
Return to Kithomebasics home page.
