Diy Concrete Slab Design
For the DIY concrete slab builder, there are extensive graphics and resources available to build a perfect slab for the kit home builder. It may be that here is a time when the owner builder has to get help, because laying slabs is an arduous, time consuming process best suited to sub-contractors. All handy people have talents, and yours could be concreting, but laying slabs requires a number of talents and skills that must meld for your diy concrete project to be a success. Of course 'properly engineered plans' setting out concrete footing details will be required to legally and soundly build concrete foundation footings.
10 steps to building a DIY concrete slab

DIY Concrete slab tools, equipment, supplies
Starting out on this DIY concrete adventure, and it 'will' be an adventure, there is a heap of gear required to build a concrete slab. Most of it will need to be purchased, some hired. Lets make a list...
• Copy of engineered slab plans
• General carpentry tools
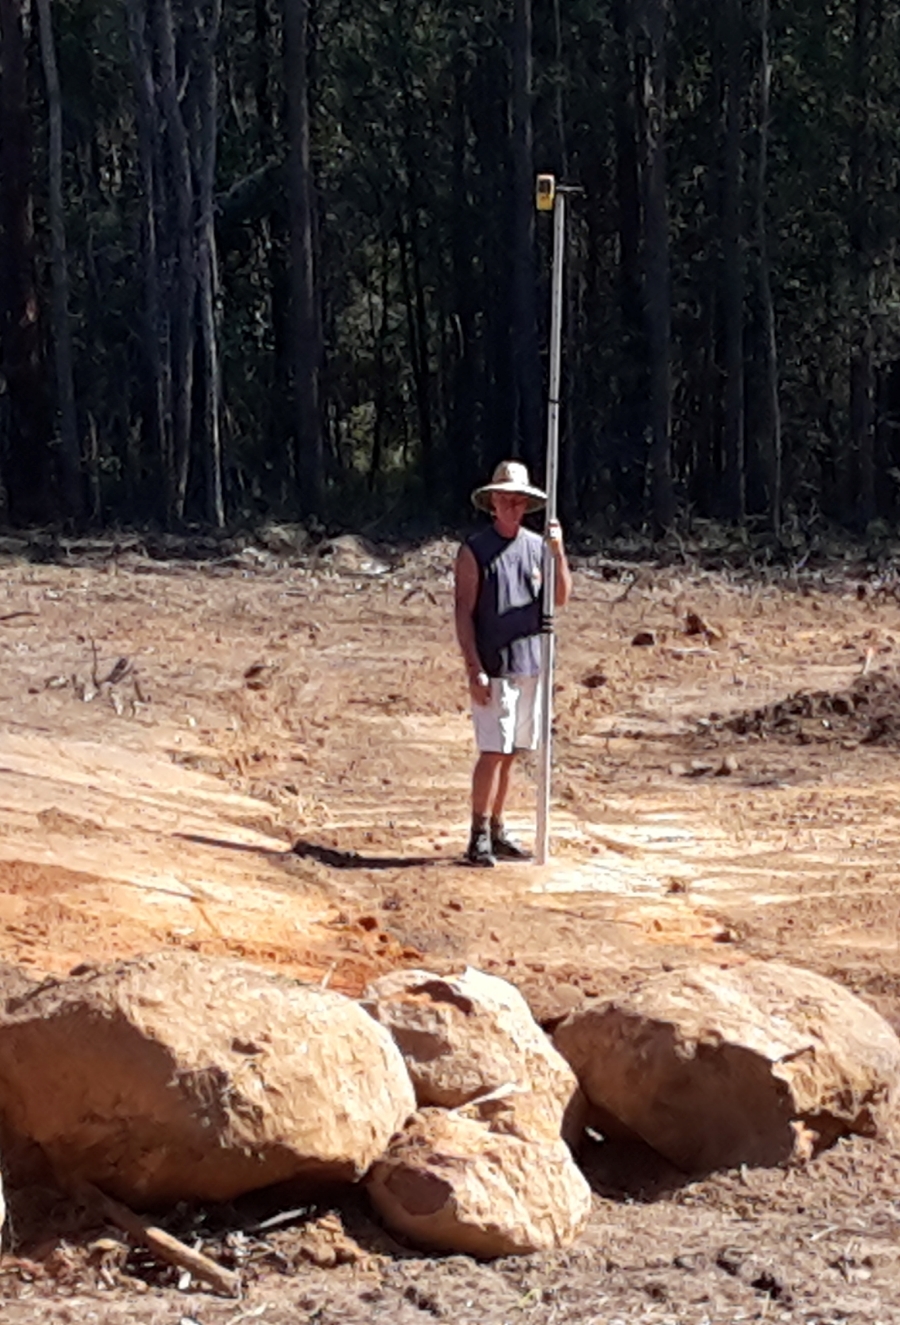
• Theodolite
• Stringlines and timber for set out
• Posts and formwork timber
• Plumbing pipes/joiners/caps
• Crusher dust/road base
• Stamper (manual compactor)
• Vibrating compactor (petrol driven)
• Heavy plastic
• Termite prevention aids
• Steel reinforcing
• Roll of wire ties
• Bar chairs
• Large bolt cutters
• Schroeder tie wire twister
• Short handle square mouth shovels
• Supply of running water
• Short and long screeds
• Selection of hand floats & finishing trowels
• Bull float
• Rubber boots

The first step is to set out your site. This involves setting up profiles and using stringlines to mark the site. For detailed graphic instructions on this process go to our setting out plans page.
DIY concrete slab: Excavation
Mark all footings and plumbing trenches with chalk, then remove the stringlines. Make a boning rod to check depth levels. Set up a theodolite to maintain general levels.
A hired rubber tracked mini excavator can be used to dig the concrete slab footings and plumbing rough in plumbing trenches. The excavator will also dig sewerage or septic trenches at the same time.
A bobcat will remove excess earth. Most good excavation contractors know their stuff and understand footings, levels, falls and grades and will be an asset to the owner builder due to their experience.
Tip: go for the older operator and take their advice. Clean the site of all excess rubble and attach the stringlines to the profiles. Now we are ready for the slab formwork page.
Here is a pictorial of my kit home slab pour.
Go back to Setting Out Plans

Hi Michael, Can you give me an idea on what my first steps will be regarding under slab rough in plumbing: sewer pipes, pump etc? regards Wil
A complex request with no info is difficult to answer. Will you be connected to a sewerage line or require septic, are you connected to a water supply or on tank water? Rough in plumbing will be designed by your plumber based on the house floor plan you supply to him. Sewer pipes exiting the building need to be lagged with foam rubber to protect them from the concrete pour. If you are not near a sewerage pipe, you may be able to argue for a simple septic tank and absorption trench rather than the much more expensive treatment tanks/reed bed/sprinkler setups. If you require a pump to supply water, opt for at least 60 litres/minute capacity. Water pipes need to be taken through the ceiling, not the slab. All rough in piping needs to be sealed off before pouring concrete, as well as having termite prevention caps. Ask your plumber about charged water tank pipes as well. But I'm sure your plumber will have better advice than mine.
Best of luck
Michael


