Build your own deck:
ground level and portable
You can see here how to build your own deck: one that is portable and at ground level . No foundations needed as it is moveable/transportable. It goes where the sun is, in winter, and where the shade is in summer. The ground level deck plan shows a deck design based on two posts and a centre joist, all pine to reduce weight, bracing and deck boards. Looks simple? Yes it is, so lets start with our set up for this freestanding, portable deck.
|
Deck materials
|
Tools
|
Build your own deck design
 Mobile deck plans
Things to consider
- The deck is on the ground or close to it, so it needs to be pest resistant and water resistant.
- To be mobile it needs two things: light wood (like pine), and wheels
- A couple of coats of good sealer will help it last for many years
- For interest, the deck could be 5 or 6 sided. But you'll need to be a maths whiz for that.
How to build your own deck
To build your own deck you will need a very flat space, and or a few saw horses to elevate the deck building process. Starting with the 90x90mm posts, cut them to 2000mm each and set them up about 1200mm apart. The next step is to get them squared up. A couple of ways to do this: tap in a nail on each corner and move it around till the diagonals are equal, or just use a large right angle square around and across the ends and generally ..square it up.
Now cut two x 2 metre lengths of deck board and secure them along the posts exactly the deck board thickness above the post edge. This will start the formation of a deck board surrounding 'skirt'. Use a speed brace to hold the side skirt to the post and secure it with gal hex screws. Now cut two more lengths to fit across the ends. They will be 1200 plus 2 x the thickness of the boards. Just lay one across the end, measure and cut it. Secure them to the ends and re-square up the assembly before tightening down.

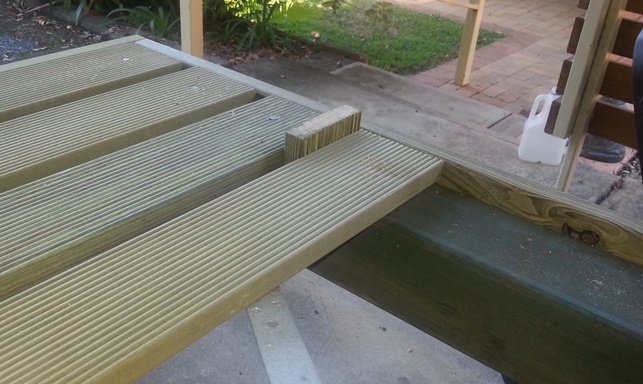
You should now have a squared up and skirted set up. Next we need to install the joist down the centre. You can secure it with what ever you have around: an angle brace is good, but screwing through the skirt with a long gal hex screw will work as well (or both).
Now it's time to re-square the assembly again, just check the corners and tap it square if required. Last thing before decking is to brace it with gal strap. Stretch them tight diagonally and nail it down.
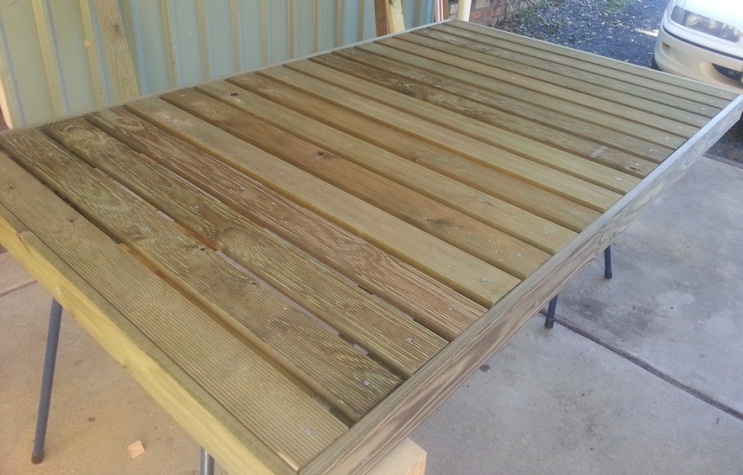
Lastly, cut the decking boards to length and start packing them along the inside of the skirt using offcuts to pack the spaces. Once you have cut and packed the full length you will see what alterations to packing width is required to get them to even up along the skirt. When you have evened it up, start nailing it down with gal nails.
If you want it to be really mobile, get two replacement barrow wheels and some axles to temporarily mount on the side, when you want to move it. As it is a ground level deck, four pavers under the corners will keep it off the ground to reduce deterioration from ground moisture.

Don't forget to use a couple of good coats of deck sealer to keep your deck building project looking good and lasting for years.
Go back to DIY Projects
Or return to Kit Home Basics home page


