How to Render Blueboard Cladding
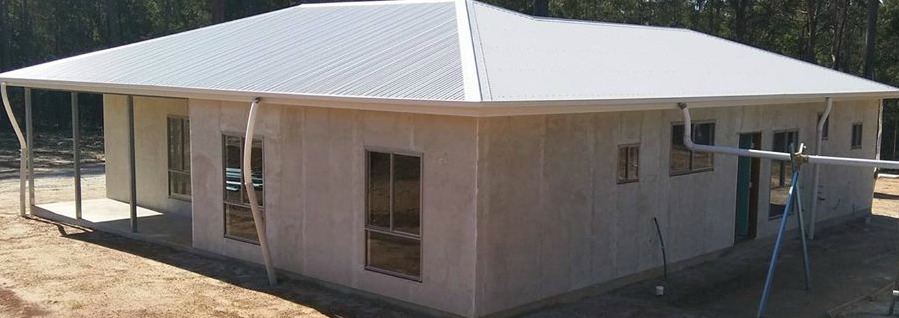
Learning how to render my blueboard cladding I had installed on my steel kit home, was not my first choice. I was going use textured paint to give a rendered effect, but after researching sites such as the blueboard makers (Hardie) and watching a few youtubes, I thought I would give it a go. I didn't want an old fashioned 'stucco' look, but more the monolithic cladding look you get from rendered brick, so I needed to prepare the blueboard well.
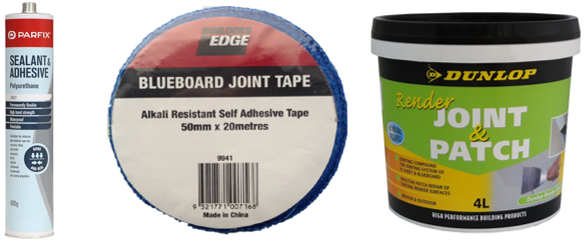
After reading horror stories about cladding render cracking around joins I made the decision to apply sealant adhesive to all joints, as well as normal jointing render and tape. I used Parfix and kept it flat so there was plenty of room for the tape and jointing compound to be applied later. I used the sealant to cover screw recesses as well. I was also advised to leave the tops of windows and doors unsealed..easier said than done!
How to render: jointing compound
Flush jointing blueboard is relatively easy with pre-made joint render, as its perfectly mixed and about $35 for 4 litres. The blueboard joint tape must be the blue fibreglass tape, which has a little adhesive quality to it and is quite strong.
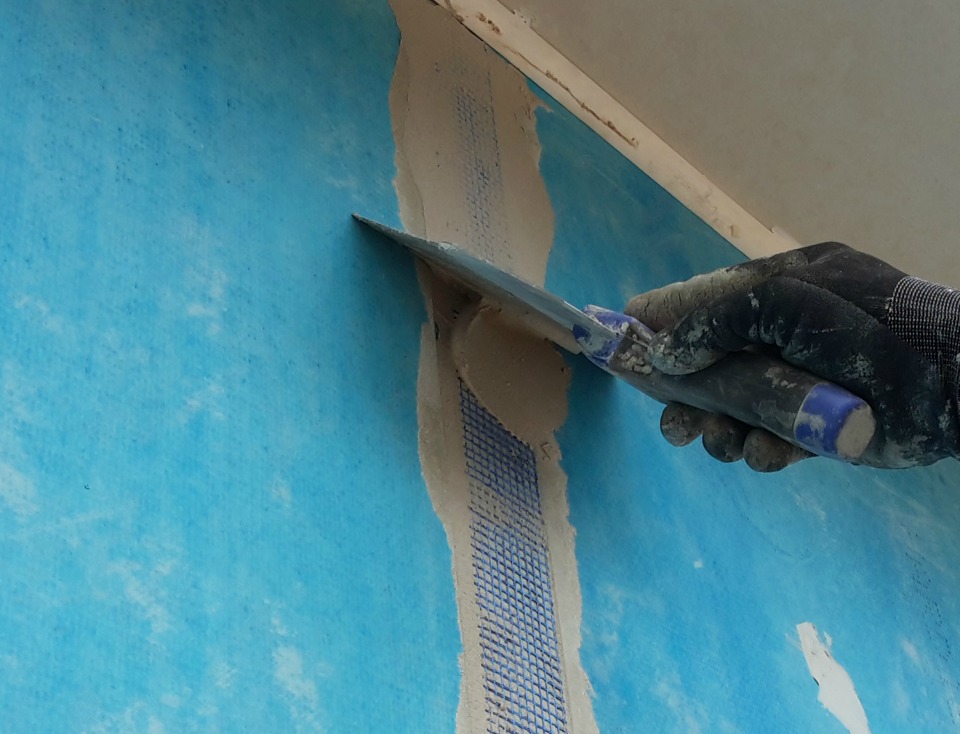
I’m no jointing or rendering expert so go to the web tech sites for application details from the pros, but here’s how I did it. I used a large float and a rendering hawk to apply a light strip of joint render along the recessed blueboard joins before adding the joint tape.
I had cut the tape beforehand and stuck it next to the vertical blueboard join ready to grab. I placed the tape on the highest point and held it there with the float, then pressed it into the wet render down the recess. I then applied a further coat to cover the tape and fill the recess. That was it. Jointing done. I installed the corner strips and did some screw and eave infill gapping, then it was time to render.
Like I said, I’m no renderer, and honestly, have never done it. That’s what I like about owner building: getting to try building tasks that look challenging and not having to pay for it. My trick was learning how to render in a place on the building not on show: the east side wall, opposite to the road frontage. My other trick was getting trade secrets from each tradie that came to the property, from the hardware, and most importantly, from YouTube.
How to make render
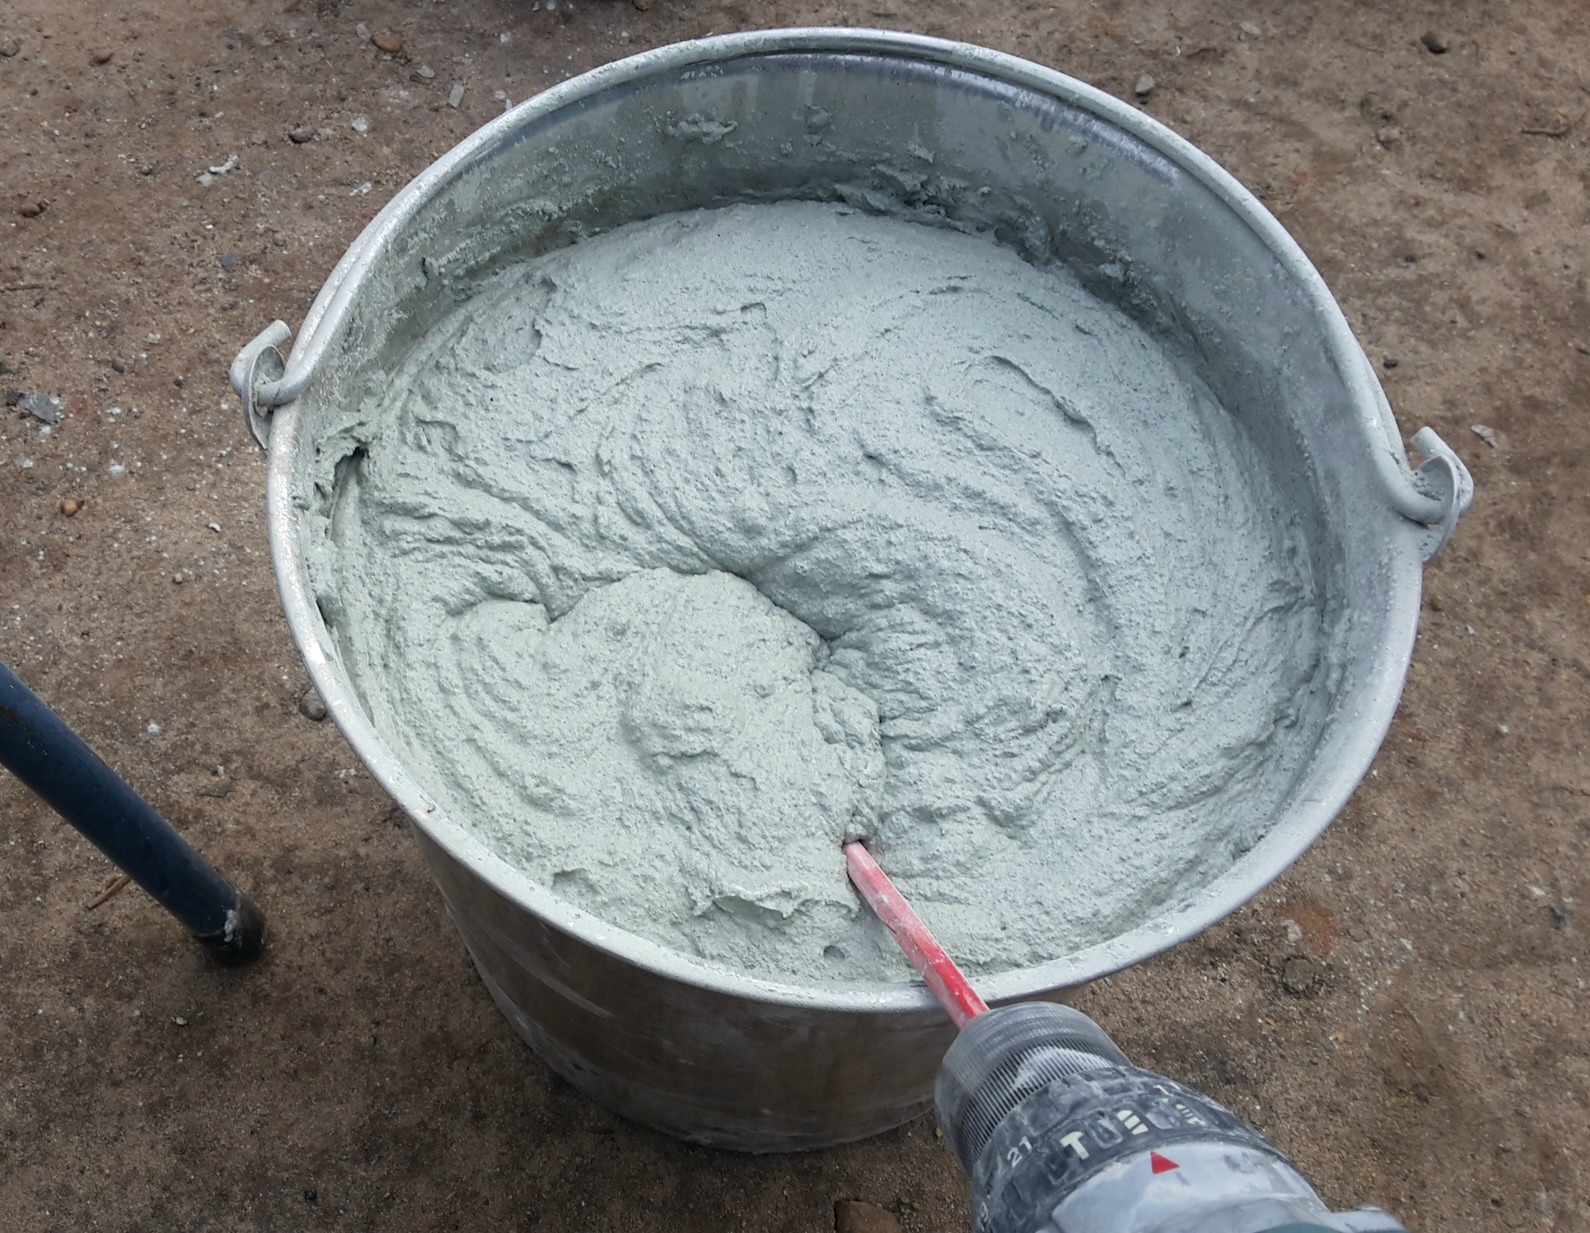
I used Dunlop brand render and they had some good videos on youtube that helped me. I used a big steel bucket to mix the render that came in 20kg bags. Water first, then slowly adding the powder. I used a large paint drill mixer to get it all combined. I eventually came to the realisation that gauging the correct mixture came down to how long the mixture took to fall off the mixer. If it fell off immediately it was too thin. If it hung for a second before falling, then it was good. If it didn’t fall off it needed more water.
How to render: application
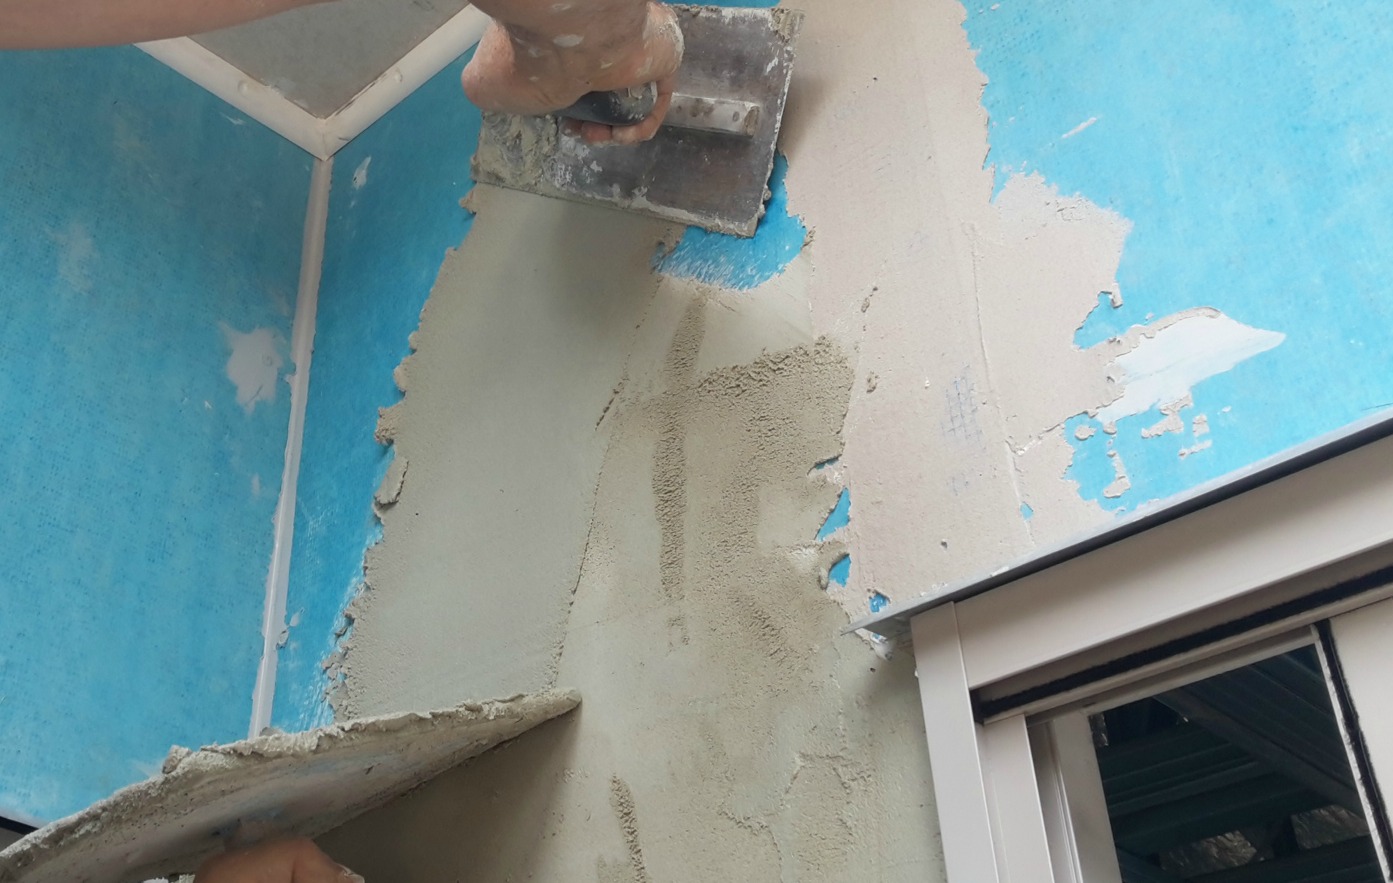
It took many attempts to find a consistent way of applying this product as it was rather difficult to master. I had lots of different types of application tools, but a steel float and another ‘assistant’ applicator to hold and manipulate the mixture, like a hawk, was needed. I made my own hawk with a piece of dowel and a blueboard offcut, but you can spend the 50 bucks for a custom made one if you like.
Lots of techniques were trialled on the beta wall that day and although a lot of the render fell to the ground, by the end I had a good application system going. Floating the render vertically (low to high) and finishing in an arc to the right, was the way the pros seemed to do it, and that seemed to work for me too. Final horizontal floats to even the thickness gave the finish required. Continually cleaning the float on the hawk edge was essential to stop leaving older drier lumps as I smoothed it flat. After every bucket I washed all my implements and the bucket.
Again, watch youtube videos or try the Dunlop page for more info on how to render a house.. After it dried a bit: no longer than 20 minutes, I used my steel float to give it a shave and a big plastic float with a rough base to sand off the high points. You can brush it or sponge it for different effects. As my rendering was not exactly professional, I decided to use textured paint as a final cladding render finisher instead of a coat of finer render.
Go to my blueboard cladding page
Or go back to Exterior Wall Cladding
or go back to kithomebasics home page
