Installing Kitchen Cabinets
from a flat pack

When you are installing kitchen cabinets from a flatpack, unpack all the components and lay the parts around your kitchen wall in their carcass 'units', and also sort out the hardware required for each unit.
The
parts are clearly labeled and the supplied hardware sheet outlines the
location of the hardware.There are many types of fasteners so collect the drill bits required as well. A good quality cordless clutch drill is essential.
10 Steps to installation
1. Assemble carcasses
2. Attach legs
3. Position carcasses
4. Determine levels and heights needed
5. Secure carcasses to studs
6. Install fascias
7. Install bench-tops
8. Install kick-boards
9. Install the doors
10.Apply screw covers
Installing kitchen cabinets: how to
I started with the corner kitchen cabinet carcass (a lot of C's in that sentence). At this stage it was important to line it up as square as the house will allow. Using very long straight edges, laser leveling devices or string lines will assist here. That is, you may have to compromise, shave off an edge, or check-in the carcass into the wall to allow it to point in the direction you wish.
 |
 |
 |
 |
Use a table with a soft blanket on it to assemble the carcasses at a comfortable height. The assembly instructions will give a blow by blow on the steps so read them carefully. You are basically building a 4 sided box (no top or front) that has been pre-drilled.
The secret here is getting each board to face the right way as rear edges have no pvc edging. Starting with a standard two door cabinet, lay the base board on the table and stand the rear board up behind it and line up the pre-drilled holes, and using the 50mm (2ins) screws, drive them in with a clutched cordless drill.
Next add the sides, then the shelf, then the small false front board and you have your first carcass. Once you have done one the rest are easy. Corner kitchen cabinets are assembled in the same way.


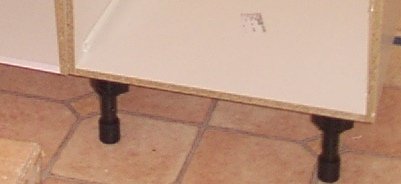
As long as the cabinet is on the table, you may as well install the legs. They are fully adjustable and need to be placed a certain distance back beyond the kicks so check your instructions. Extend the legs to a standard length on all cabinets for a base line when leveling. The hinge receivers can also be installed in the pre-drilled holes.
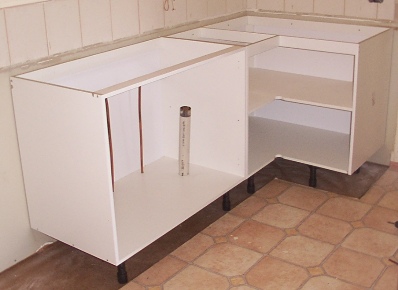
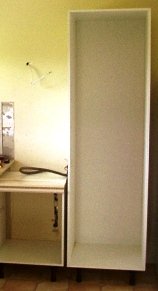
Now assemble the rest of the carcasses and the pantry, which is a challenge unless you have a helper. Place the kitchen cabinets around the wall in position firstly check the square of the wall corners. You will see now why squaring the internal frames to the external ones was a good idea. If there is any variation, make up shims to help position the cabinets.
Now
determine the height at which you want the benchtop to be. Most are
between 850mm and 1050mm with 900mm (36ins) being the standard. This
will be pre-determined by the height of your kickboard (standard about
150mm/6ins) plus the height of the cabinet 720mm (28ins) plus the
thickness of the benchtop. If the floor is uneven, find the lowest point
and mark your levels from there. Your only option here is to shave the
kicks back to fit. Don't worry, that's what the pros do as well.
Mark a level line on the wall to set your carcasses against when installing. Secure the cabinets to the stud wall starting with corner cabinets, adjust the legs to achieve your level. Secure them together as well through the pre-drilled holes using the smaller screws. Keep checking your marked level. If you have high cabinets, it may be easier to install them first.
Installing Kitchen Cabinets: sink carcass
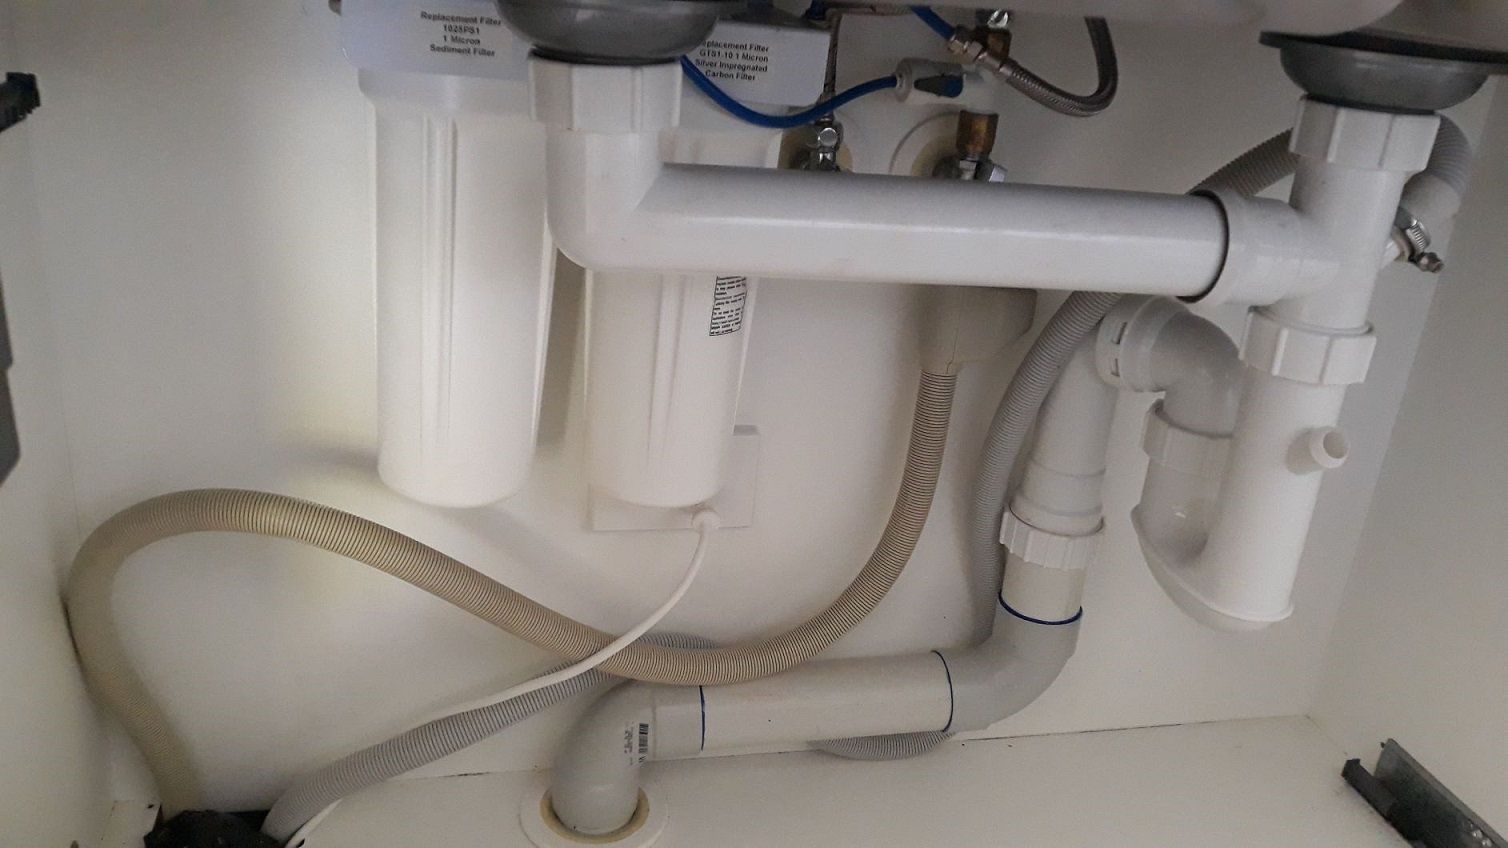
Kitchen sink cabinets are the more involved installation processes of the flat pack kitchen. Firstly, the previous rough-in plumbing will have a vertical pipe coming either out of the floor or out of the wall to connect the sink drain plumbing to the drain trap. Also the hot and cold water copper pipes will be entering close by.
 |
 |
The kitchen sink cabinet is assembled and the drain pipe and water pipe entries carefully measured and holes cut for them with a hole saw drill bit.
With a helping hand, carefully place the carcass over the pipes and set it down for anchoring to the wall and the adjacent cabinet. After settling the carcass, caulk up around the piping to inhibit pest entry and limit leaked water movement. Now the kitchen sink plumbing can be commenced.
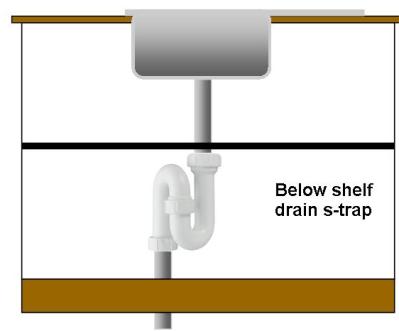
The kitchen sink drain and drain trap are assemblies that require much forethought and personally, I like the trap to be under the shelf as shown below to increase usable storage space at a higher level. Installation of these items including kitchen sink faucets can't happen until both the kitchen bench-top and sink are installed. Because of its shape, the trap retains a small amount of water after the fixture's use. This water in the trap creates a seal that prevents sewer gas from passing from the drain pipes back into the occupied space of the building. It also catches wedding rings!!! Unless you are adept at this type of work, kitchen plumbing should be carried out by a plumbing contractor.
Kitchen pantry cabinets
Constructing kitchen pantry cabinets is a little different from your normal carcass generally due to the much larger size. Best to have a raised bench to assemble it on with a good soft blanket to protect the surfaces.
Basically it is a large box that needs to be perfectly square so take your time with it. Pantry doors are often large and cumbersome and require careful hinge installation. Store the doors flat before assembly to avoid bowing.
Food pantries need plenty of strategic shelving and modern pantry organizers to make them functional. Go to your local kitchen shop, IKEA, and kitchen maker display stores for inspiration. Pantry shelving has insert supports that are adjustable in most cases.
Installing kitchen countertops
Installation of kitchen counter tops occurs after the carcasses have been leveled and connected. Levelling is carried out through raising or lowering the adjustable plastic legs on the base of the carcasses. This connection and levelling process takes some time and requires lots of vice grips and braces. The height of the kickboard needs to be considered when levelling. Squaring up corner carcusses seems to take the most time as they are the focal point of the connections. Don't forget to level laterally as well.
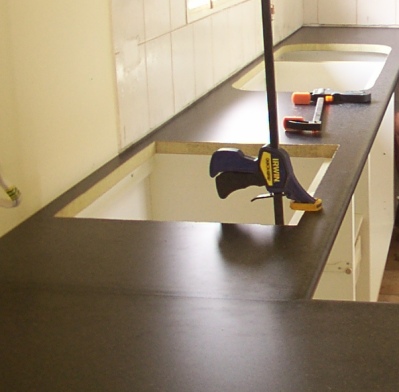
Time to fit the benchtop which in one or more pieces. Set each piece on the cabinets and determine how they will be positioned. Next step is to see how well you have leveled and straightened the carcasses. Dummy fitting the bench-top onto the carcass assembly shows where see it needs to be shaved or altered at the corners. More often than not the wall is not straight either so testing is good. Check your bench-top connectors to see how they work. There will be large pre-drilled holes at the adjacent edges where the tops join and the connectors are assembled.
Find the stove shape template and the kitchen sink template and mark them out according to your plan specifications. Bore pilot holes in the countertop and using good jigsaw with a "new" blade, cut them both out. Use a fine sharp bladed electric saw to do this so you dont chip the surface material. Have a second person there to hold the cutouts level towards the end of the cut so they don't splinter.
Lay a good bead of builders glue along the cabinet top edges and carefully set the top down. Move it around until it sits flush then wipe off excess glue. Repeat with extra benches, apply a clear silicon bead between them and clamp together as directed. Apply silicon to the exposed edges of each bench top join to inhibit water incursion. Secure adjacent benches with the supplied fasteners. Anchor with braces to insure adherence.
Installing kickboards
The next phase of installing kitchen cabinets is to fit the kick-boards. You will have to trim with a planer to fit. Install the kickboards on their securing clips to the legs of the carcasses. Again, seal all edges.
Set the hinges and handles onto the doors and snap them onto the hinge receivers previously installed in the cabinets. Adjust the hinges so the doors are straight and level.
Now cover the screw heads with the caps and stickers and you are done. Installing kitchen cabinets from flat-packs is a great fit for kit home builders, especially small kitchens, so give it a go. It will only take about three days, and you will be ready to install the rest of the kitchen.
Go back to Kitchen cabinets or
Return to Kit Home Basics homepage


