Installing kitchen splashback tiles
Large kitchen splashback tiles were the last installment to complete the kitchen design in my newly built steel kit home.
I had thought hard about the stainless steel, glass and laminate type splashbacks that looked pretty schmick on newer kitchens.
For me, I wanted a chunkier look and a more durable material that I new would be knocked and rubbed.
 Kitchen splashback tiles with decals
Tiles seemed the right choice, and for this kitchen design, 600mm x 300mm Johnson Ultra White Rectified wall tiles, which were 9.8mm thick and came in boxes of eight from Bunnings for $38. I thought I needed about 3 boxes in case I botched a tile or two but only needed two boxes in the end. The (almost) 1cm thickness was ok as my window architrave was 1.2cm thick, so theoretically, with tile glue, it should end up flush.
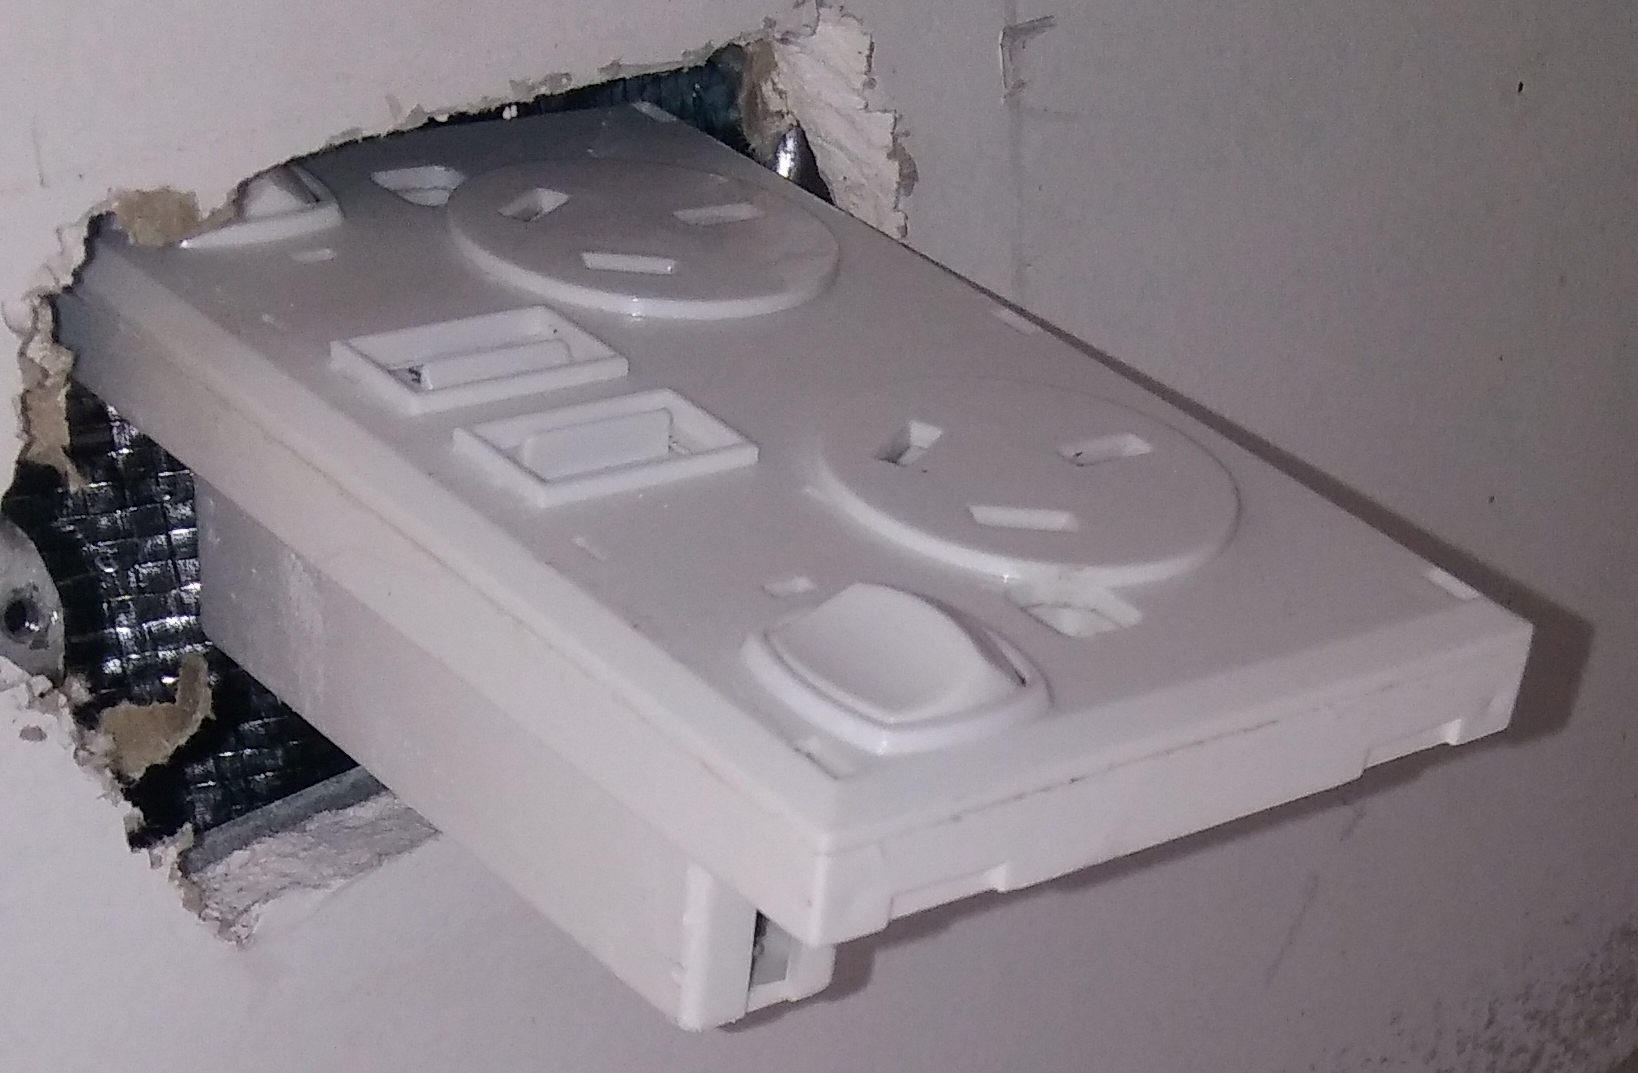
A little planning was required to see what kitchen tile cuts I needed to make, where the powerpoint holes fell and how the tiles reached and met in the corner. The first step was to unscrew the 4 powerpoints. I was advised by the sparky that I didn't need to switch off the power or even disconnect the points, as long as I was careful, as they would sit inside the hole while I did the tiling.
Hint: Make sure the powerpoint screws are long enough to reach with the added depth of the tile.
How to install a kitchen splashback tiles
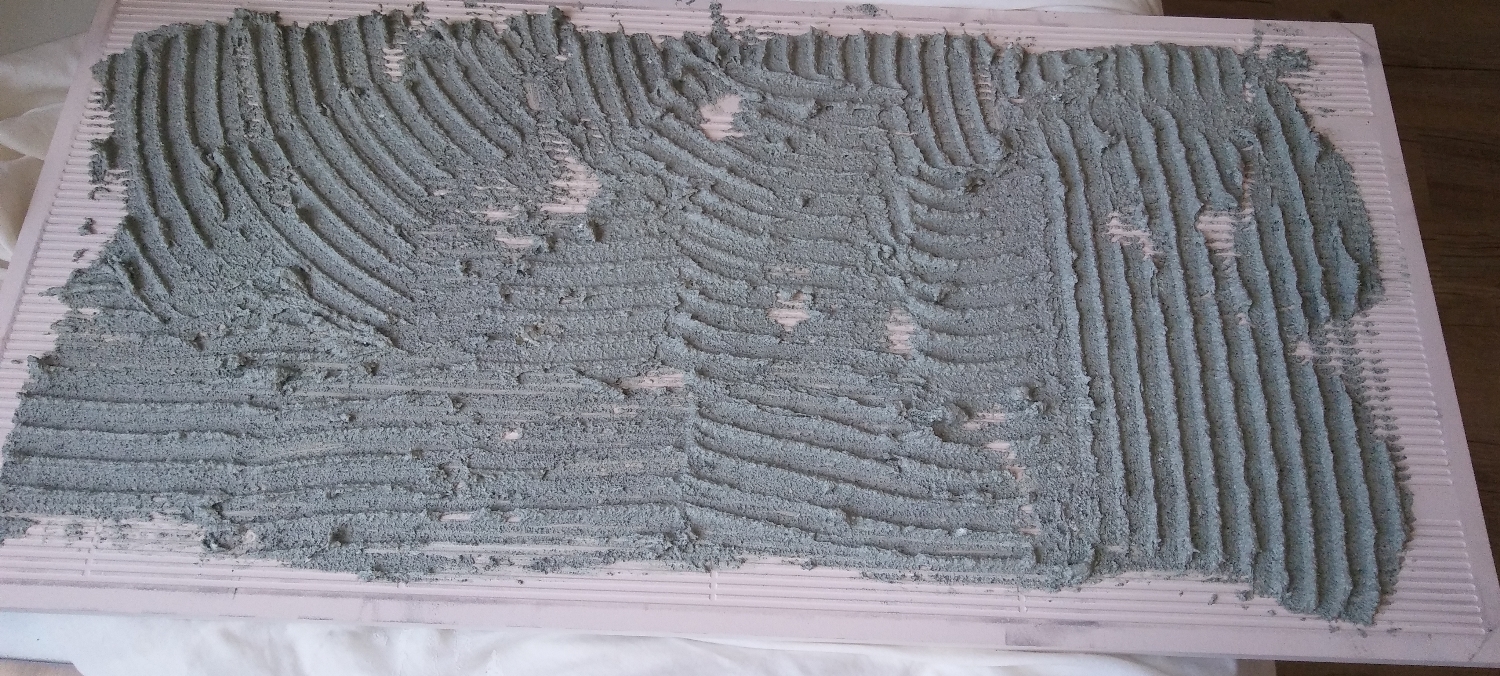
I had some tile glue powder left over and so I mixed it up ready in a sealed plastic tub. I applied tile glue to the first tile using a 3mm applicator, making sure it was evenly applied and a good 10ml from the edges. Getting that 'smack' against the wall is crucial to the gluing process. The second tile needed cutting as it butted up to the window architrave.
I had a tile cutter that could handle 400mm tiles, but not these 600mm ones.
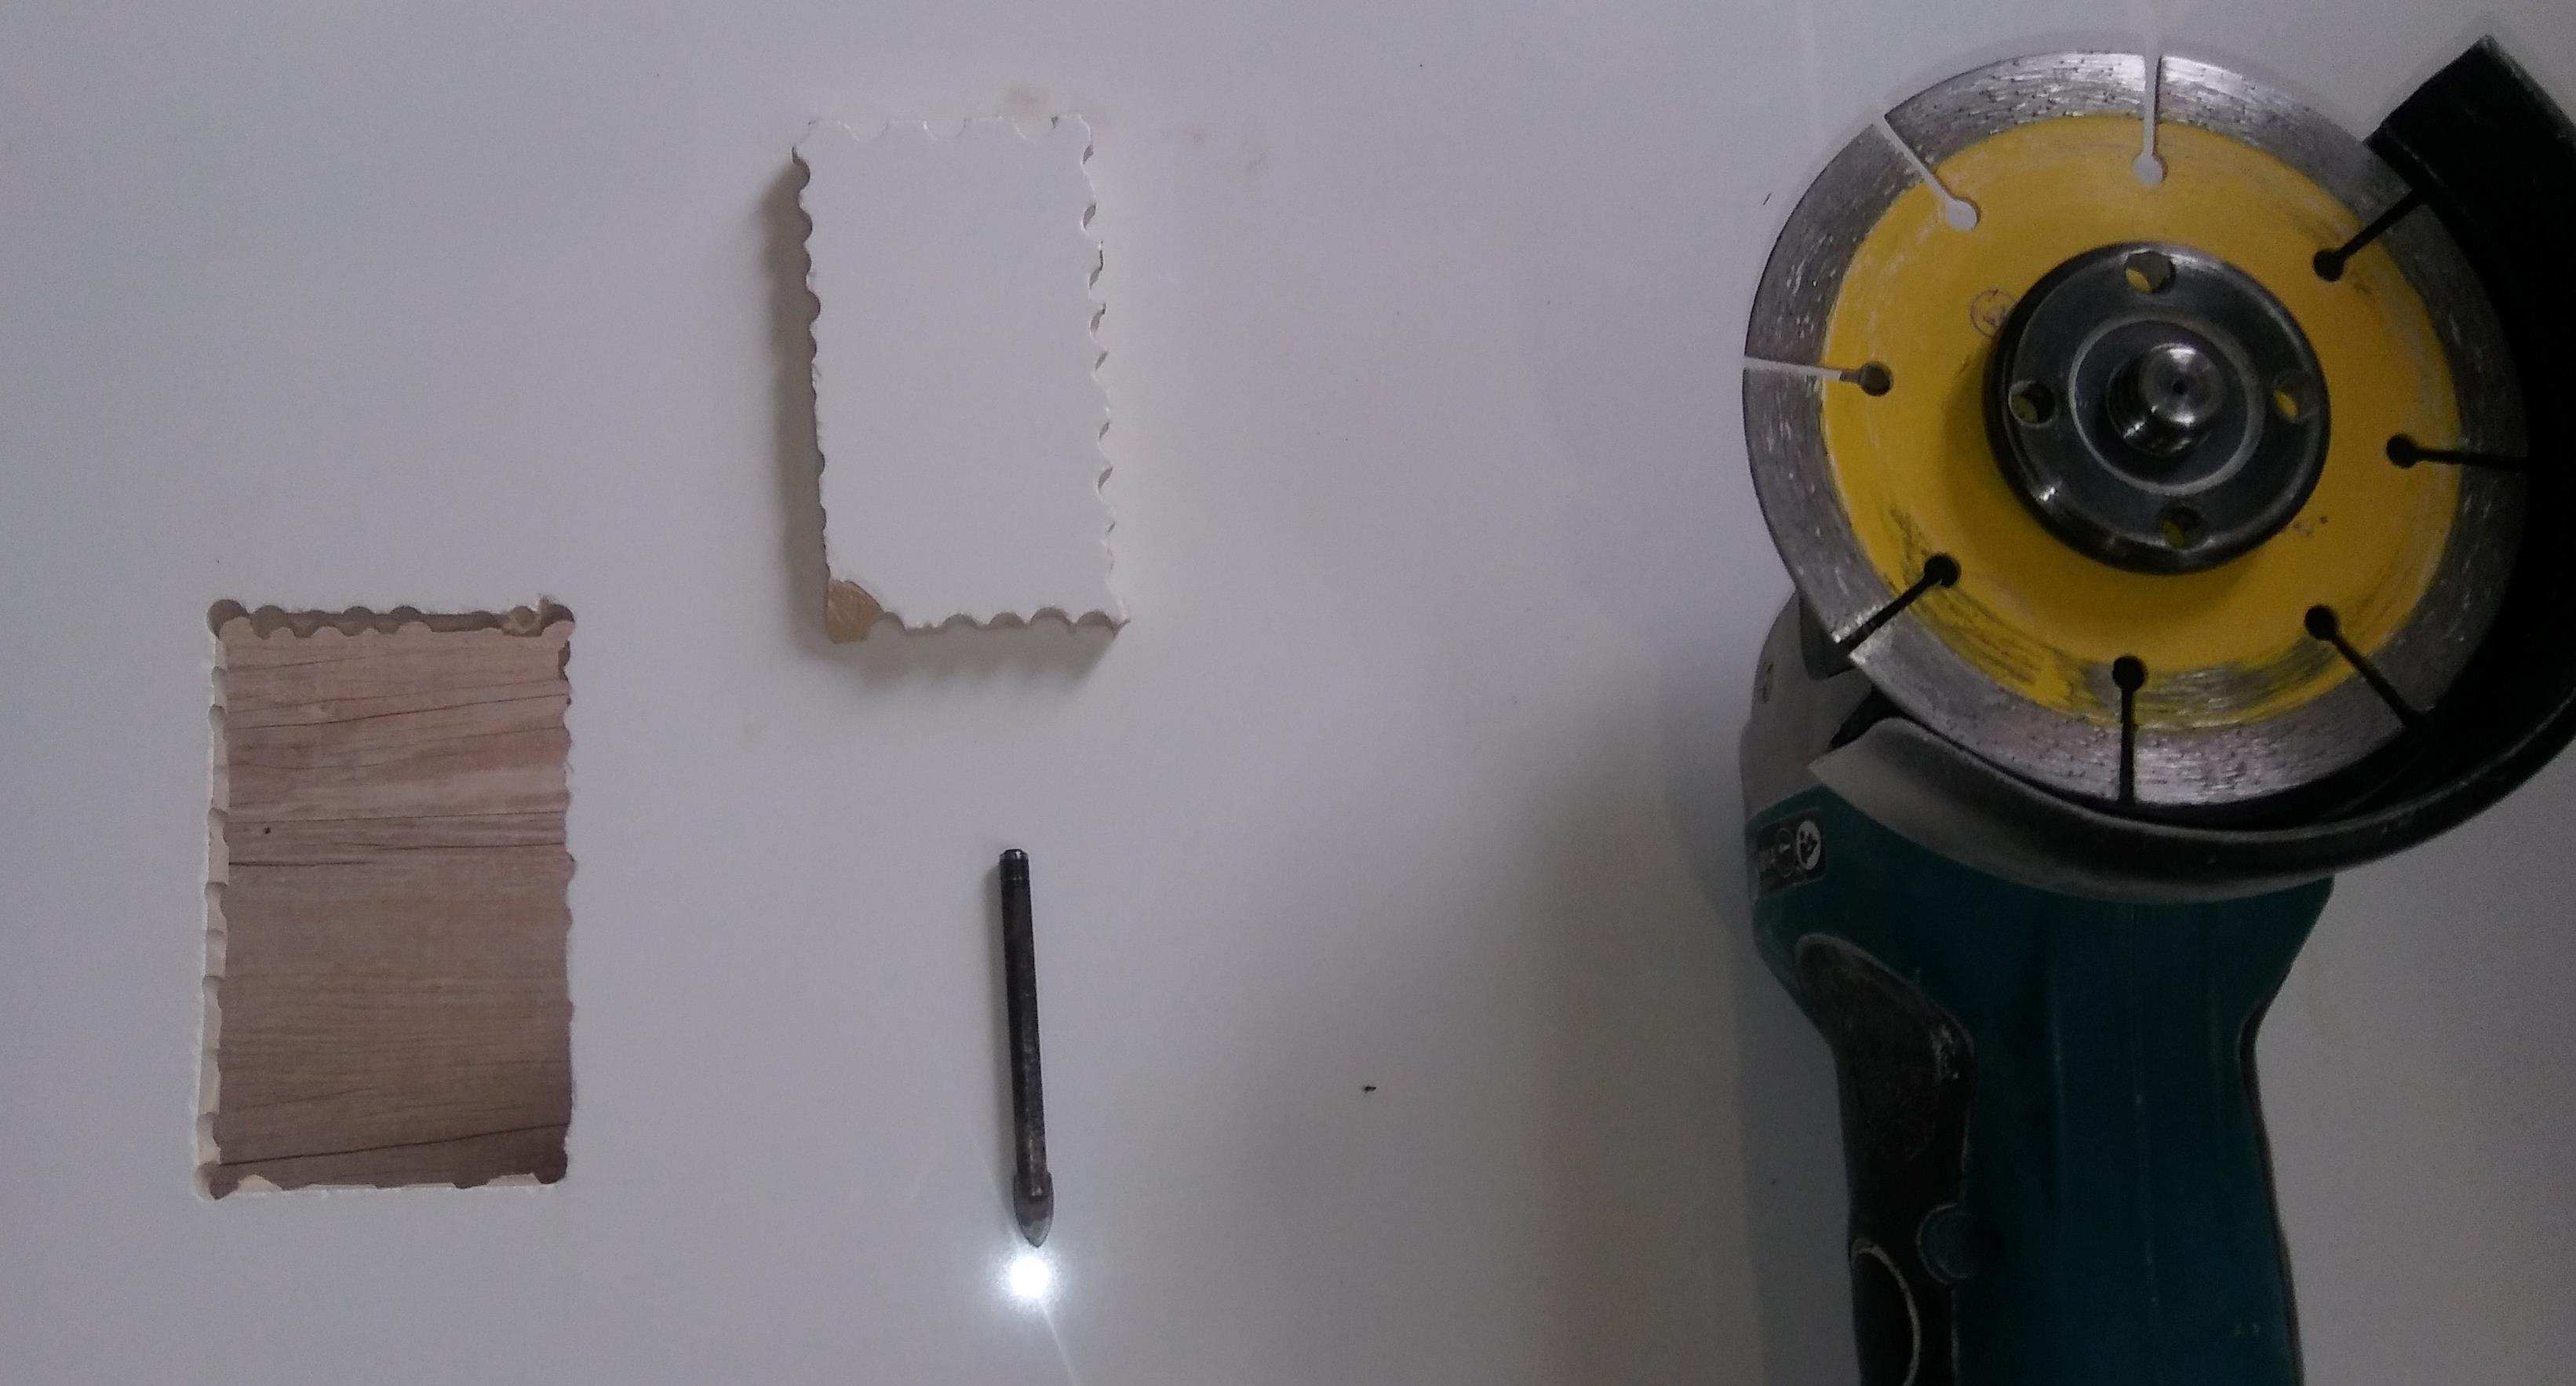
The local hire business didn't have one so I improvised with a diamond blade on my grinder and a couple of clamps holding a straight edge board over the cut line.
A few runs with the grinder down the edge and the tile was sliced.
I had four power point holes to create. To do this I needed a diamond tip tile drill, and a diamond grinder blade to make this happen, and after some meticulous measurements, I mapped a square on the tile and started drilling holes. The more holes I drilled the easier it was to finish off. I the used the grinder blade to cut the hole out and shave off the dags.
Now I could continue smacking tiles onto the wall, using 2ml spacers and some wedges to lift the base a little where necessary. Lastly, grouting large tiles was a breeze using white grout: it took about 45 minutes to complete. See my tile grouting page for more info on this.
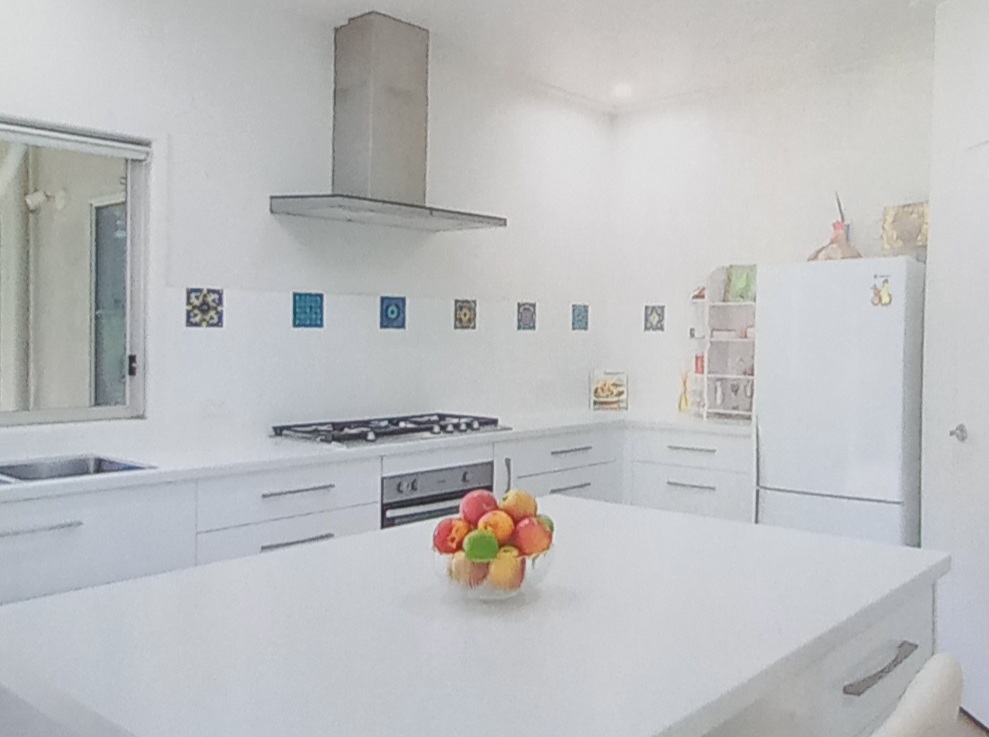
The final product was excellent and the kitchen design outcome was better than I could have hoped for. Kitchen splashback tiles need to be functional and good looking and I think this 600 x 300 kitchen tile has given me the look I wanted. My wife decided a little colour was required so a few decals were added in the end.
Return to kitchen pages
or go back to kithomebasics home page


