Termite prevention for
build it yourself house kits
Termite prevention systems are built into kit home design and inclusions. For best results, a range of techniques should be used so if one fails the next will takeover. The first step in protecting a house is to prevent termites from gaining access. This is achieved by placing a barrier under or around the house. Barriers are designed to deter termites or bring their presence out into the open and can be physical or chemical in nature.
For a raised floor system, the
prevention starts at the pier which should be a minimum 450mm long and
made of steel, concrete or layed brick.
 Termite identification
 Tunnels
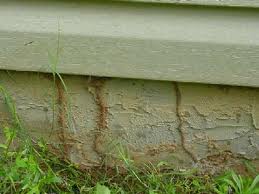
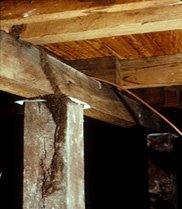 Tunnels over small termite caps
Termite prevention options
Then a good sized ant cap should be installed at the top. Bearers and joists should be pest treated if not steel, sheet flooring can also be treated as well as stud wall frames.
Concrete slabs need
completely different setups, with underslab systems such as in-soil
chemicals, compacted crushed rock, thick plastic and or treated
membranes.
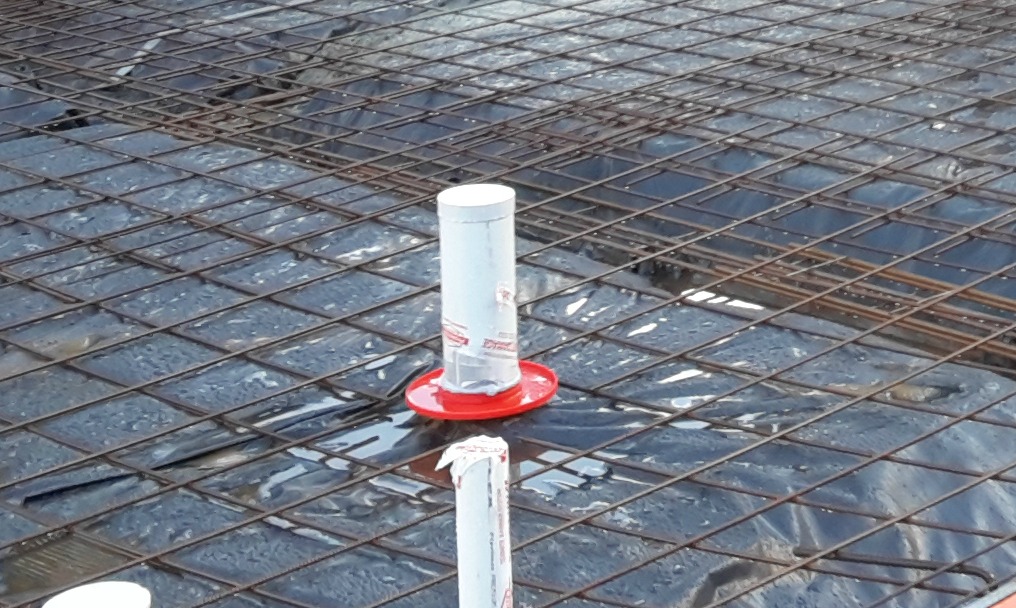
Rough in plumbing needs plastic seals to prevent incursion around drains. Termite mesh around the edge of the slab provides a visual aid to termite movement.
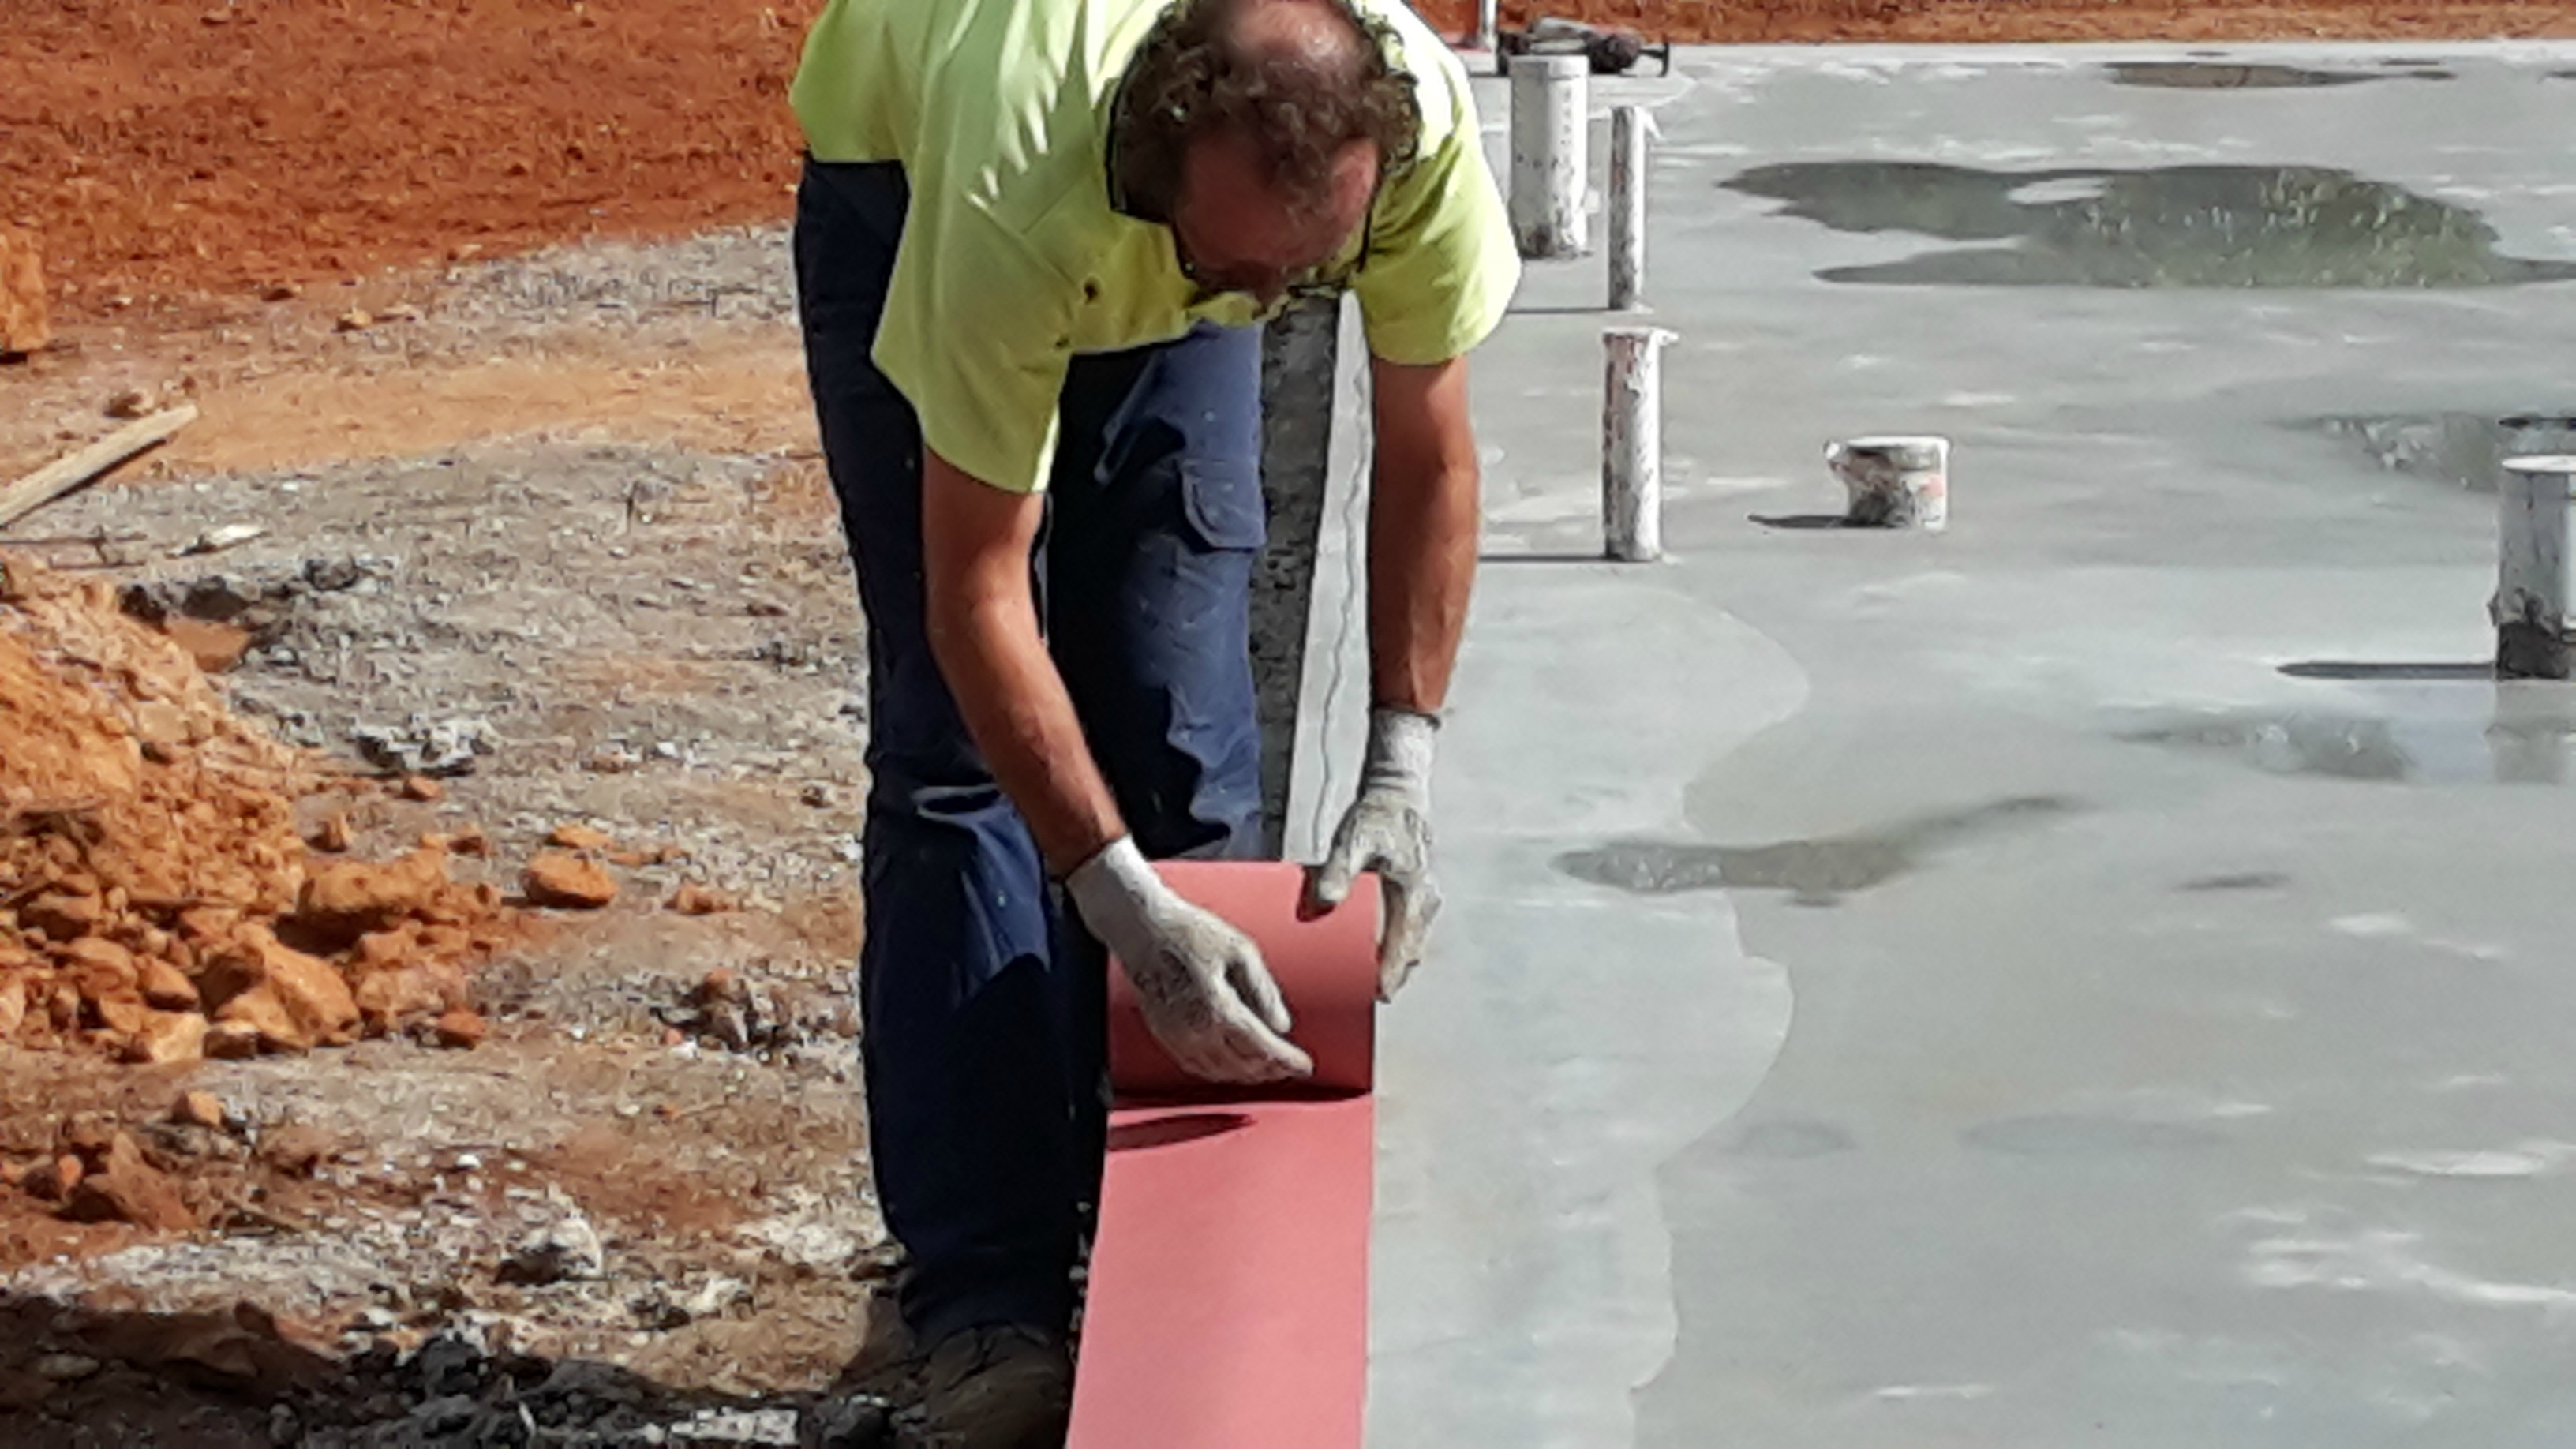
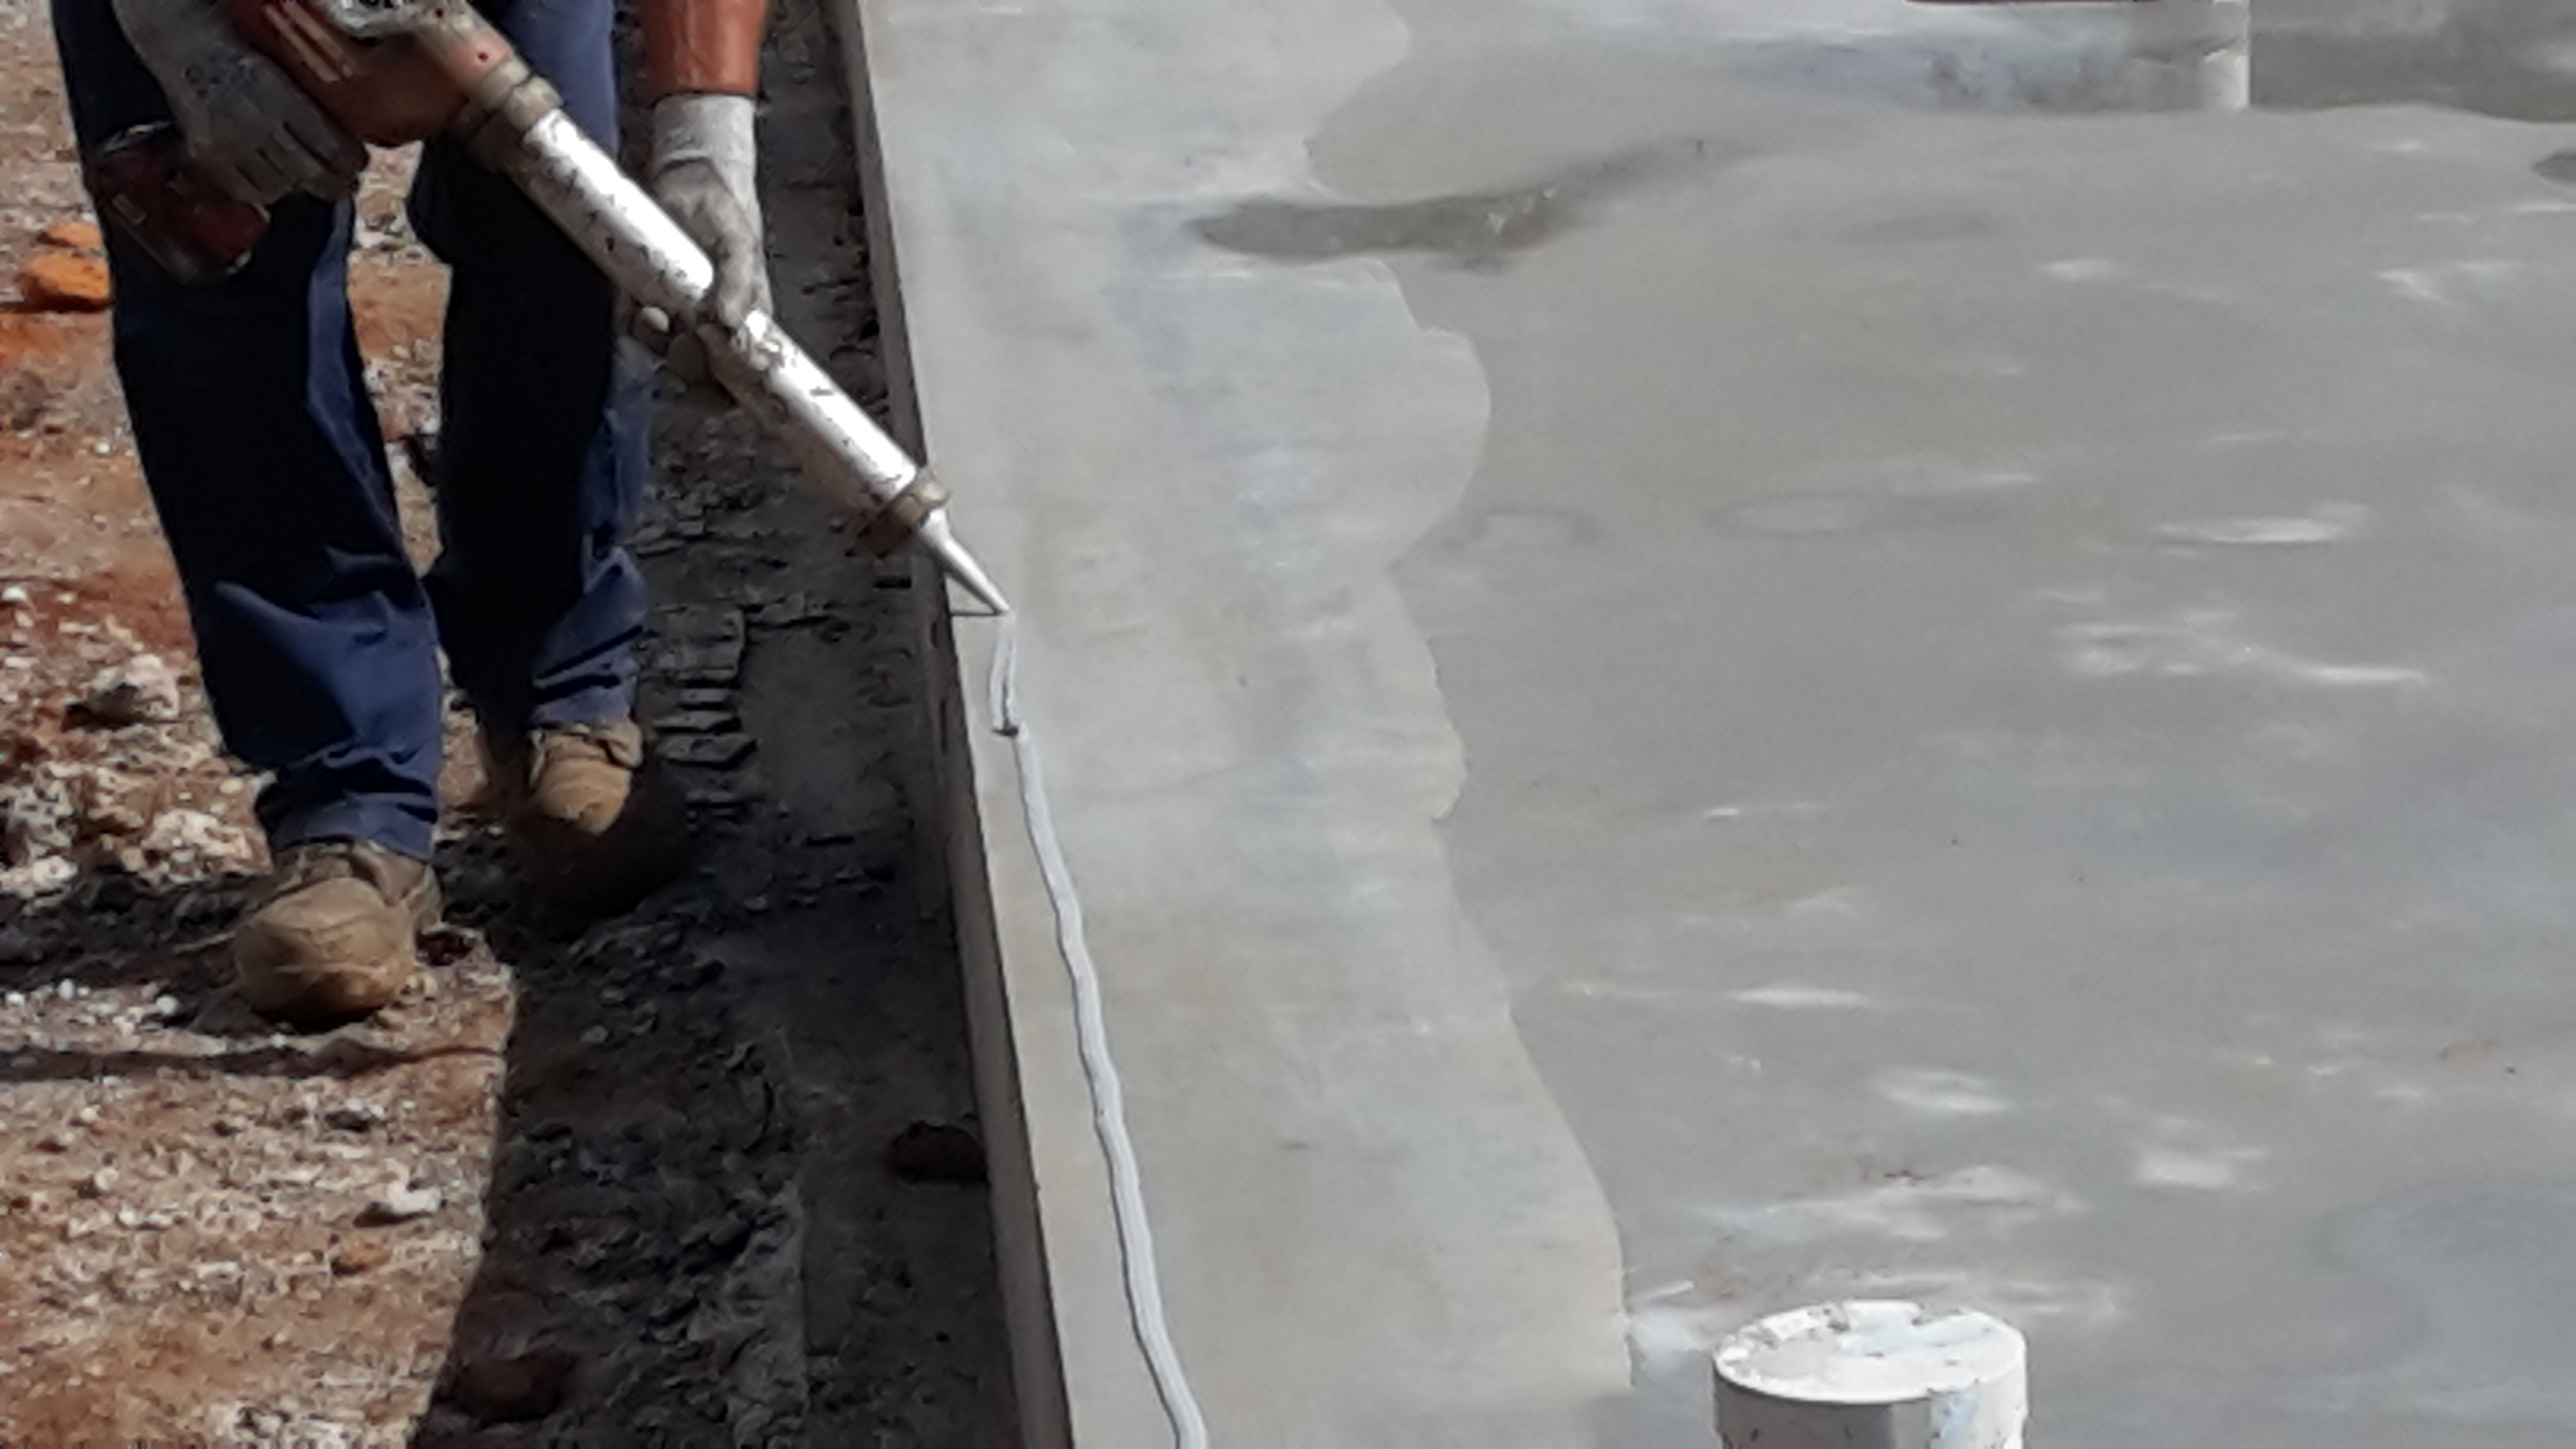 Termite barrier glue application
On the top edges of concrete slabs, termite prevention glue underneath a rolled on termite membrane is required.
Termite identification
The
second part of prevention is keeping termite food away from the house,
including all wood heaps, stumps and trees. The third part is regular
checking under and or around the house for termite movement. To do this
you must have termite identification knowledge. So what do termites look
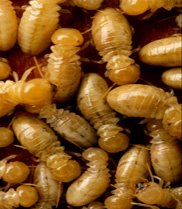
like? Look at the pictures of termites and their shelter tubes on this page.
Go to my Foundations pages for more on termite preventative measures or go back to Setting Out
Return to Kit Home Basics home page
