Timber Retaining Wall Construction
This is Part 3 of my timber retaining wall construction project. Part one, Retaining Wall Design outlines how I excavated and prepared for the project, and the list of materials I utilised. Part 2, Building a Retaining Wall outlines the set-out, post installation and initial ag pipe and storm-water setup.
After laying the ag pipe including the pipe exit points out of the wall I began adding the drainage gravel up to the level of the top of the first rail. Once that was done I started fastening the rails to the posts.

This was so they wouldn't sink under the weight and loose their level. I used galvanised 120mm bugle screws, the ones with the hex insert that screw in flush. Best to pre-bore the post so they screw in easier and settle in flush. You'll need at least an 18 volt drill to get them in and make sure you keep two hands on the drill or risk a twisted wrist. I used two screws per rail each side.
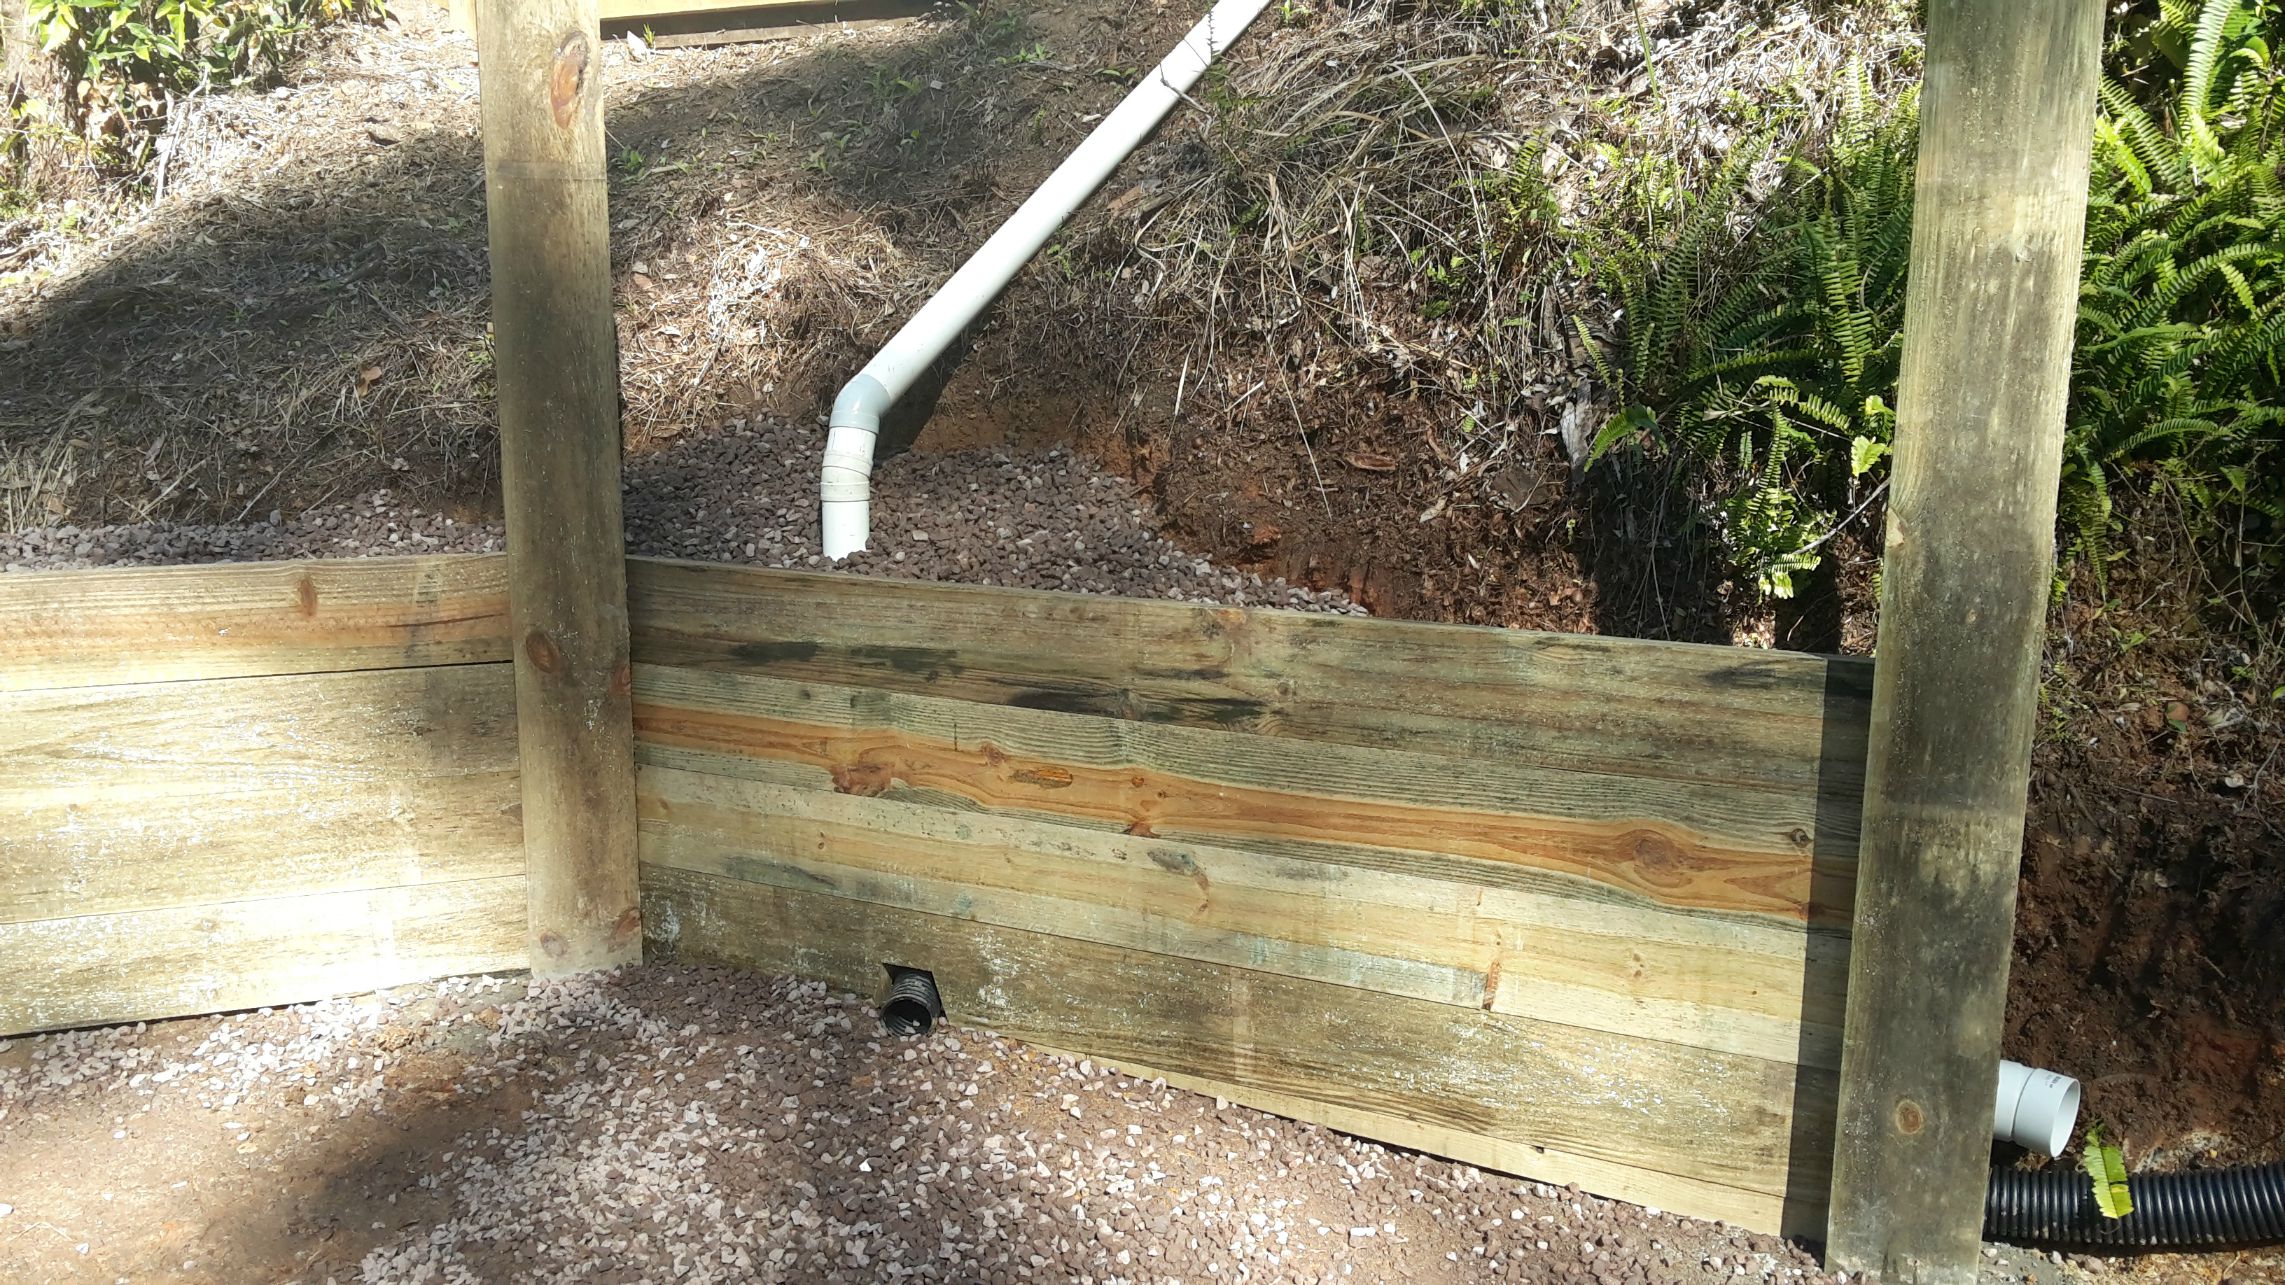

I then assembled more of my storm water pipe along the top of the gravel and used bend connectors to run it around the curved wall. Then it was a matter of laying more rails, loading them up with gravel and fastening the rails to the posts. My last second rail needed an outlet for the storm-water and by the end there was a second storm-water system that required its own outlet. In the end the outlets looked like twin car exhausts!
Tips for building timber retaining wall structures
- The more water outlets the longer the wall will last
- As the rails are stacked, add retaining wall backfill gravel as you go
- Make sure the rails remain level as some have less width
- Make sure they stay 'in line' around the wall
- Add a layer of heavy plastic behind the rails for added water protection and rail longevity.
- Fasten every rail to the post to stop them dropping as they settle
- Use a stake in the wall connected to a rod and to the post if you are unsure of the post security
Due to the amount of water leaching out of the excavated wall, my timber retaining wall construction required backfill gravel up to the top rail to aid drainage. The last rail and the top of the posts, should be edged with a planer. This aids in water dispersal from the top of the post and rail, and also giving your sleeper wall a 'dressed and finished' look.
Go back to Part 1 or Part 2 of this Retaining wall construction series. Or go back to DIY Projects page or return to Kithomebasics home page


