DIY Stairs
Outdoor platform design
DIY Stairs designs in landscaping are now a high value addition to a garden or home entrance. For my situation, I needed to build garden steps from the carport down beside the retaining wall to my newly built kit home. The challenge was the distance over which these outdoor stairs had to be built.
From the carport to the lower edge of the footpath was about 9 metres, but the fall was only 1400mm. Using 150mm risers, that was about 7 steps.
Using generous stair treads, say 400mm, 7 steps travel 2.8 metres, a long way short of the 9 metres I needed.


DIY Stairs: design
So platform stairs were my preferred option. That was, create horizontal platforms covering 1 to 2 metres then drop a step to another platform. I estimated that I needed around 6 platforms and two extra steps to get to ground level.
I used my preferred outdoor material: 200mm x 50mm x 2.4m treated H4 pine sleepers, in the construction, plus a number of angle brackets, galvanised bugle screws and fast set concrete.


As these sleepers were designated H4, they were designed to be used in-ground, so I could use them as piers as well as stair treads. Now I'd like to say I mapped this stair design out to get the exact number of platforms, step downs, and positionings, but to be honest, I winged it, as I needed to curve it around a little as well.
How to make stairs
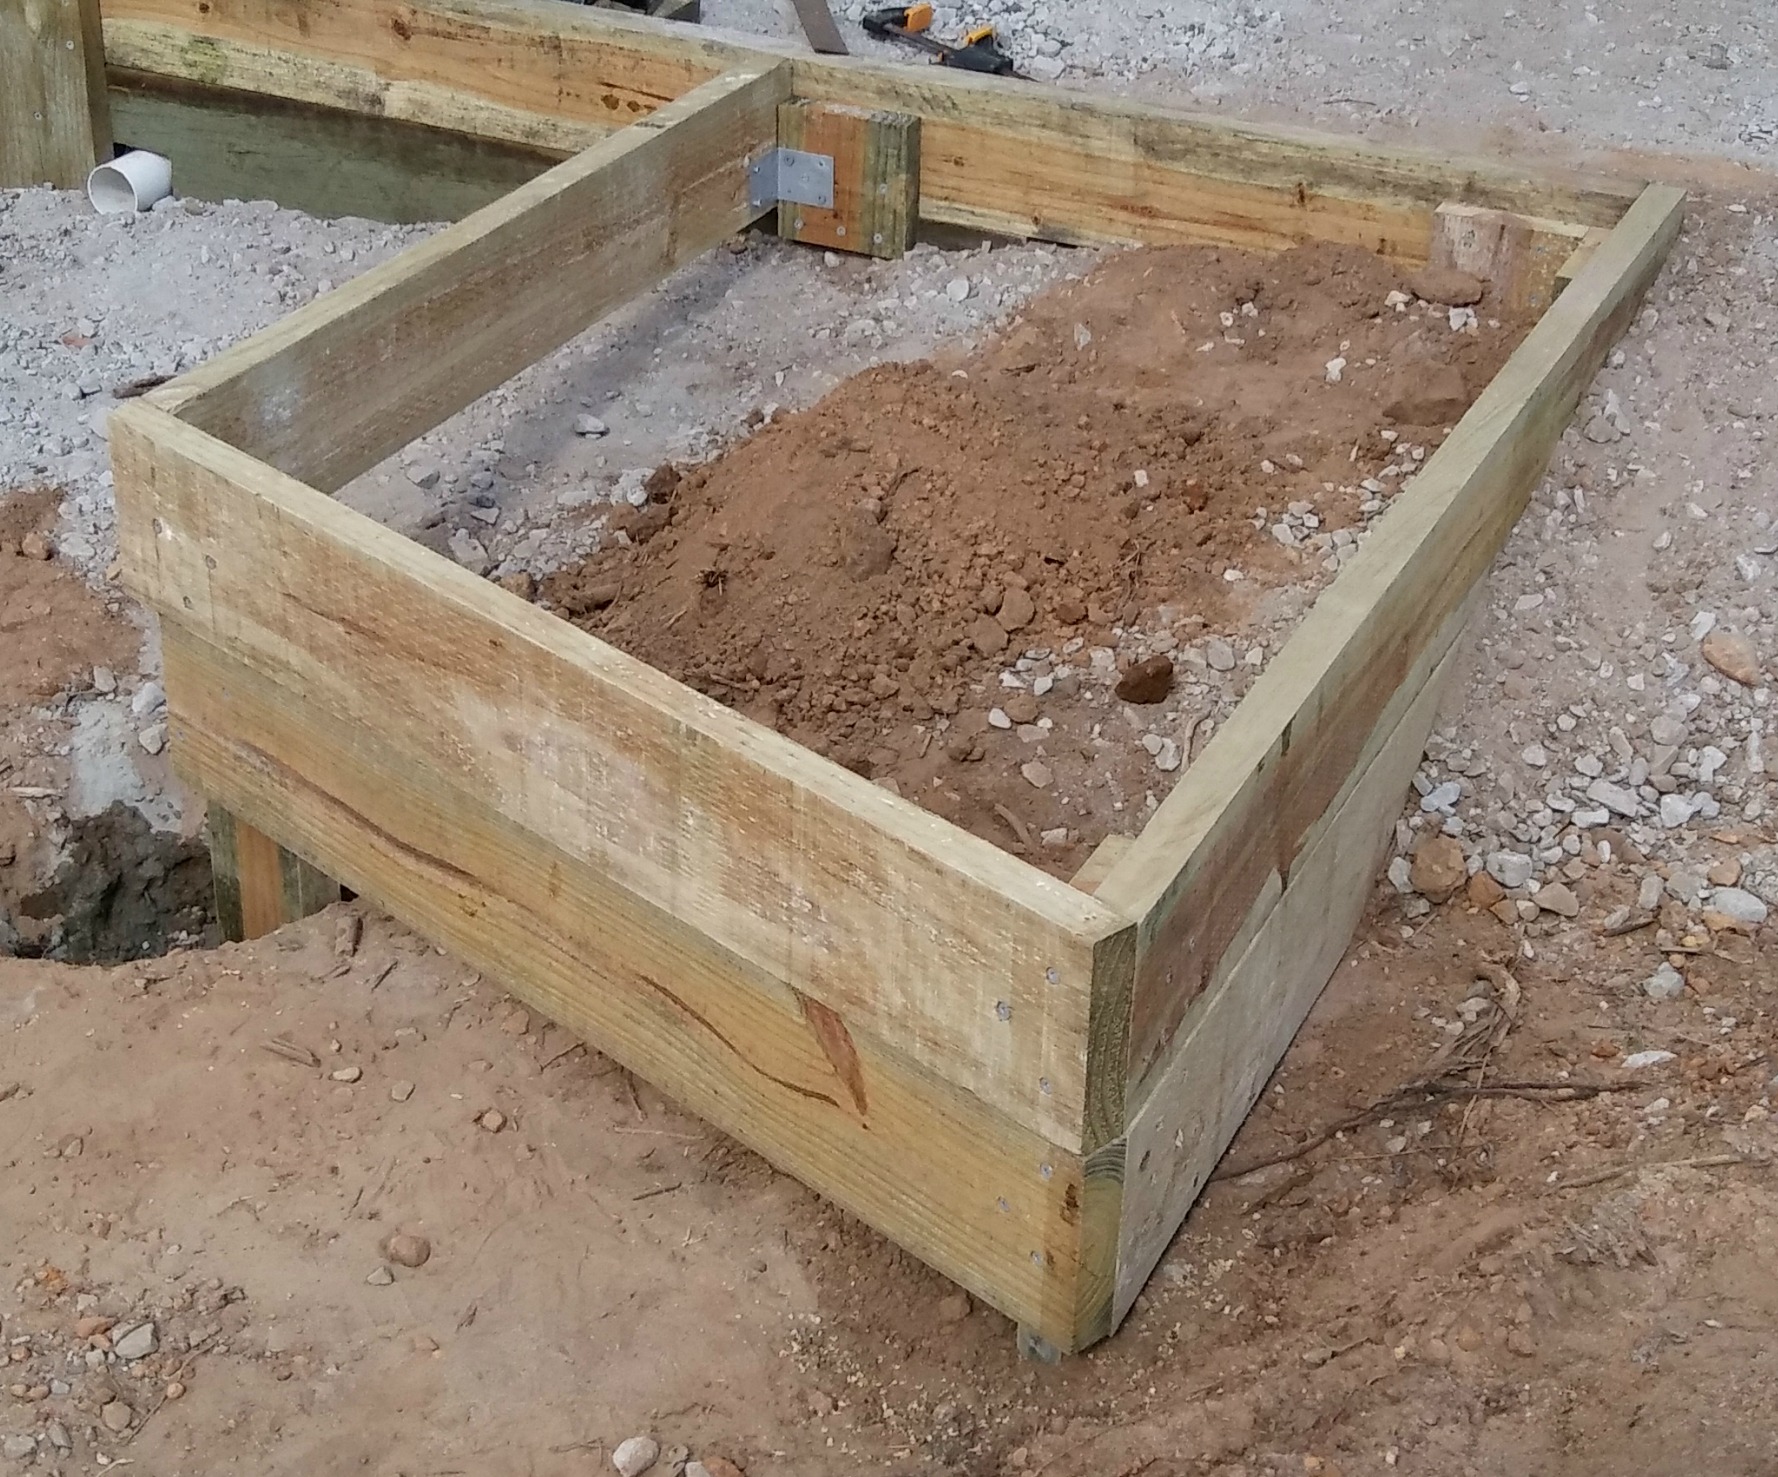
For these DIY stairs, I started at the top and built the box platform attached to the carport retaining wall. I dug 500mm holes to set the sleeper piers into and threw in a bag of fast set concrete to shore them up.
The platform ended up being about 3 sleepers high and I kept it to a width that used 1100mm step treads so I could cut 2.4m sleepers in half with little waste.
Inside the platform I attached joist rails to sit the treads on. As I installed the treads I splashed linseed oil on all connecting surfaces. I used 3 x 80mm gal bugle screws on each end of the tread in limit twisting and lifting as they dried.
The first platform was about 1.5m long and required a step in between the next platform, so I made another platform first, this one on a slight angle to start my curve.
The angle meant the last tread needed to be a triangle and needed a
front rail to support it.
After I had built the second platform of my DIY stairs, I fashioned up a step using 150mm x 50mm treated sleepers and some angle brackets. See the pics. The next platform went straight ahead, but the following two had further angles built in, more triangle tread cuts to make and a further step to build in between again. The last platform was 400mm from ground level, but instead of adding another step I raised the level of the (yet to be built) new concrete path.

As I built the platforms I made trough guides to run any water that fell through so it could escape without building up. I also planed off the edges to give a more finished look to my garden steps. Lastly a coat of linseed oil to stop the sleepers curling.

The finished product was visually appealing and functioned well as it wasn't just a long set of garden steps, and being a total of 1250mm wide it felt quite safe and didn't require stair rails. This platform stair design is now quite popular if you google it, and this would cost about $3-4000 to be professionally built. It cost me $800au in materials and took me about a week to build.
See another set of sleeper stairs I made here.
Also have a look at this sleeper retaining wall I built for inspiration.
Go back to diy projects or right back to kithomebasics home page.


