How to make stairs
with treated pine sleepers
A guide to how to make stairs was not on the net formy situation. Our outdoor wooden steps were 30 years old. The risers were made out of koppers logs: round treated pine posts, and the steps were concrete pads with slate on top. Looked quite rustic but, over the years the concrete had fallen and the logs were the step, making it very hard on the ankles.
There were about 12 steps up to the house from the carport and as this was our only access to the property, I couldn't demolish them. So I decided to build 'over' them. The stringer posts were above ground, secured well and not rotting anywhere so they would continue to provide the support required for the new setup.

The easiest way to do this, in my opinion, was to build new wooden steps with treated pine sleepers. I would use galvanised angle brackets screwed into the existing log stringers, make supports on them, cut new risers, and screw down the sleeper treads onto the risers and supports.
How to make stairs: Materials
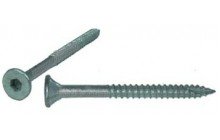 Bugle head gal screws
- CCA Treated pine sleeper H4 250mm x 50mm x 2.4m (lots of them)
- CCA Treated pine timber 150mm x 35mm x 4.8m (about 5)
- CCA Treated pine timber 50mm x 35mm x 4.8m (2)
- Various heavy duty galvanised angle brackets
- Bugle head galvanised batten screws
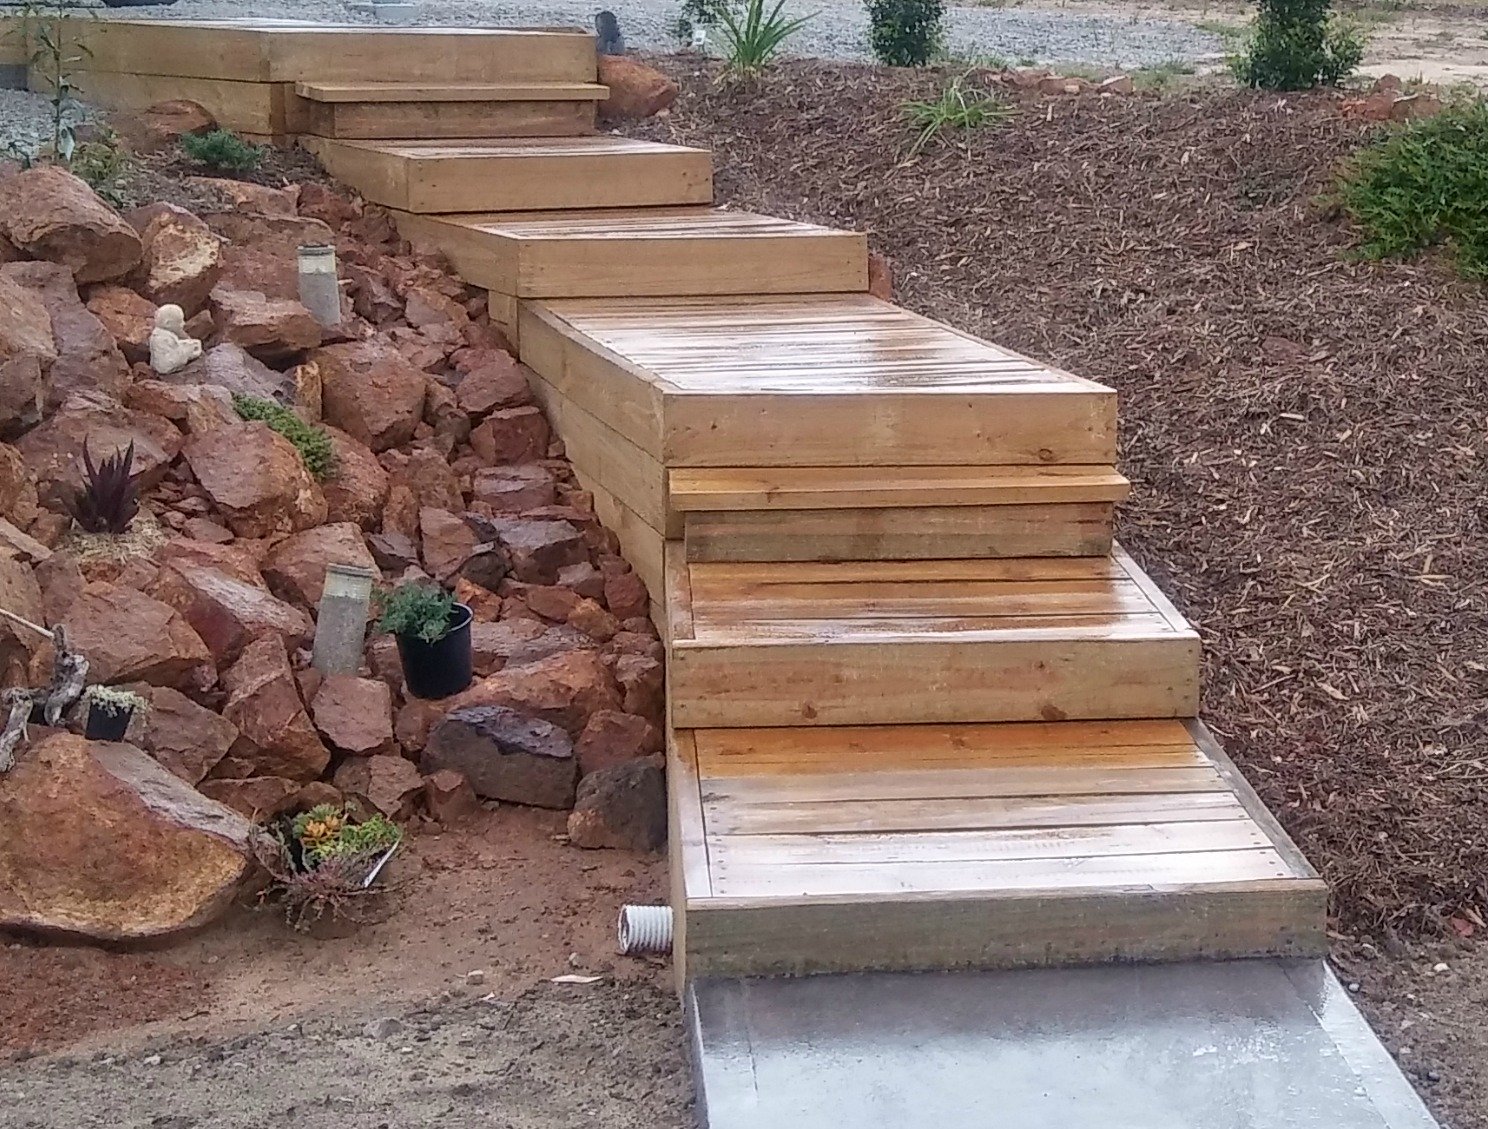
As in most of life, the first step was the most difficult. I had to consider drainage, height, extra width as it was a two way entry, how to secure it to the existing step stringers etc. Once I nutted it out I got stuck in, making sure water could get around and away, and keeping it as neat as possible. I chamfered all exposed edges with my planer to limit edge splitting and help 'dress' the structure.

As you can see the bugle head screws counter sink well into the sleeper wood for a good secure finish. It pays to do a pilot hole to add screwing in and make sure you use an 18 volt or better drill. I added 'ag' pipe underneath with gravel to make sure it didn't have standing water slowly rotting from beneath. I sunk some treated pine posts into the ground and concreted them to secure the initial risers.
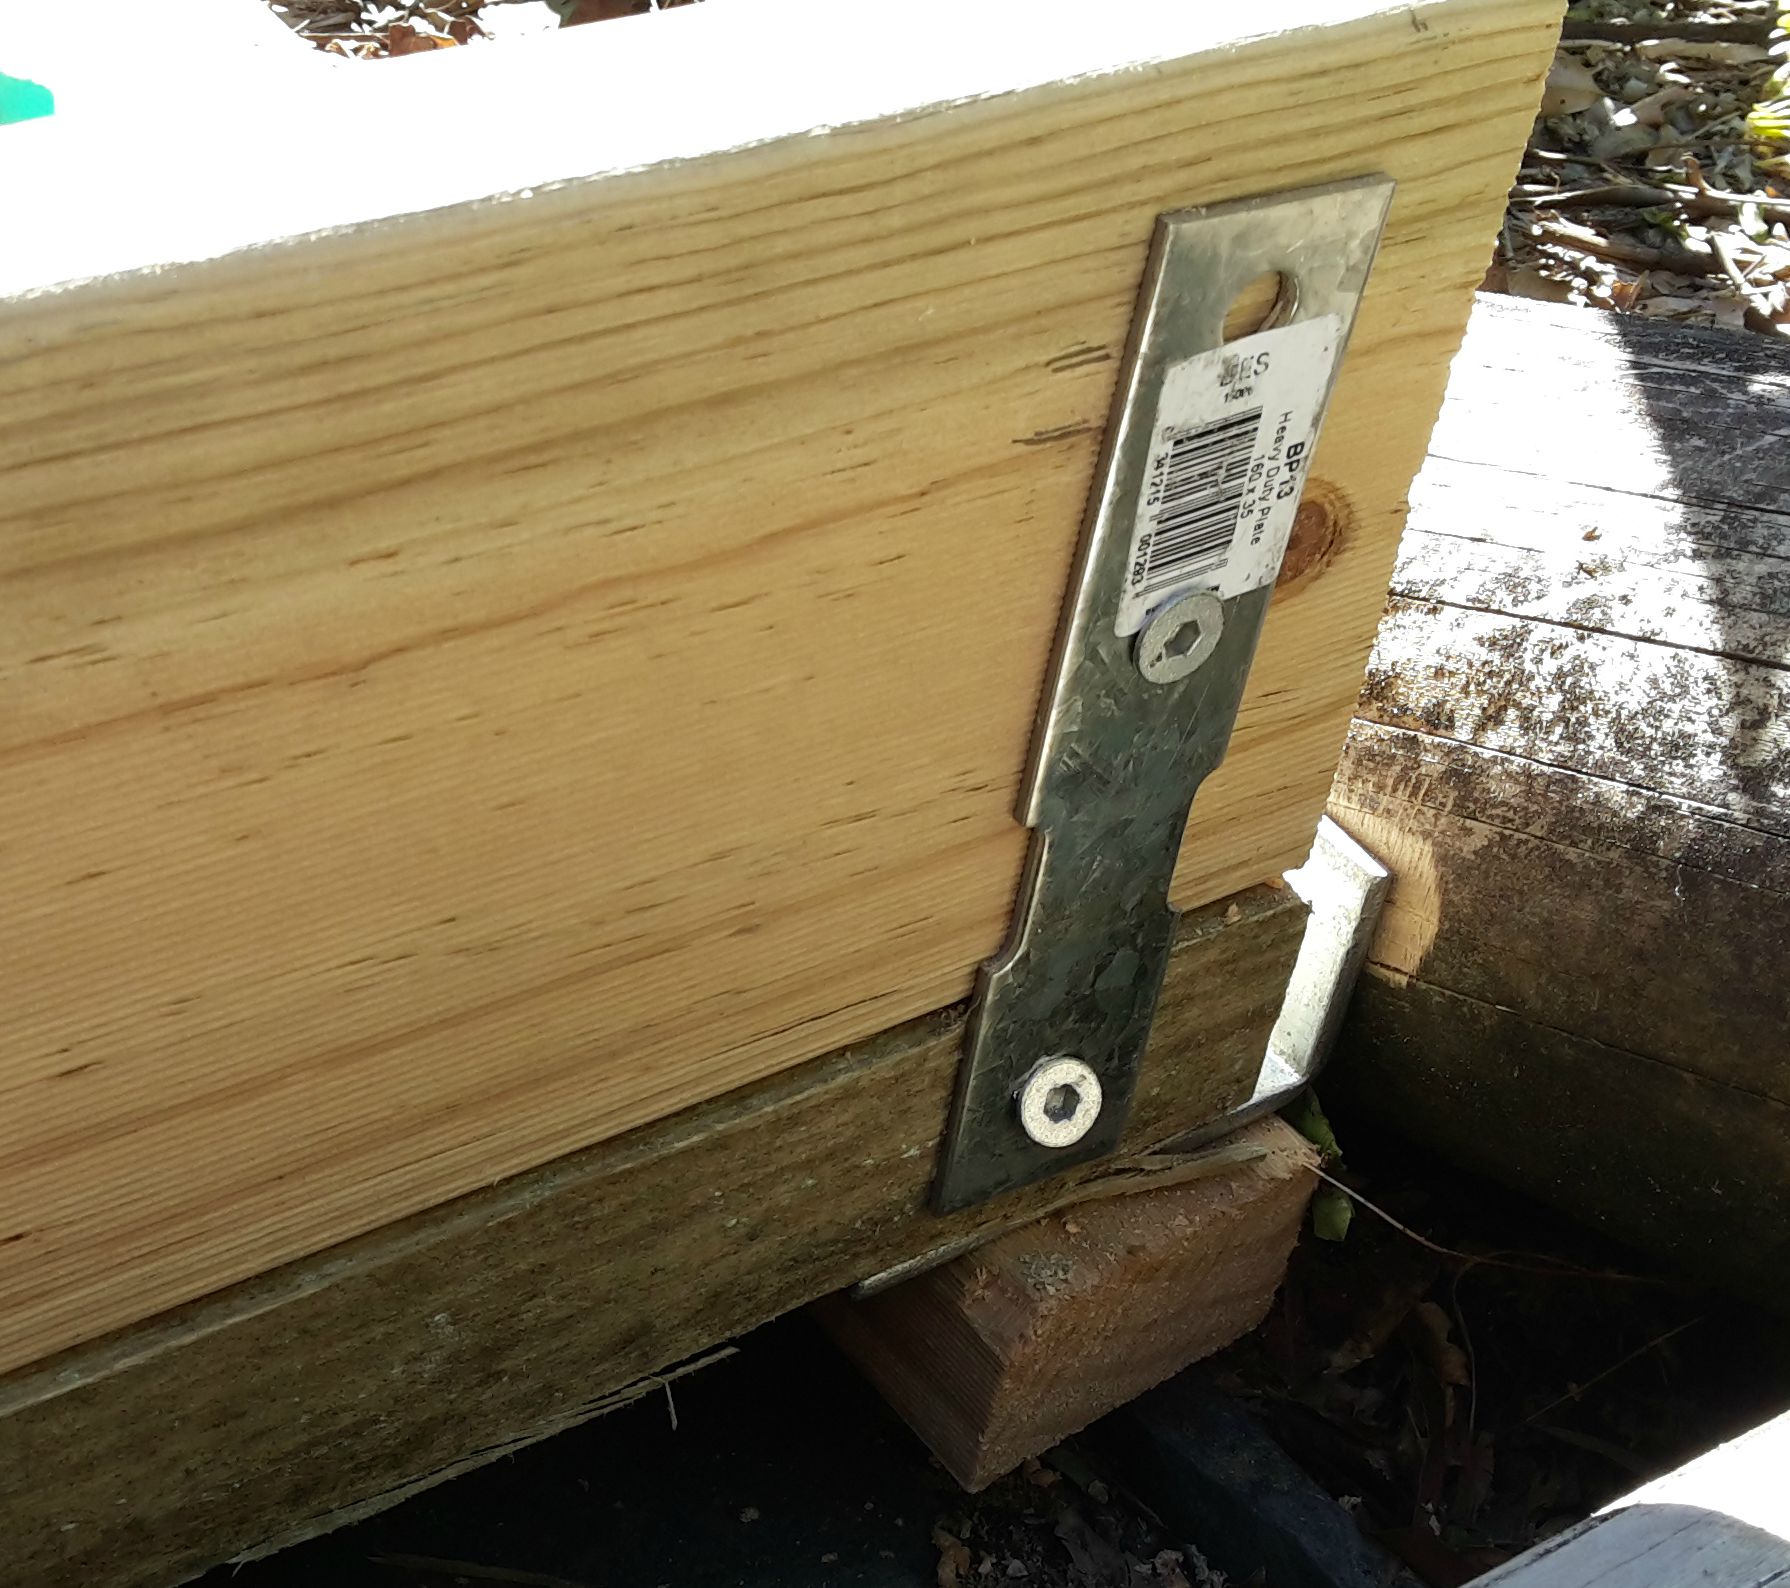
 Gal angle bracket
I used these galvanised angle brackets as the secure points varied considerably as the structure rose upwards. This allowed me to spin them around or use longer ones to get the supported seated correctly. If your stringers are uniform I'd advise regular galvanised stringer supports. Mine were anything but uniform.
 Riser installation on step tread support
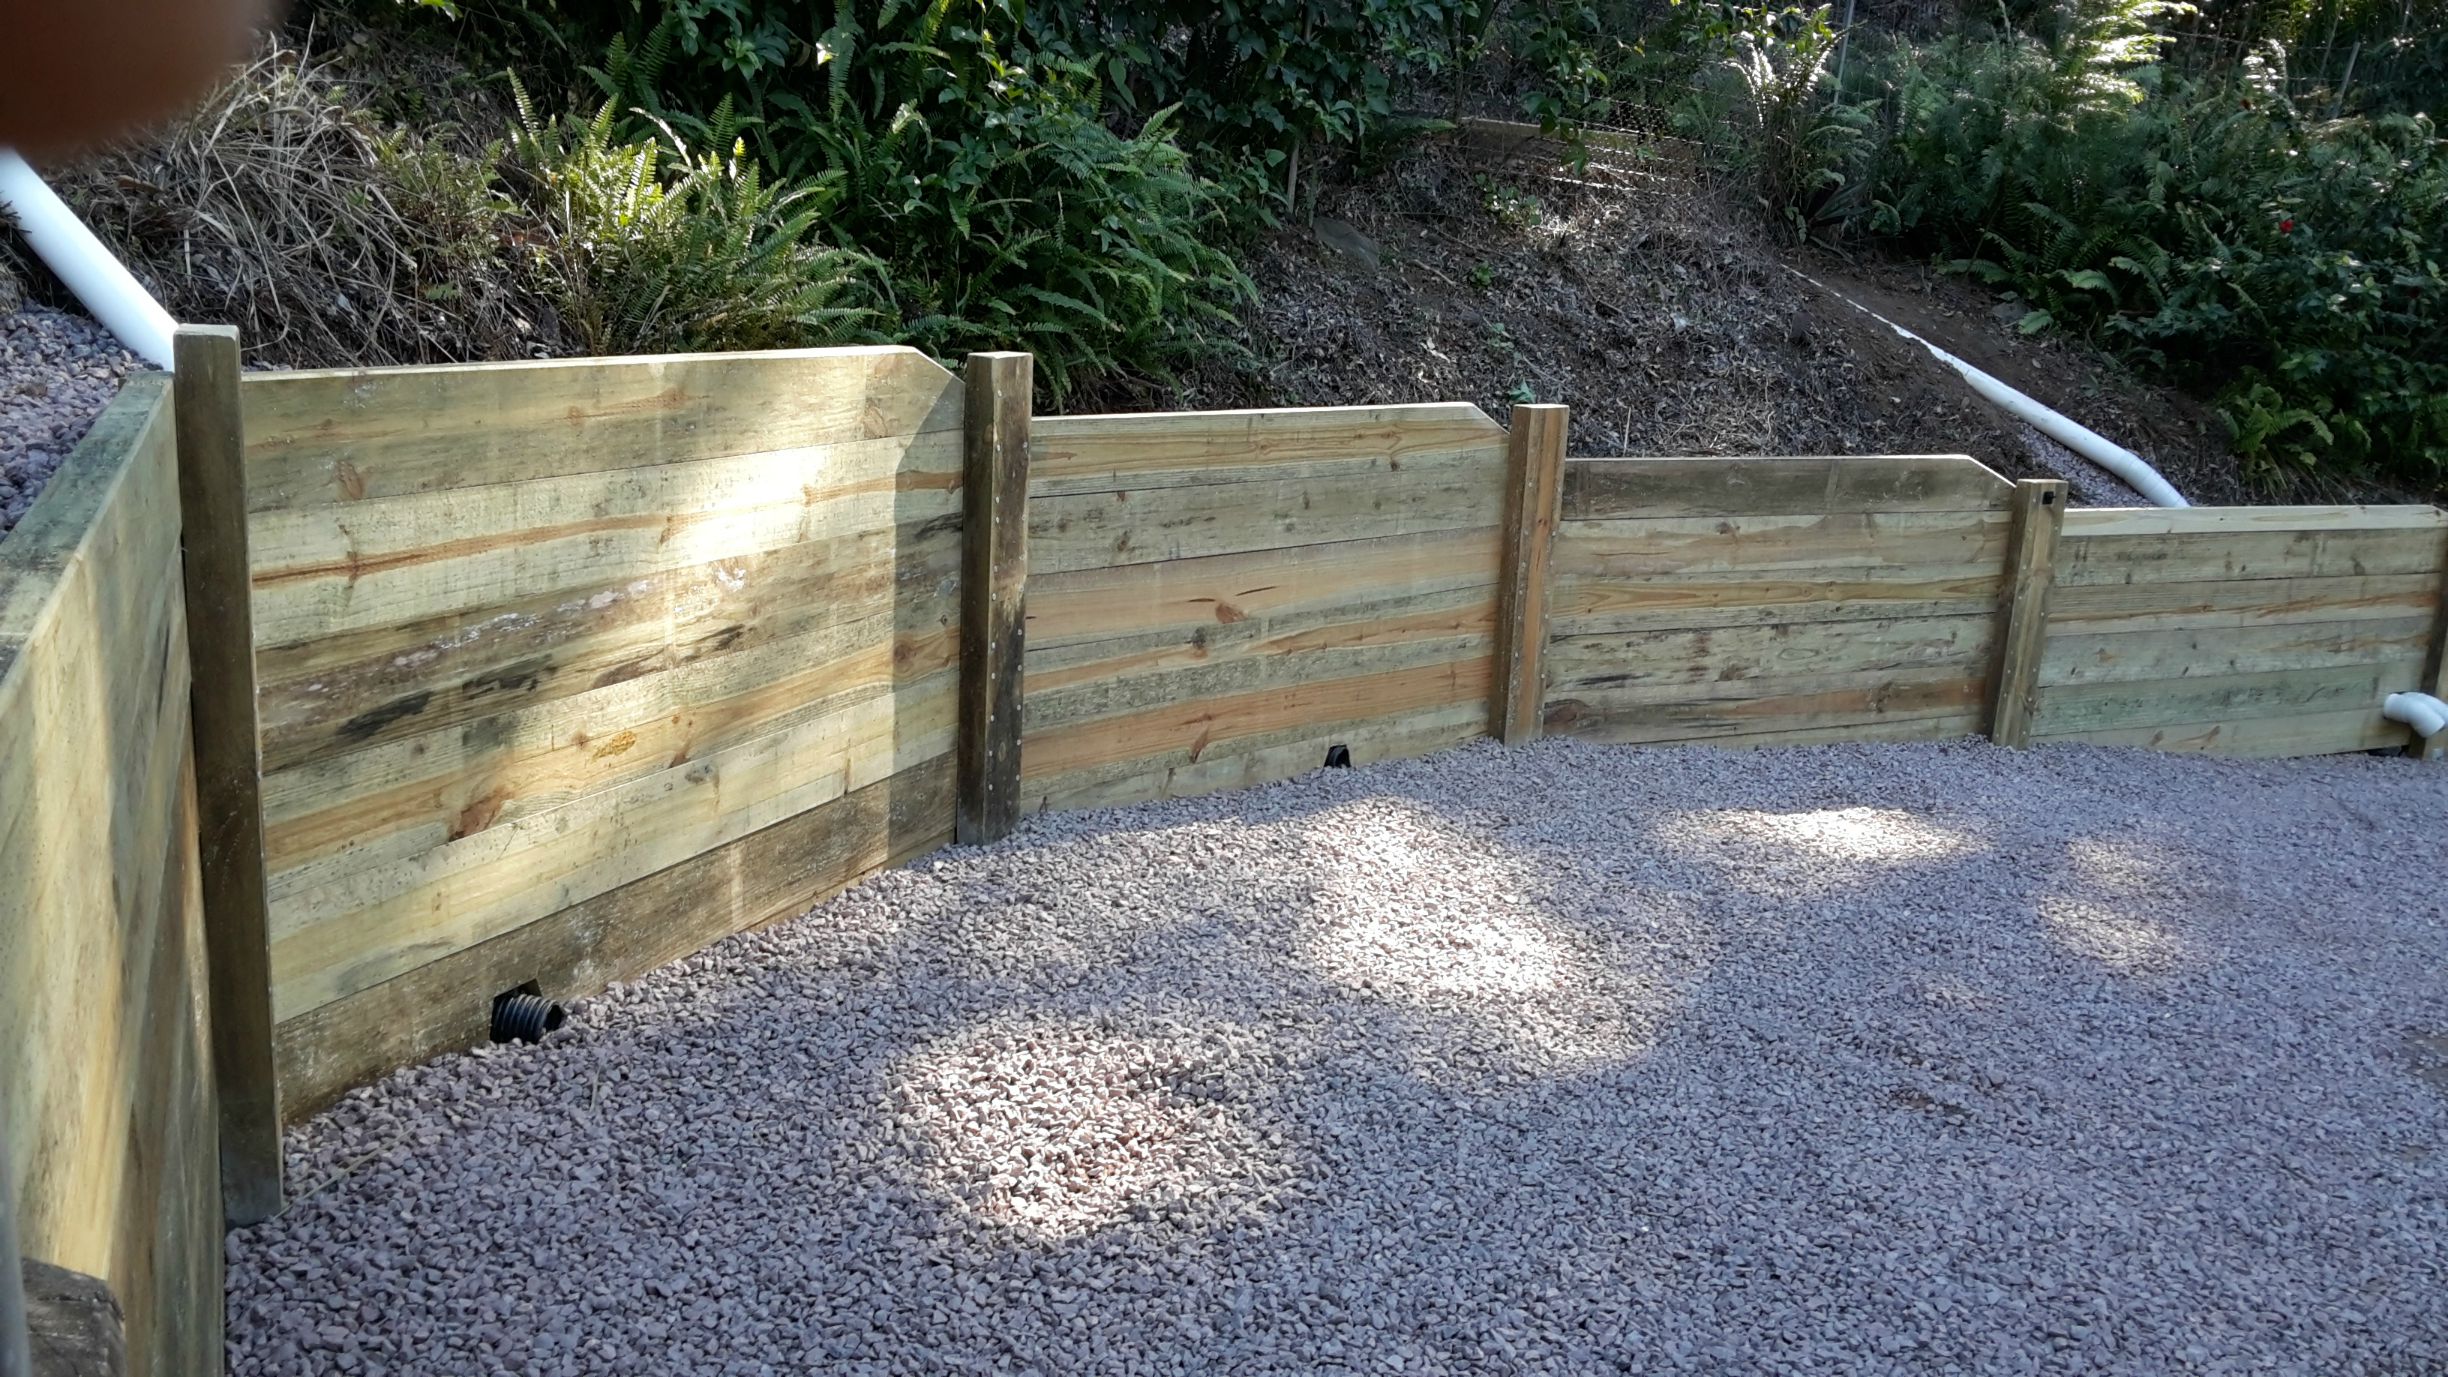
I took my time and using a level and string-lines, constructed supports out of the 50 x 35 timber on top of the secured brackets so I could lay 2 or 3 sleepers and secure them down. As the steps were very gradual, I had to alternate between 2 or 3 so as to end up at the right position for the next secure point. I continued to add risers and step treads, making sure they were level and heading in the right direction.

When I got to the top, my wooden steps required a finishing touch to blend into the existing paving and also needed more drainage. I had to vary the risers a touch to end up at the place. In the top triangle I layed three sleepers on leveled and firmed up dirt, and screwed down my cut sleepers to get the finished design you can see in the pics. I added a channel drain to keep as much water off the steps as possible.

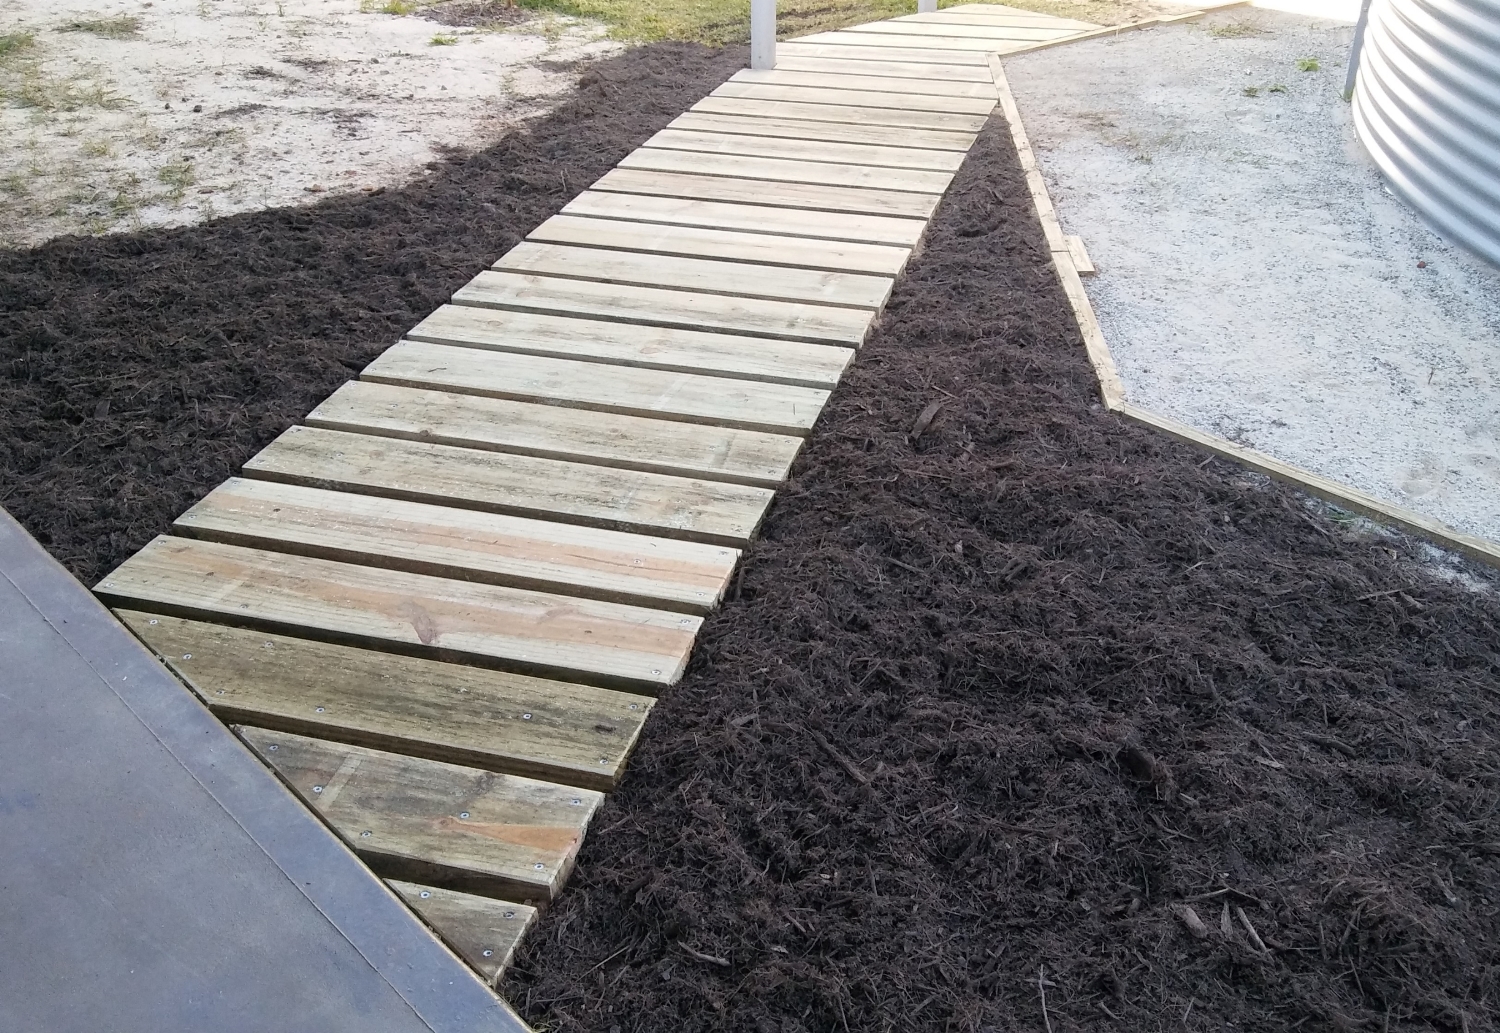
These wooden steps built from treated pine sleepers will last for decades, and when they finally dig them up, they will be surprised to find another set beneath them!!! To add longevity...give them a coat of decking oil or linseed oil.

Here are some more wood projects I built...
Go back to DIY Projects or to Kithomebasics home page


