Using metal carport kits
for outdoor rooms
The local metal carport kits supplier was the beginning of the three or four design ideas I had for outdoor rooms around my new kit home. The north western side was the obvious position and I decided on a detached setup to aid strength.
Connecting to the metal house studs via a ledger could have worked, but much more engineering would have been required. So it would be free standing, but under the eaves with an added flashing against the house wall, to keep the room water free. An added insulated western wall gave it sun shielding and privacy.

Metal carport kits: materials
- 4 x 110mm gal steel posts
- 7 x 200 x 80 C section gal purlins
- Right angle connectors
- Bolts, roof screws, tech screws, rivets
- Insulation and square wire mesh
- Pre-cut corrugated iron
- Roof flashing
- Barge covers
- Guttering
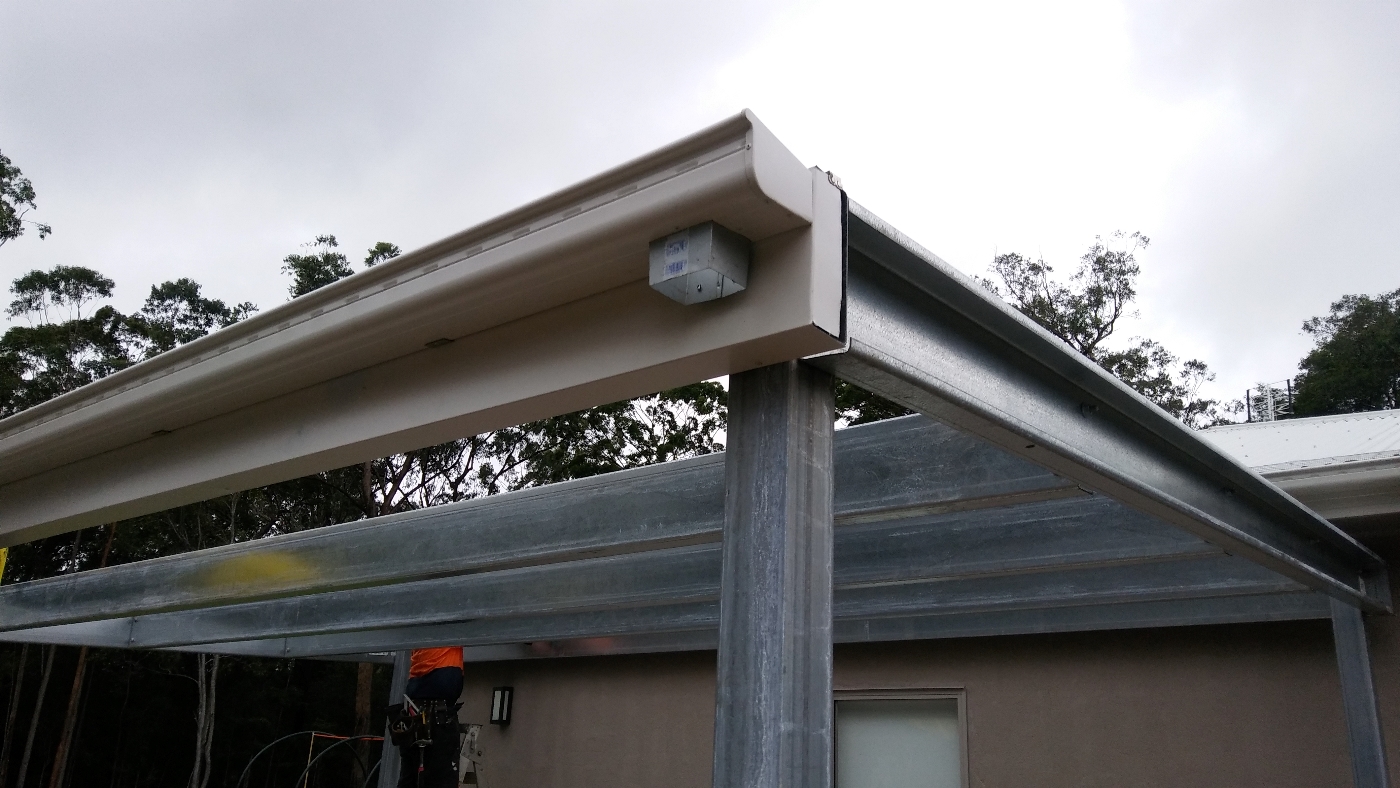
The patio design was based on a 6 x 4 metre concrete slab with 900 mm deep pier holes on each corner receiving 110 mm gal steel posts. As the posts were set so deep, no cross bracing was required. Two sloping purlins were to be bolted to the posts and five purlins were to be bolted across to them with right angle brackets, at 800 mm spacings, to act as battens. The corrugated iron would be screwed into the purlins over insulation and wire mesh. This would be a very sturdy structure.
The first part of the build was the concrete slab. It took a day to excavate and build out the form-work, and a further day to set the posts, pour the concrete, finish the slab top off and dismantle the form-work. Had some help with this.
The second day, we set about building the kit. Metal carport kits are cut to measure so it only took the best part of a day for two of us to finish it off. The gal C section rafters and posts were pre-drilled so bolting them onto the posts was a breeze. The cross purlins were equally easy with right angle brackets helping secure them.
Next was the mesh wire to hold up the insulation. Small holes were drilled to attach it to the purlins. Next was the gutter system: fascia, brackets and gutter. The gutter needed to be snipped to length, droptube hole cut, and end caps attached. The fascia was attached which covered the open C section. The gutter brackets were then attached using a string-line to get a good fall, then the gutter snapped into place.
Next step was the insulation which was rolled on and the first sheet of iron set up square and 50mm into the gutter. The iron had previously had the ends flipped up to stop water blowing back up under the flashing. The rest of the insulation was rolled out and each sheet of iron was laid down keeping a eye on the distances to the end.
Next was the barge capping which covered the complete sides of the open C section as well giving it a great finish. Lastly was the flashing which was screwed to the house wall under the eave with a liberal amount of silicon behind it, and screwed down to the iron.


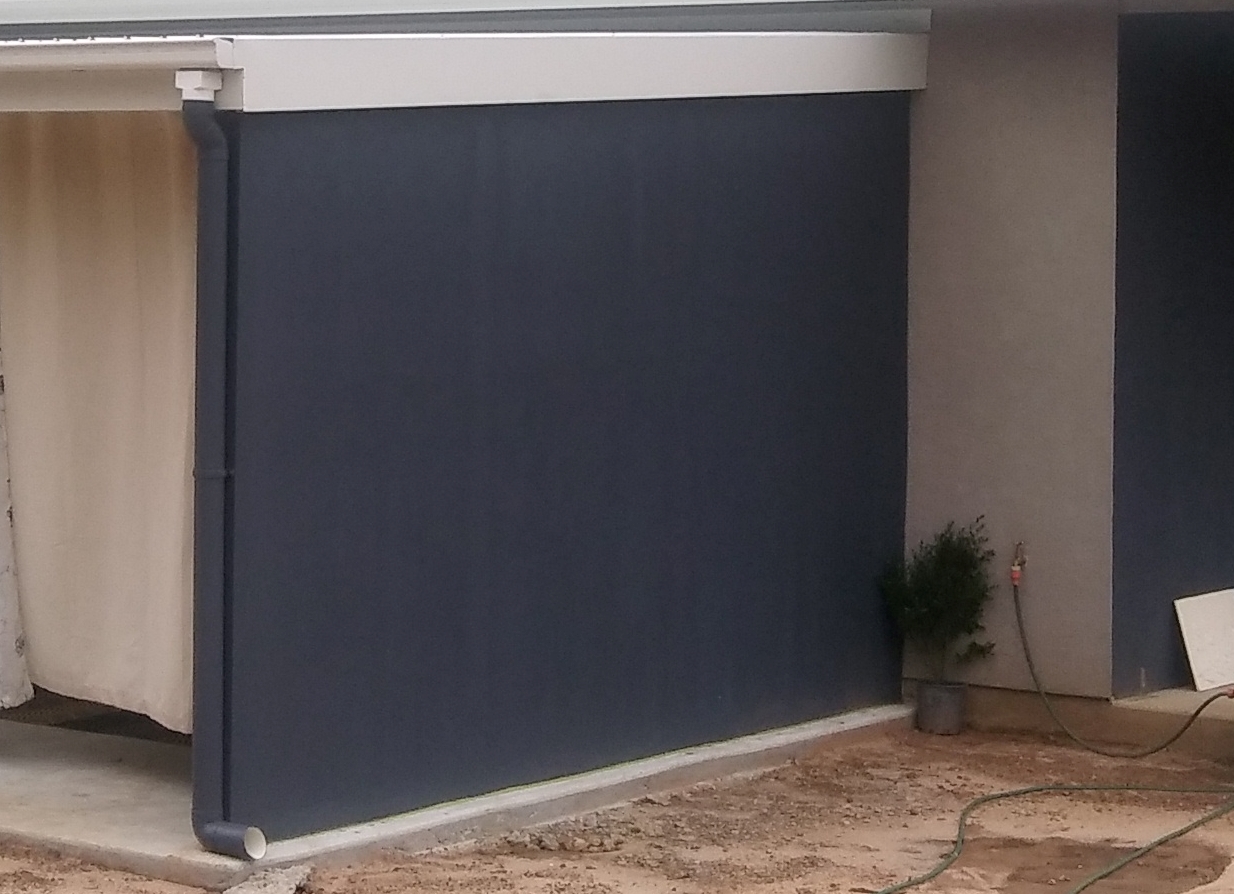
As this outdoor room was on the north west, a wall was needed on the western side to stop the western blast of sun in summer. I sourced three gal steel posts 90 mm x 50 mm to support the wall and used dynabolts and angle brackets to secure them to the concrete and western purlin. I secured steel battens across the posts to support the blueboard sheets. As it was an outdoor room I kept with waterproof materials so I secured rebated fibrous cement sheets to the interior, but not before stuffing R3 insulation in between.
Over joint tape I used jointing compound to fill the rebates of the blueboard and the inside fibro, and used miscellaneous trims to finish the job. Of course a lick of paint topped off my new outdoor room made from a simple metal carport kit.


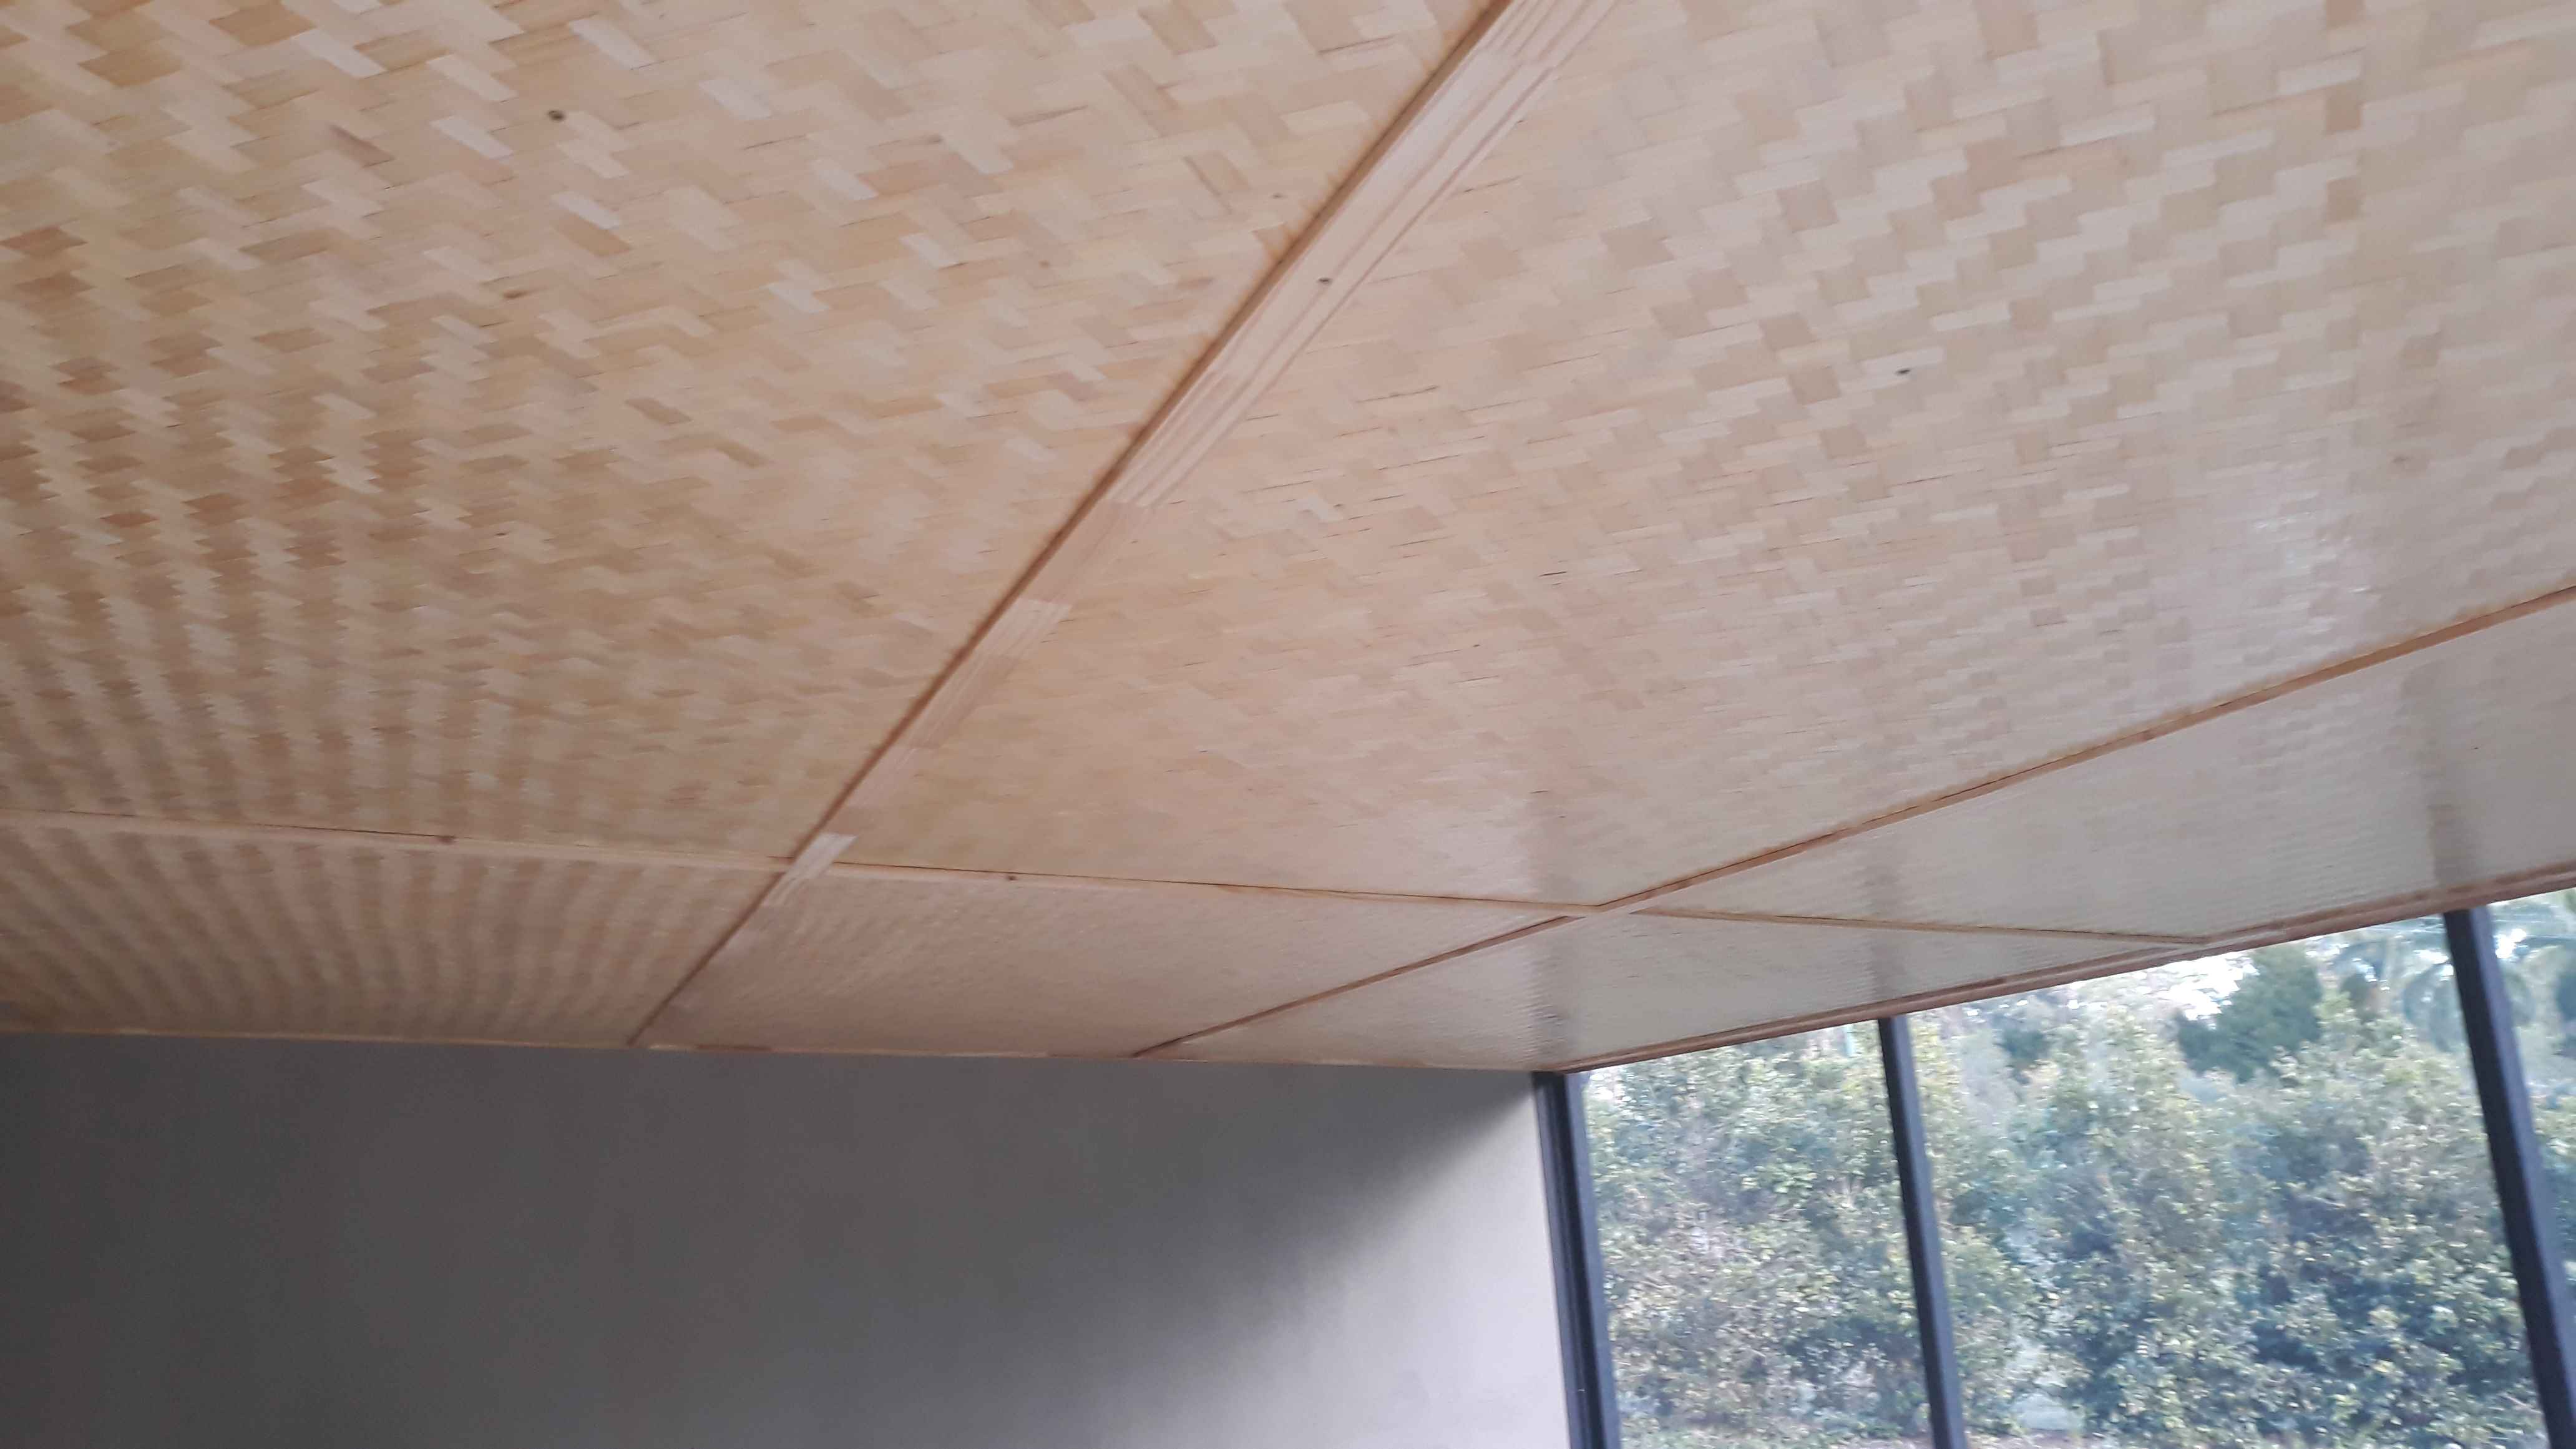
After completing the screening of the outdoor room, it was time to give some attention to the ceiling. Looking at wired sisalation was pretty boring, so perhaps bamboo was a good idea. Go to this DIY page for the finishing of this outdoor room build.
Go back to DIY projects or return to Kithomebasics home page


