Bamboo Ceiling Panels

I've always wanted a bamboo ceiling panels in my house, but never had a room that would suit that style. I recently built an outdoor room from a steel carport base, and screened it in, so the bamboo was calling me.
I found out that sourcing bamboo panel ideas was not easy, residing in northern NSW, and looked to Brisbane or Sydney providers. By chance I found a bamboo nursery an hour north of me that happened to sell various bamboo products.
The panels they sold were woven ply from bamboo strips which they laminate to the thickness required. They came in 2, 3, and 5mm thicknesses and 2440mm x 1220mm size. I opted for the 5mm thickness to limit sagging. They were about $100 per panel so not cheap. My trailor wasn't large enough to carry them so I had them shipped to my home.
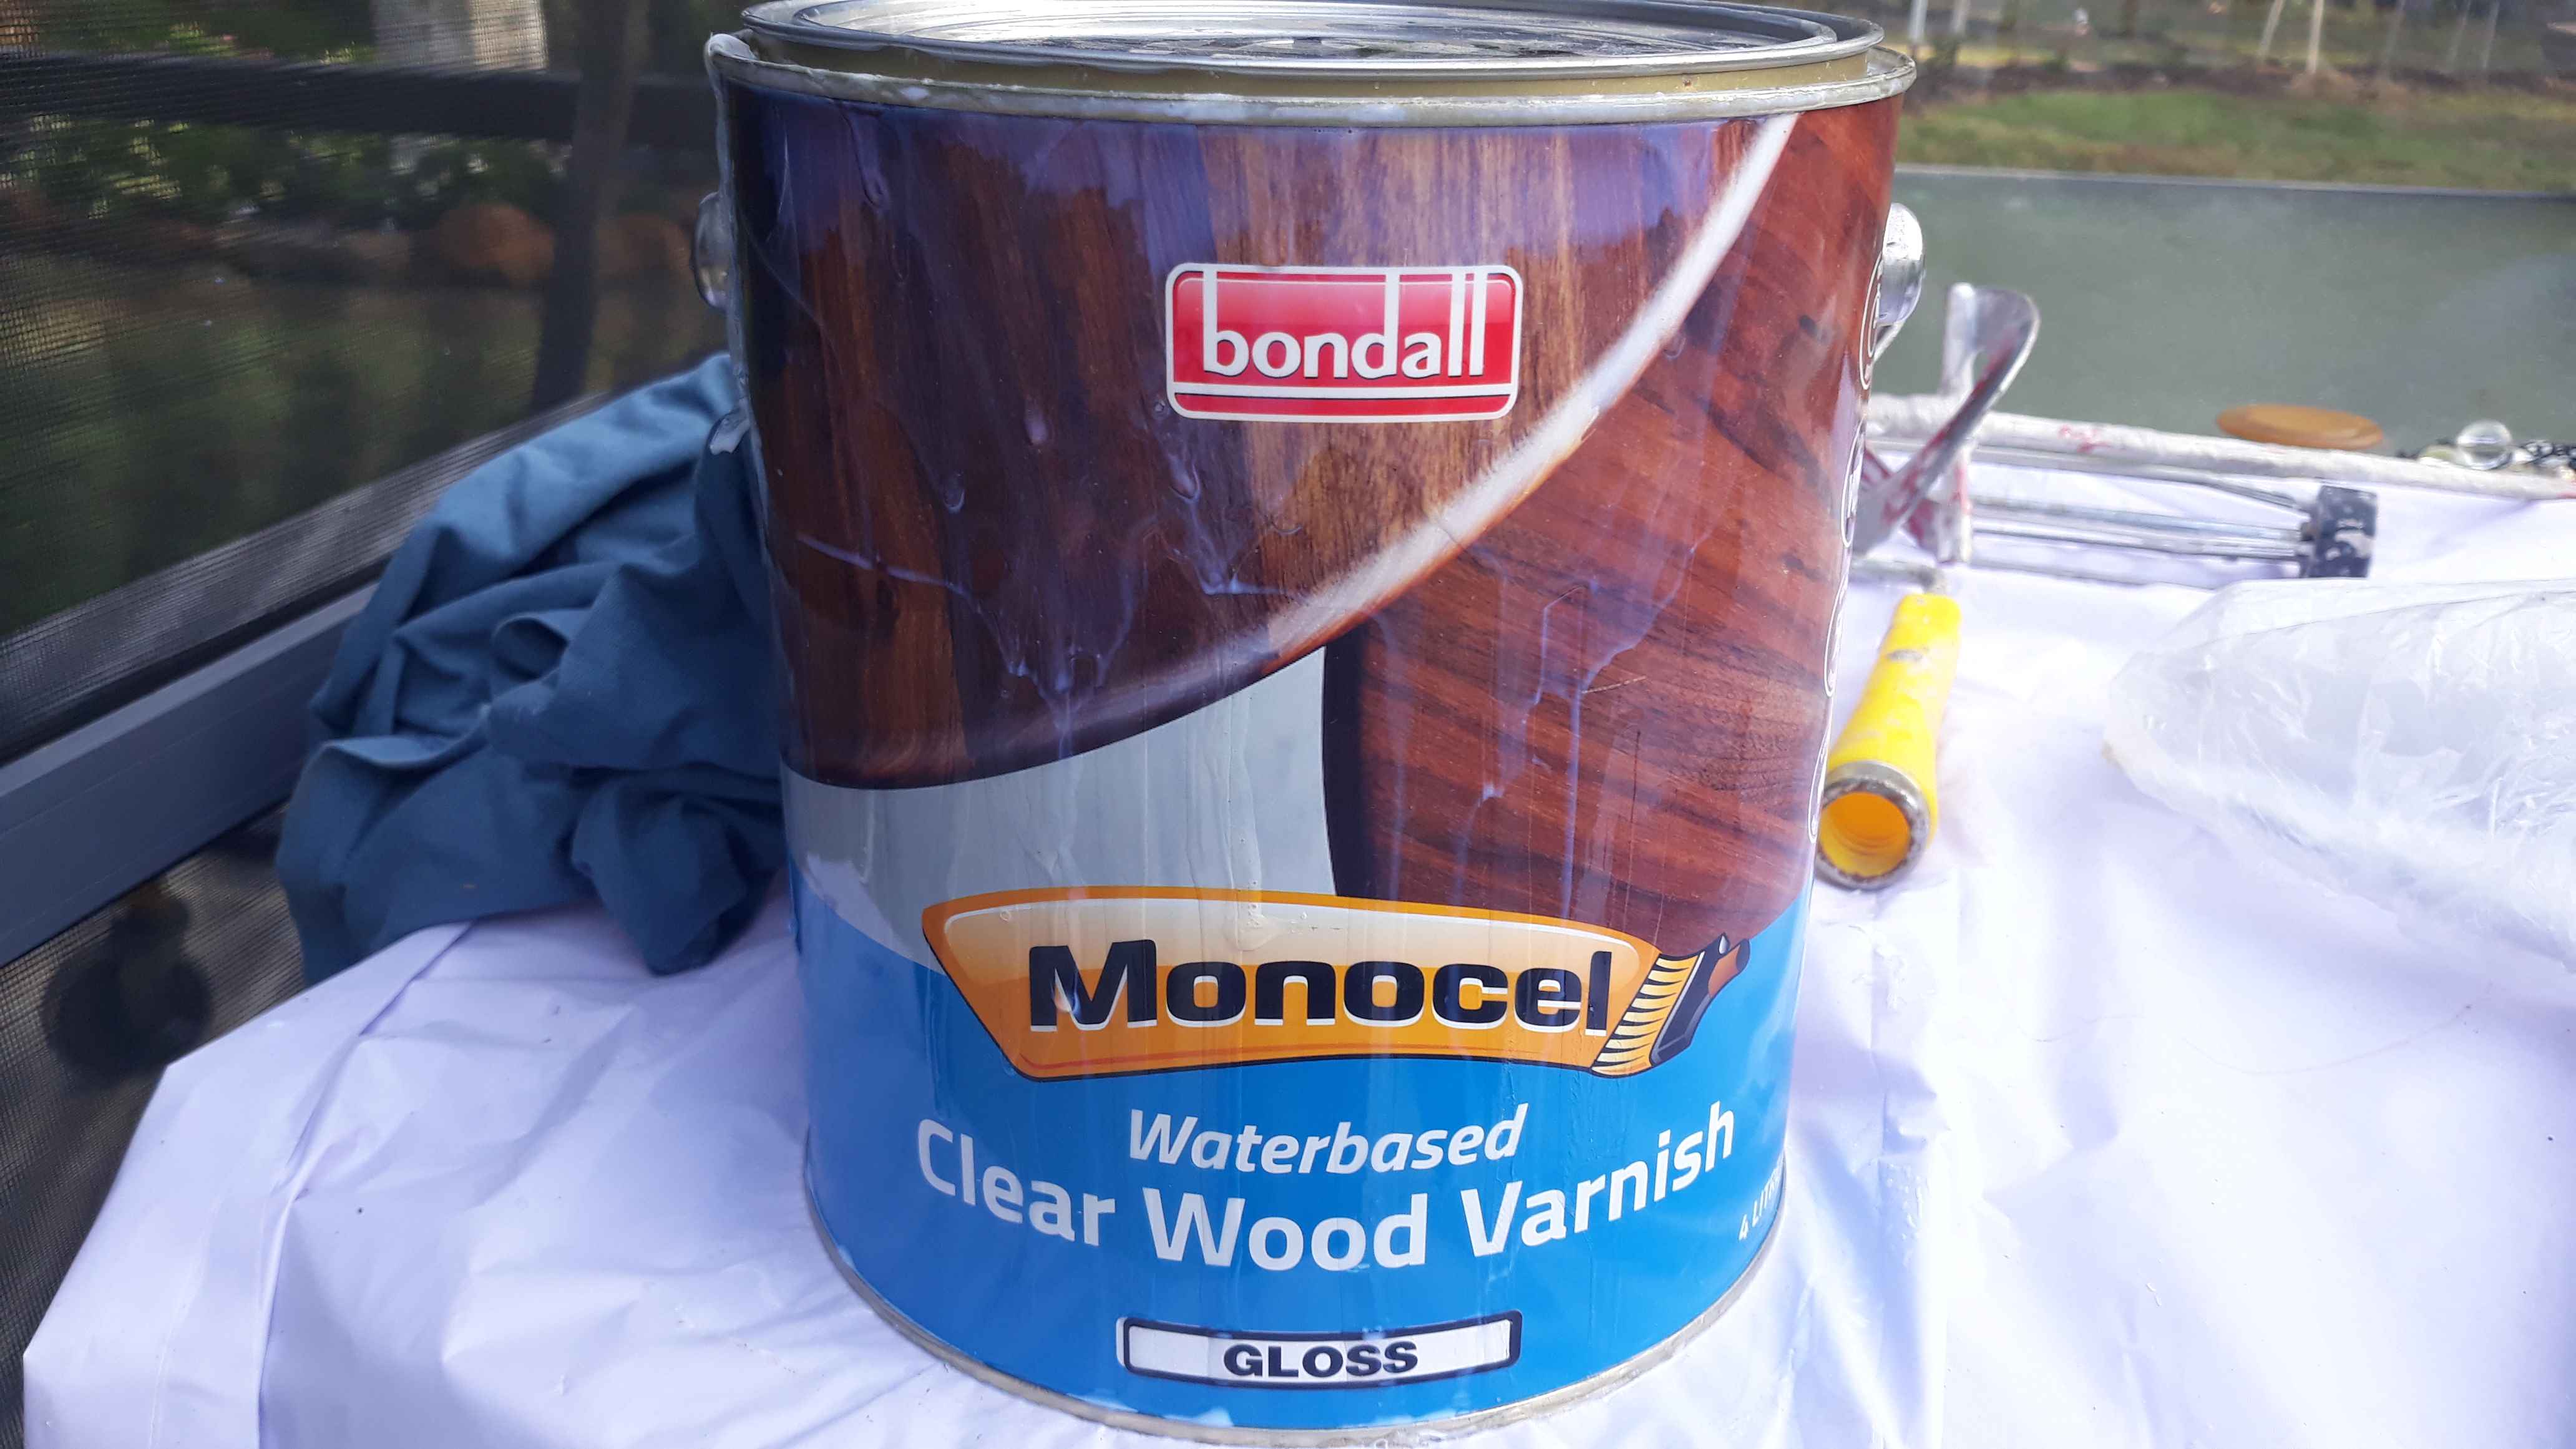
They warn you that the panels are susceptable to insect and fungal attack so using a fungicide/insecticide before installation was mandatory. I used a water based clear wood varnish, so I could quickly recoat 3 times each side, as well as the edges, with a fungicide/insecticide additive.
I set up some trestle supports to stand the panels on to assist varnishing. I kept the roller in a plastic bag between coats.
Bamboo ceiling panels: installation
I added treated pine battens to hang the panels on. They required metal screws to fasten them to the heavy C section purlins of the structure. I made sure I pre-drilled the pine before fastening. An impact driver was needed for this task as well as determination! I needed a cap and protection glasses to stop the hot metal filings doing nasty things to me.
I made a moveable pallet by adding trolley wheels so I could reposition the indoor panel stack as I built the ceiling. This was very handy as 10 sheets of panelling were quite heavy and the less I had to move them the better.
I hired a wind up panel lifter to substitute for a second pair of hands.
This was a game changer as I could roll it up to check the fit, mark out a notch if required, roll it down, cut out the notch, or shave off an edge, (seal the edge again) and roll it back up, with little effort.
I used old tshirts between the panels and the lifter to stop scratching occurring.
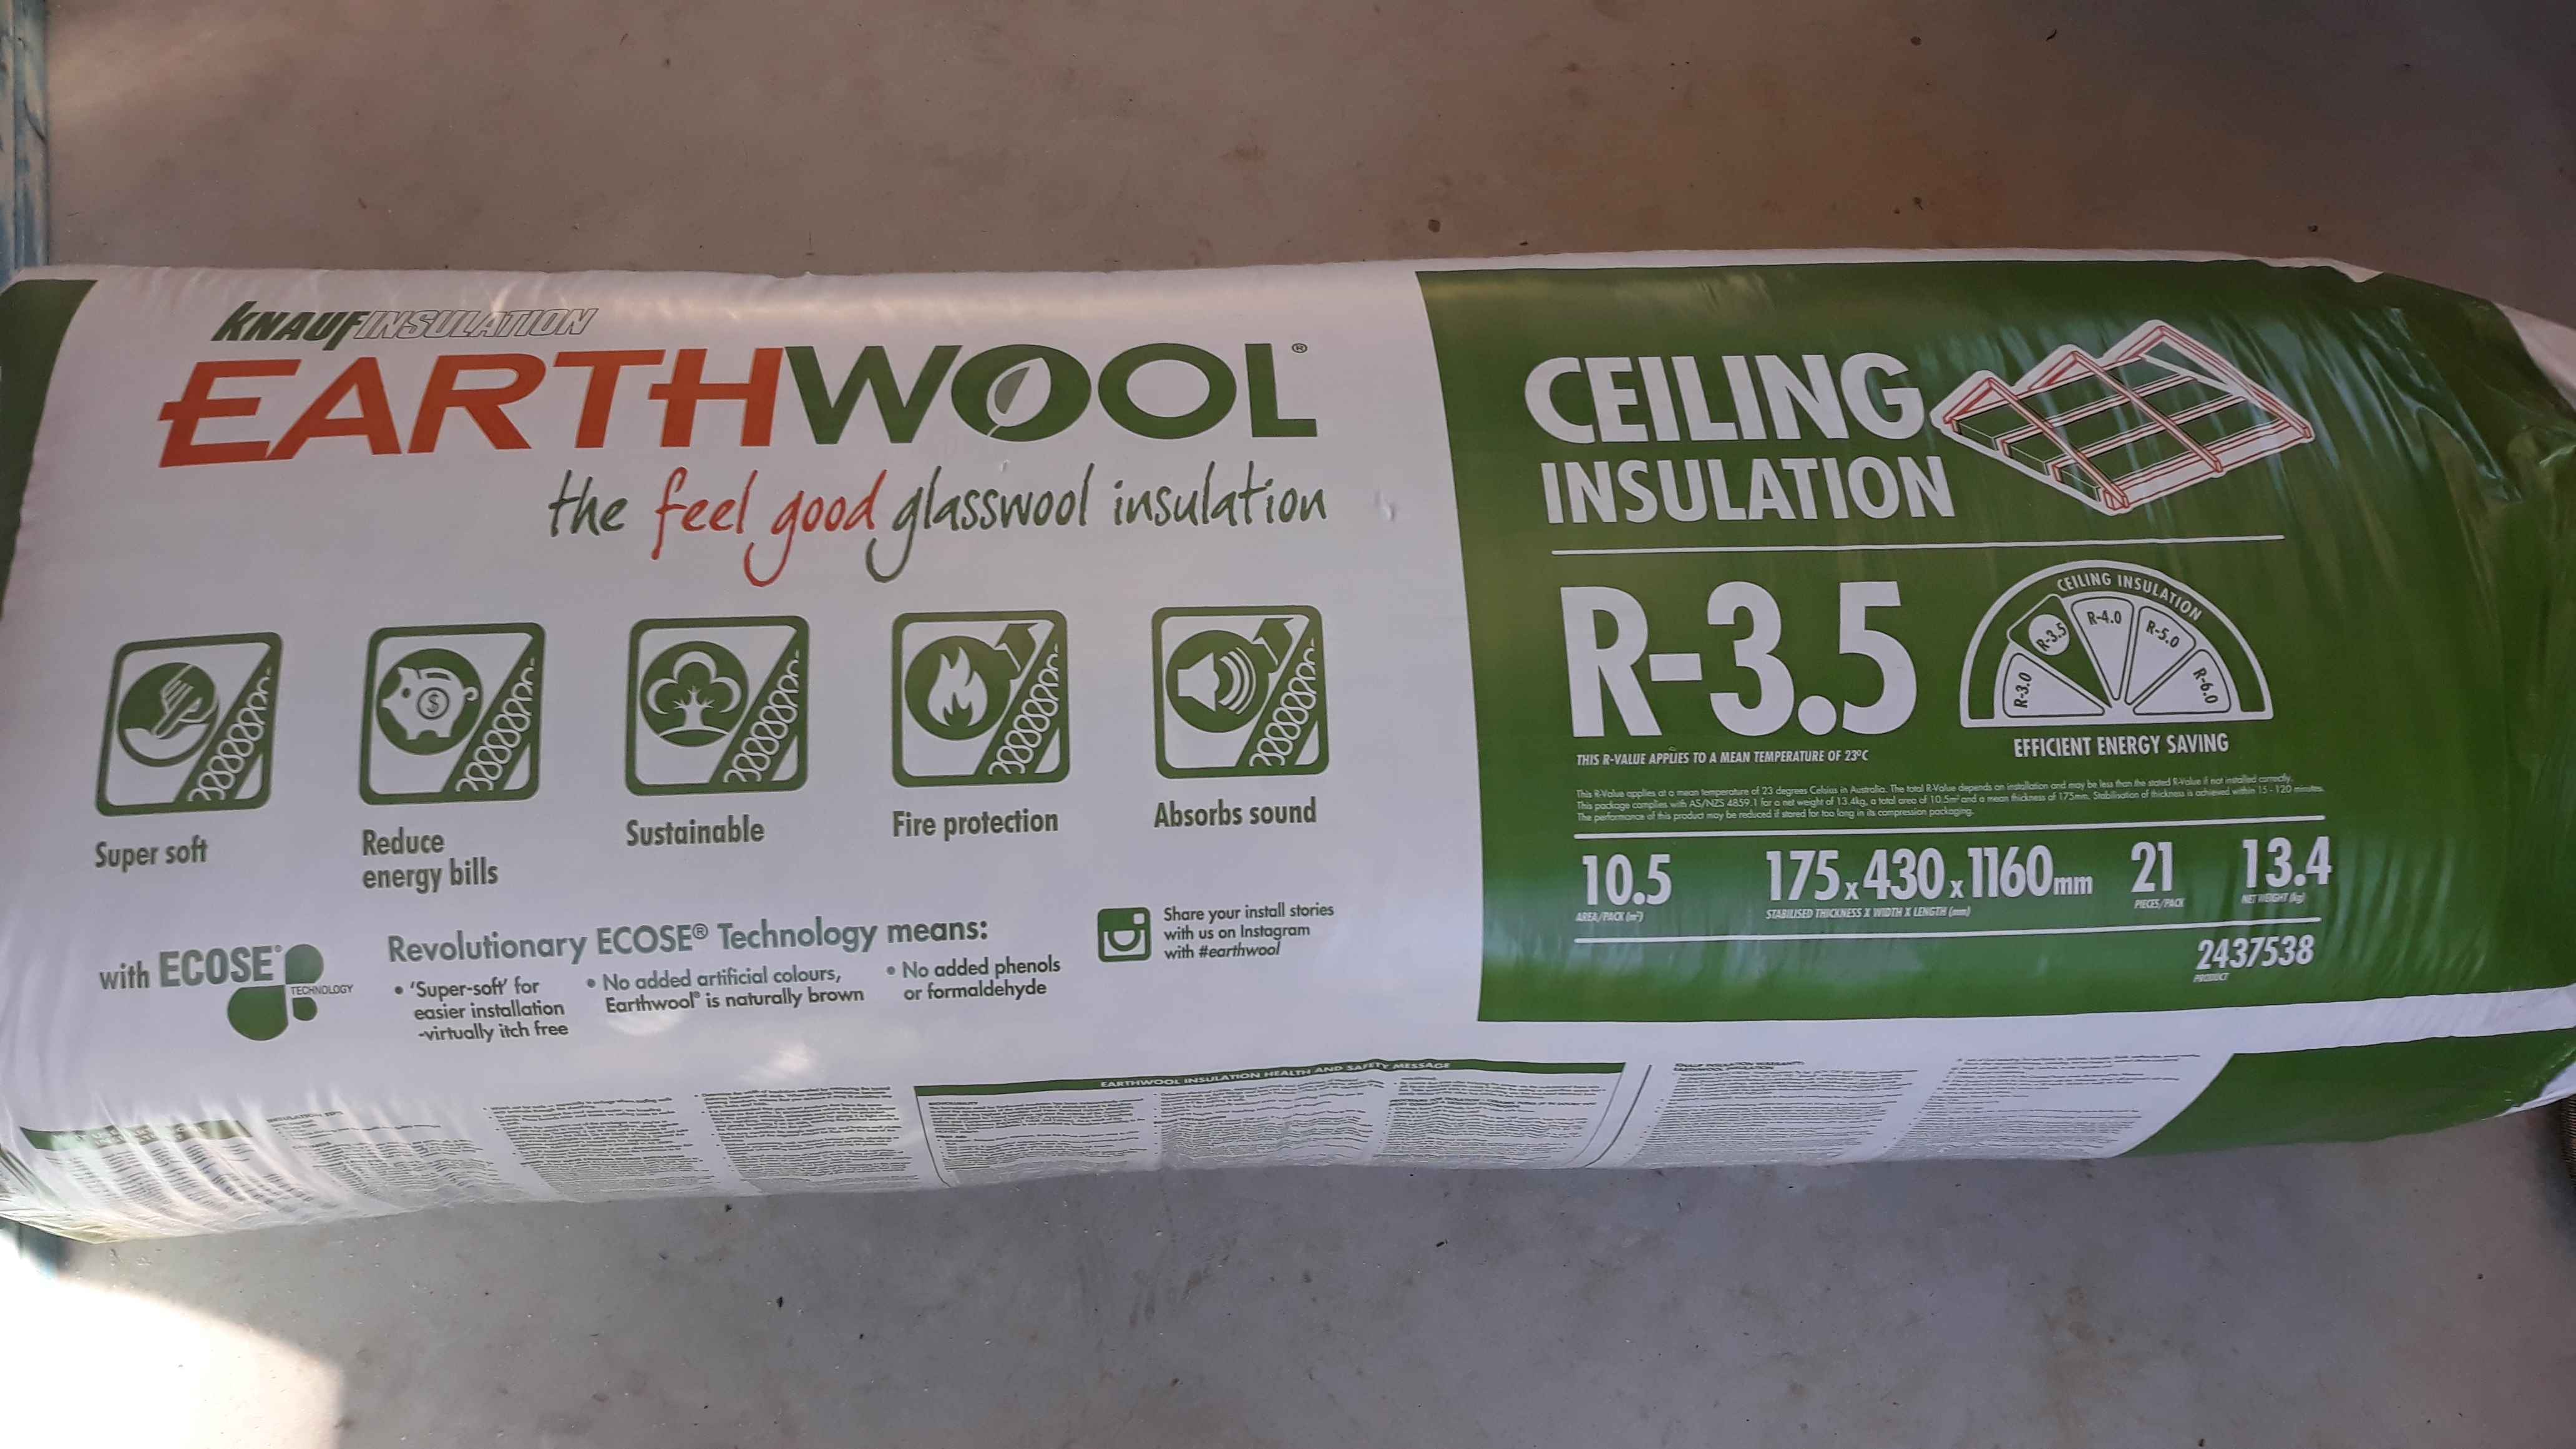
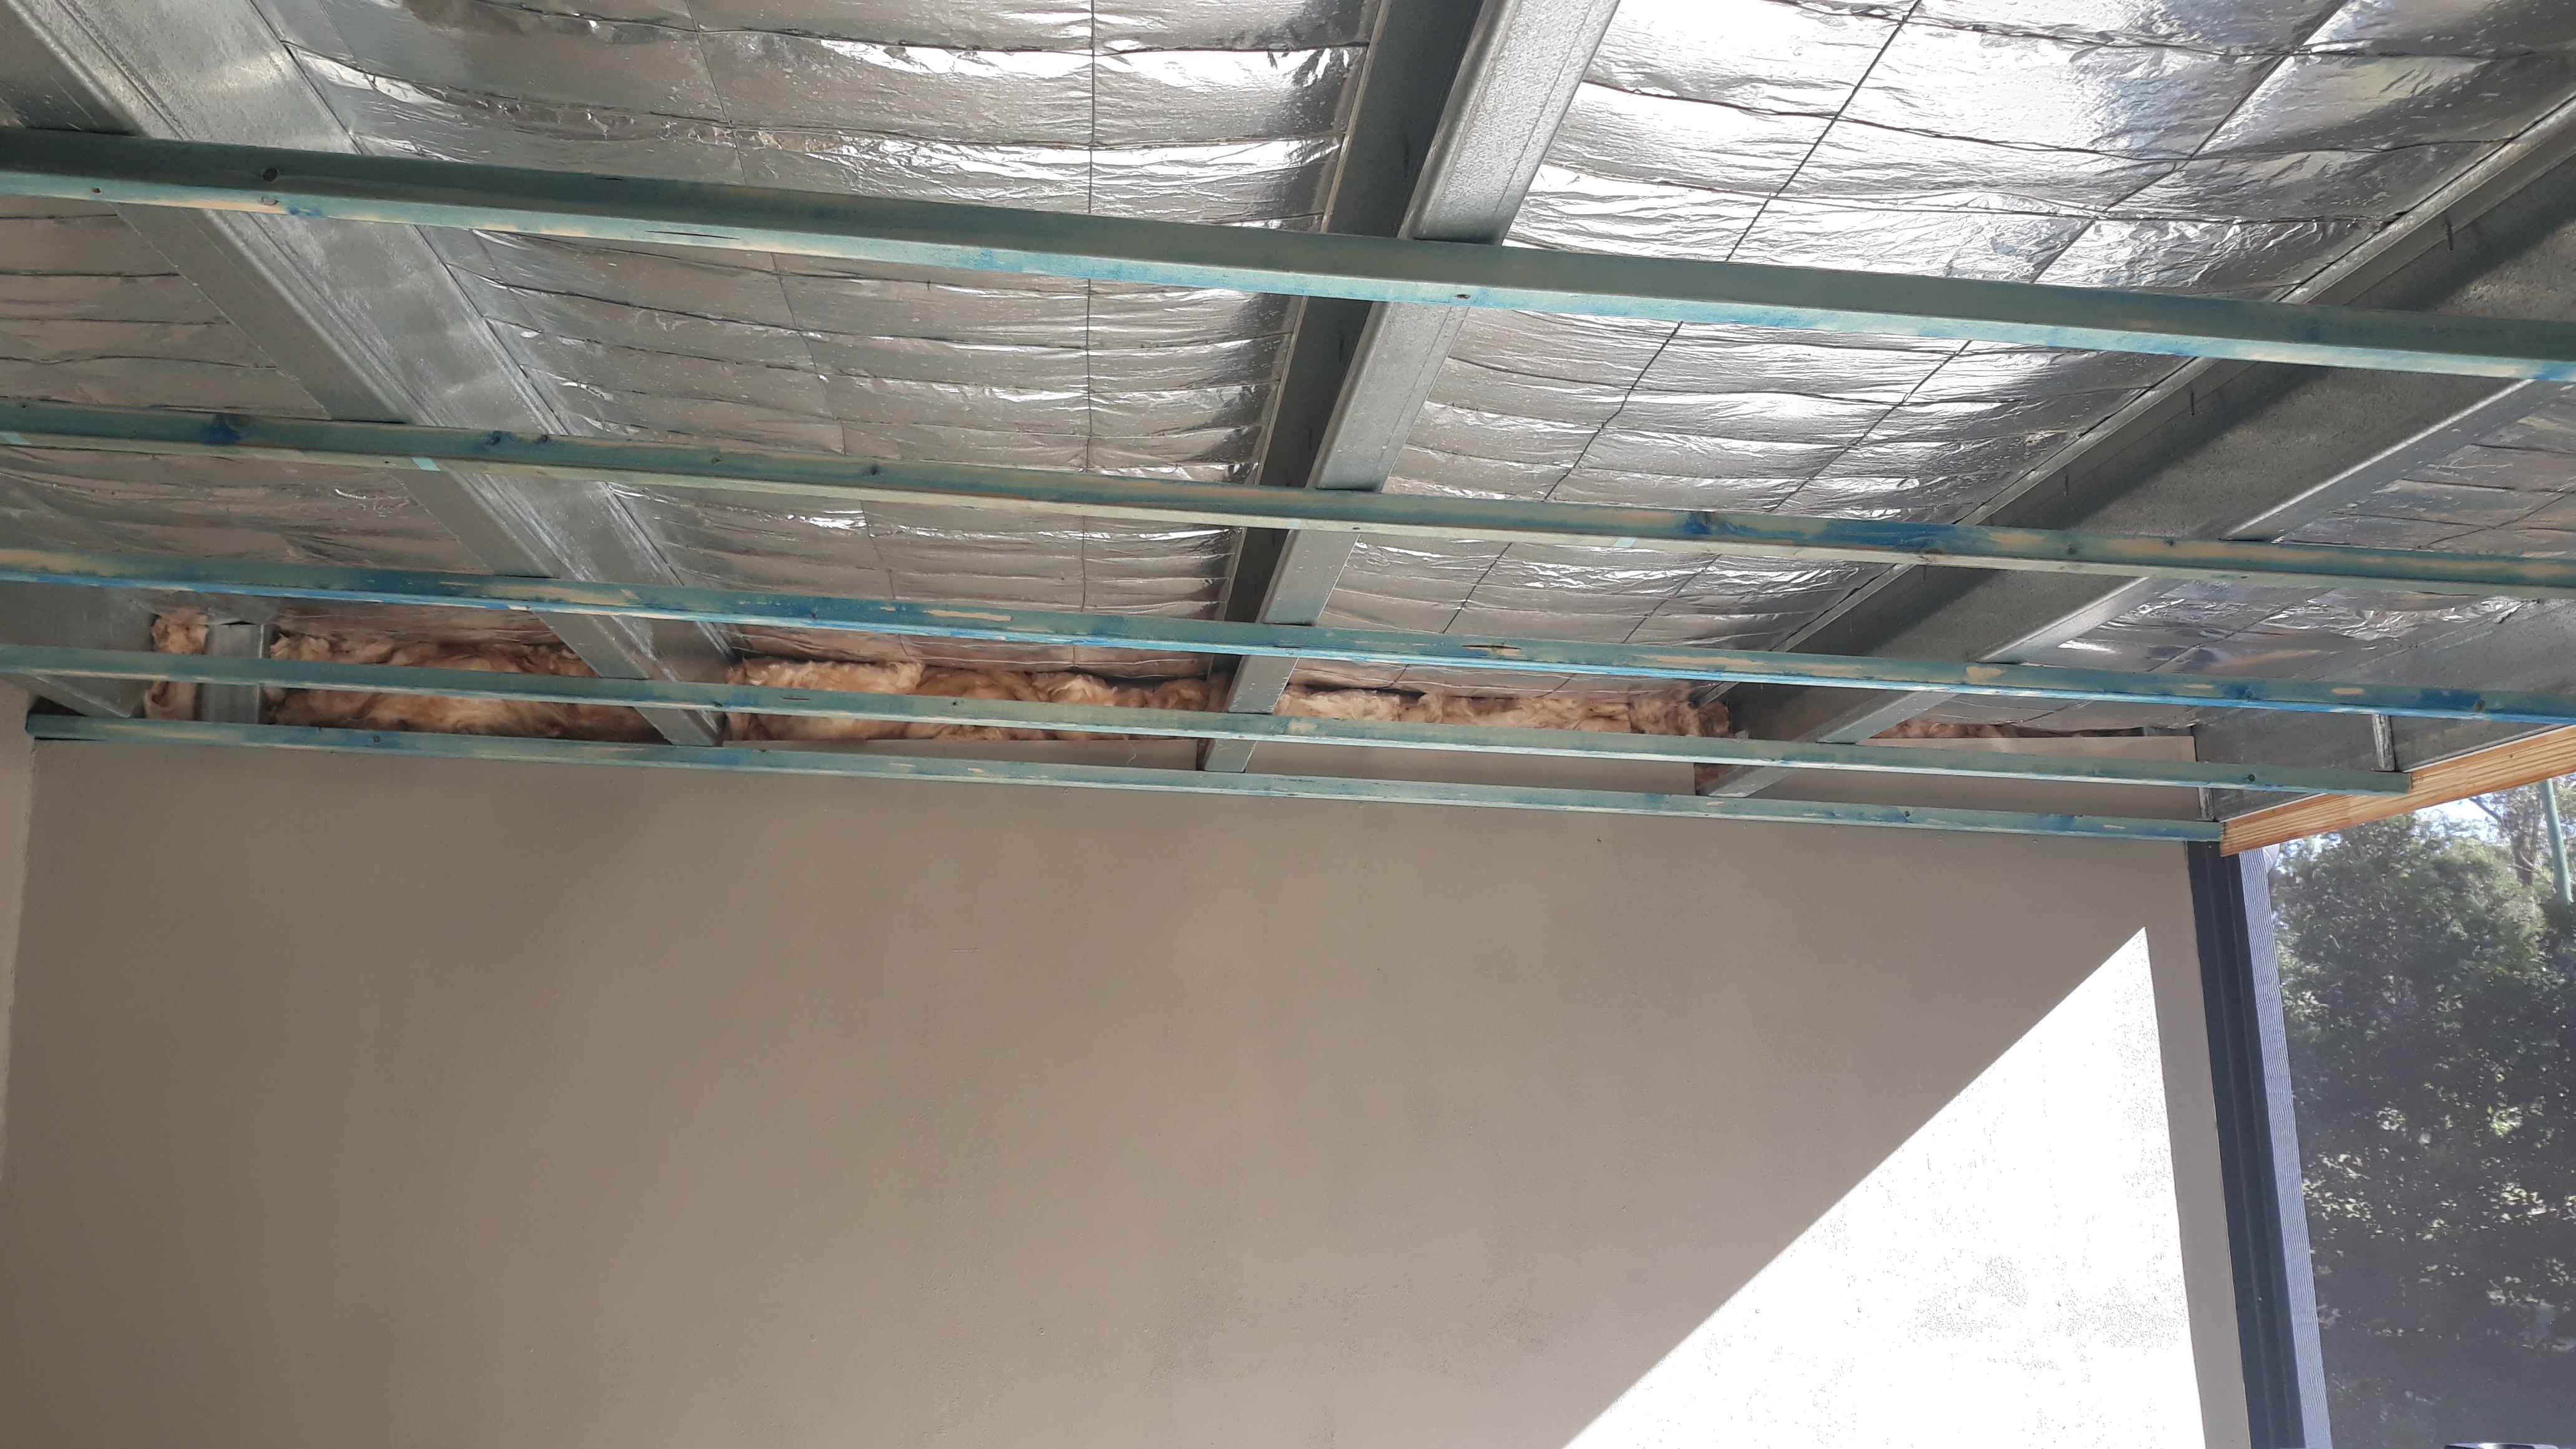
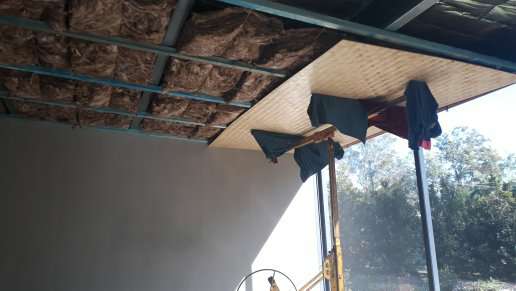
I decided to add another layer of insulation (already had sisalation under the corro roof) to the bamboo ceiling and used Earthwool R-3.5 batts.
This was easy to do by sliding them on top of the panels as I attached each one.
Once all of the bamboo ceiling panels were up I covered the panel edges with clear coated 40mm x 8mm FJ pine. I chose FJ (fingerjoint) as it was 60% cheaper than full pine mouldings. Once installed I added pine putty to the screw counter sink holes and then added a quick last clear coat to the completed bamboo ceiling. The pine dressed it up nicely and I was happy with the result.
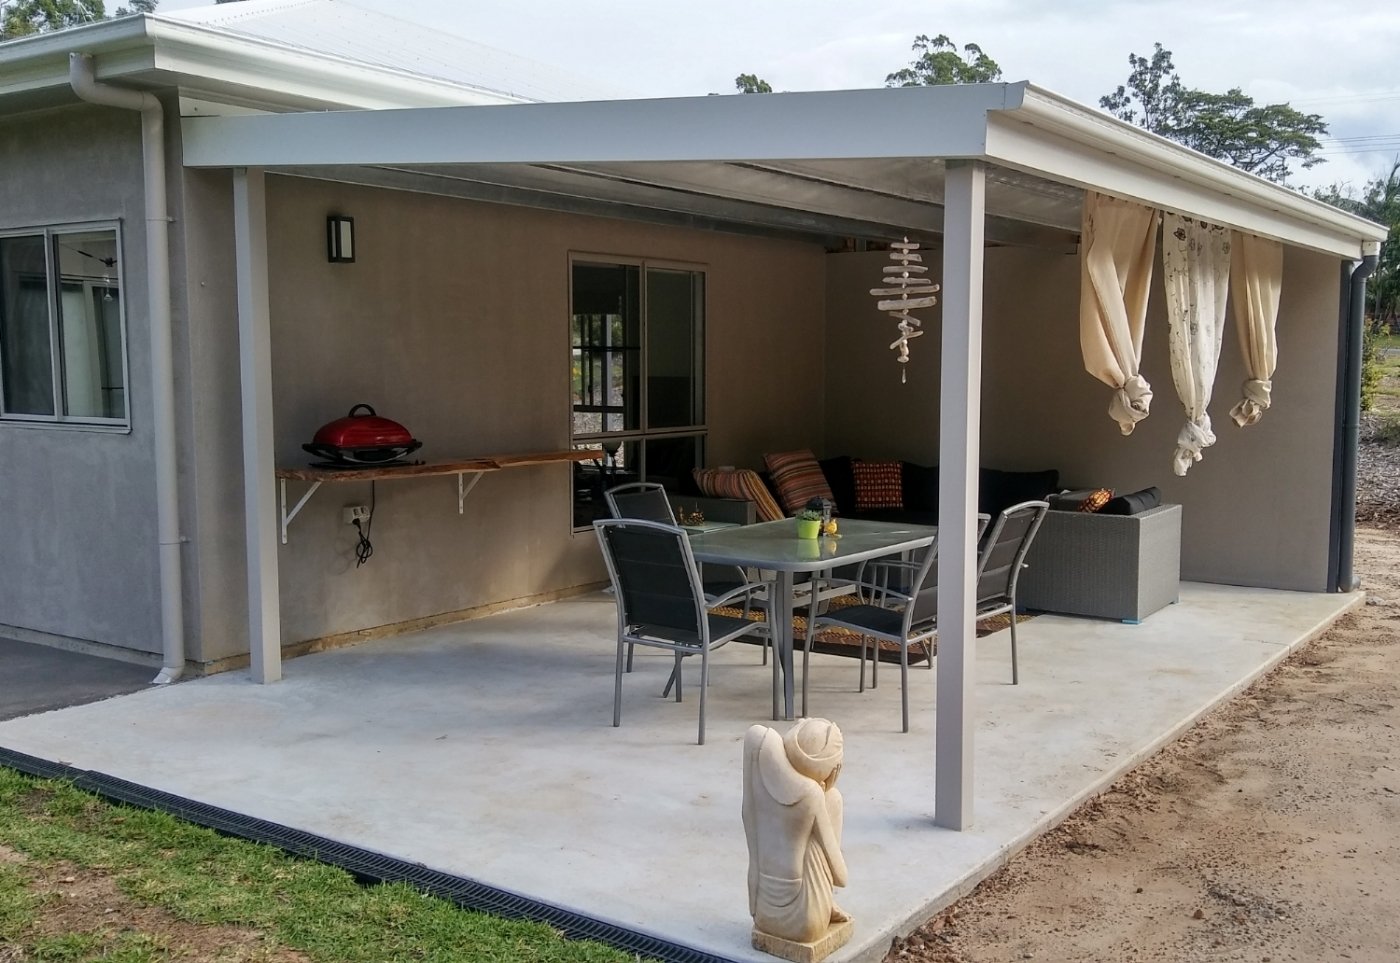
See how I built this Outdoor Room Here
Related outdoor projects: Platform stairs, Garden path, Garden shed.
Go back to DIY projects


