Installing Vapor Lock
on a kit frame wall.
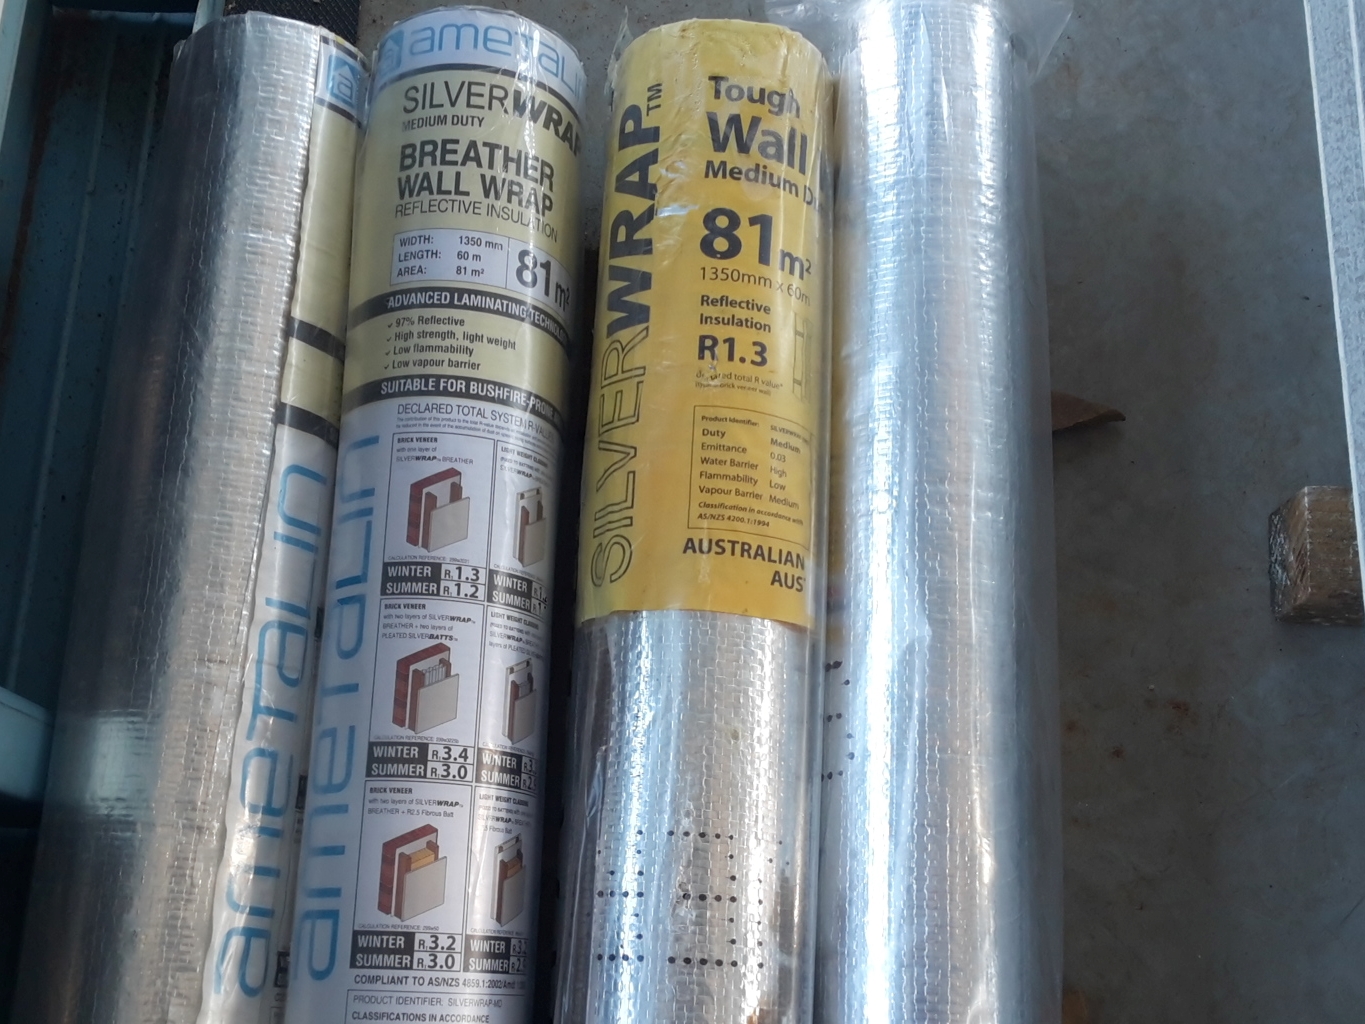
Vapor lock house wrap is essential when cladding a house to provide additional home insulation .
This product is the minimum insulation required on frame walls, but in harsher climates extra protection can be in the form of extra interior frame sarking plus inner wall insulation.
The function of vapor permeable membrane is to prevent moisture ingress by acting as a “drainage plane” whilst enabling water vapor build up from inside the frame to escape.
Sometimes called sarking or house wrap, it is a waterproof but vapor permeable flexible sheet material that is fixed directly behind timber cladding or under roofing material.
Its primary function in walls is to prevent wind- and storm-driven water
penetrating the cladding and to direct it back to the outside of the
structure instead of it lodging within the frame.
Professionals will say that the best insulation for homes includes sarking, which will provide a draft proof barrier to keep wind driven rain or dust out of the wall cavity.
Impermeable aluminium foil, or other non-permeable material should never be used as sarking immediately behind timber cladding. It is good practice to use a permeable sarking on the outside of studs, and directly under the timber cladding.
While sarking is used for general waterproofing, flashing is used at corners and vertical joints, and around openings.
Installing vapor lock
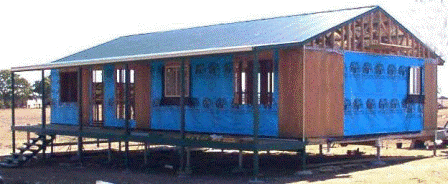
Generally, when you are installing house wrap, windows and doors have been installed before it is installed. Roll out the vapor lock across the base (horizontally) of the house frame from one end to the other.
For quicker installation, don't cut each section between doors and windows, just start nailing/attaching it in one long piece. The base edge of the sheet should be into the bottom plate of the frame. Each wrap must be installed with a minimum of 150mm overlap below until the top plate is reached.
Foil tacks should be applied at 450mm centres on each stud of the frame. Cut around the windows and doors with a stanley knife and secure to the trimmer studs, sills and lintels.
Go to our
cladding page
for info on installing external weatherboards.
Go to Kit Home Basics home page


