Using waterproof shade sails
to extend eaves
When I compared waterproof shade sails to general fixed window awnings, I came to the conclusion that extending the eave of the roof was more useful than just shading my windows. I needed a year in the house to see how the sun swung over the house from late spring to early autumn. That first year it blasted onto my cladding and windows, which super-heated the house.

Using normal backyard shade sails wouldn't help as I needed full shade. Finding a waterproof sail solution required some initial planning on my MS Publisher program. I sketched up what I thought would be a design that would shade the inside northern corner of my kit home, without impeding Northern sun in winter.
I took the result to a shade structures and sails specialist in the area and he took a look and said it was quite possible, with a bit more applied engineering and geometry to make it work.
As this was to be a custom shade sail, he drew it on his concrete floor and altered the shape here and there so when it was pulled taught, it was straight.
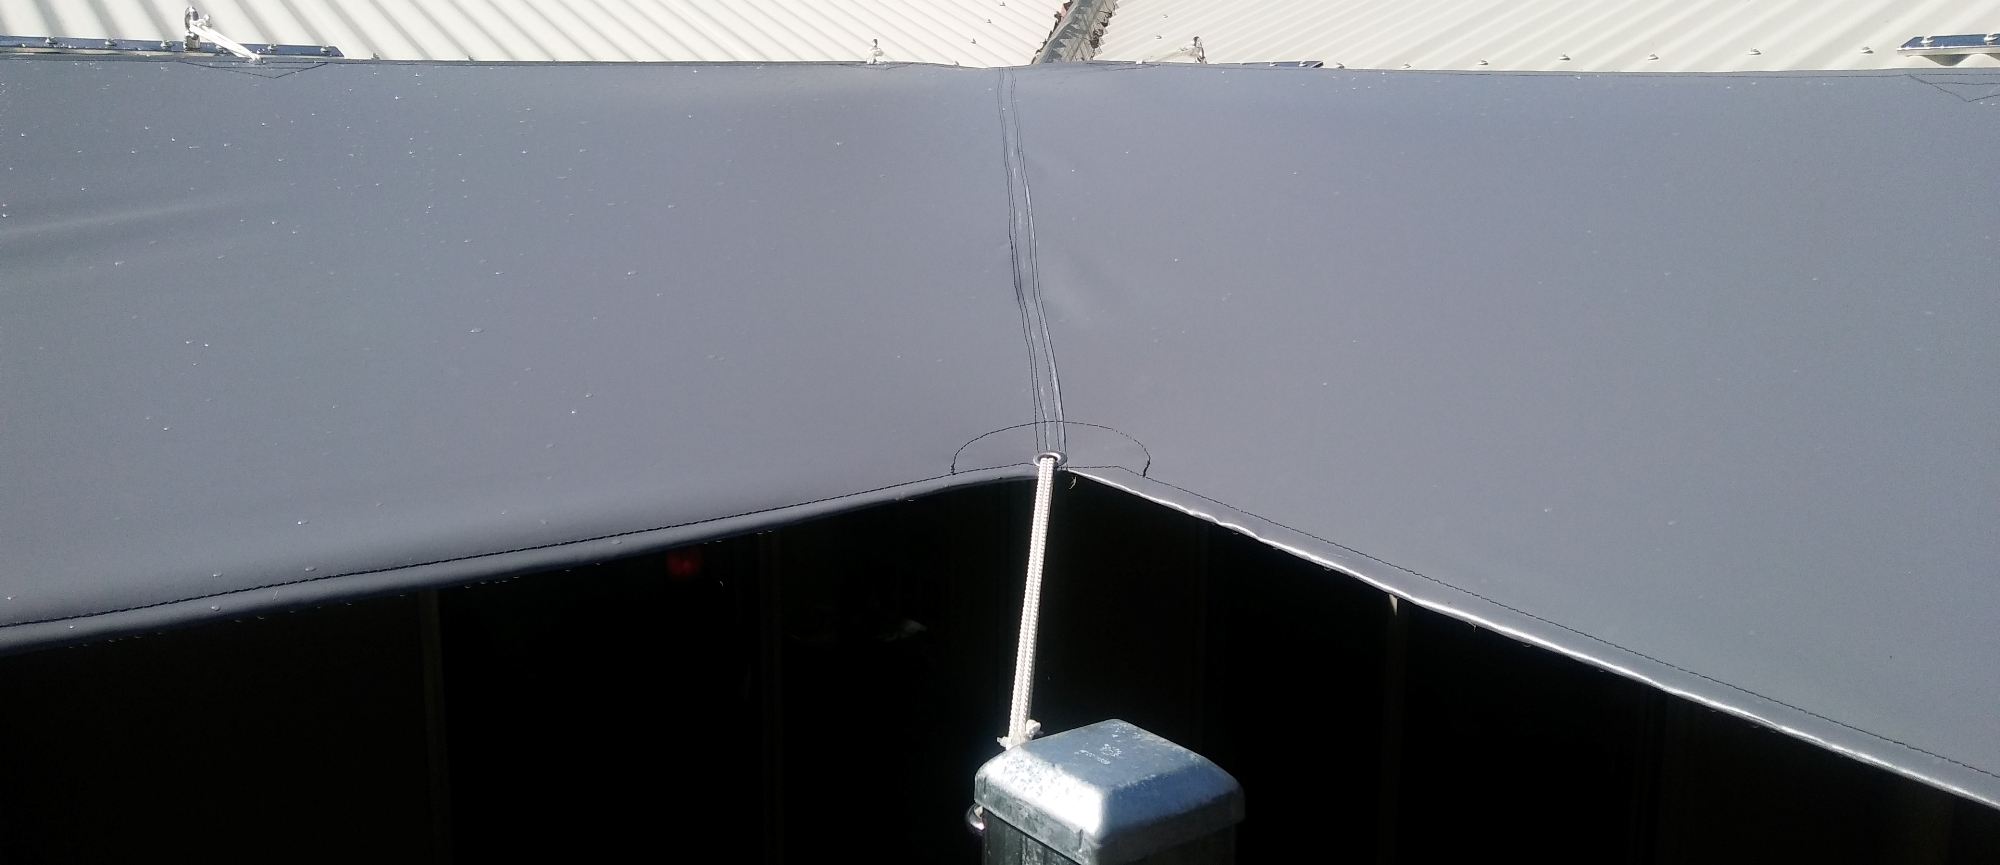
He also showed me how the join would not be a right angle, so as to allow a slope to shed water. He advised me of an option to DIY whereby he developed a complete shade sail component kit and I installed it.
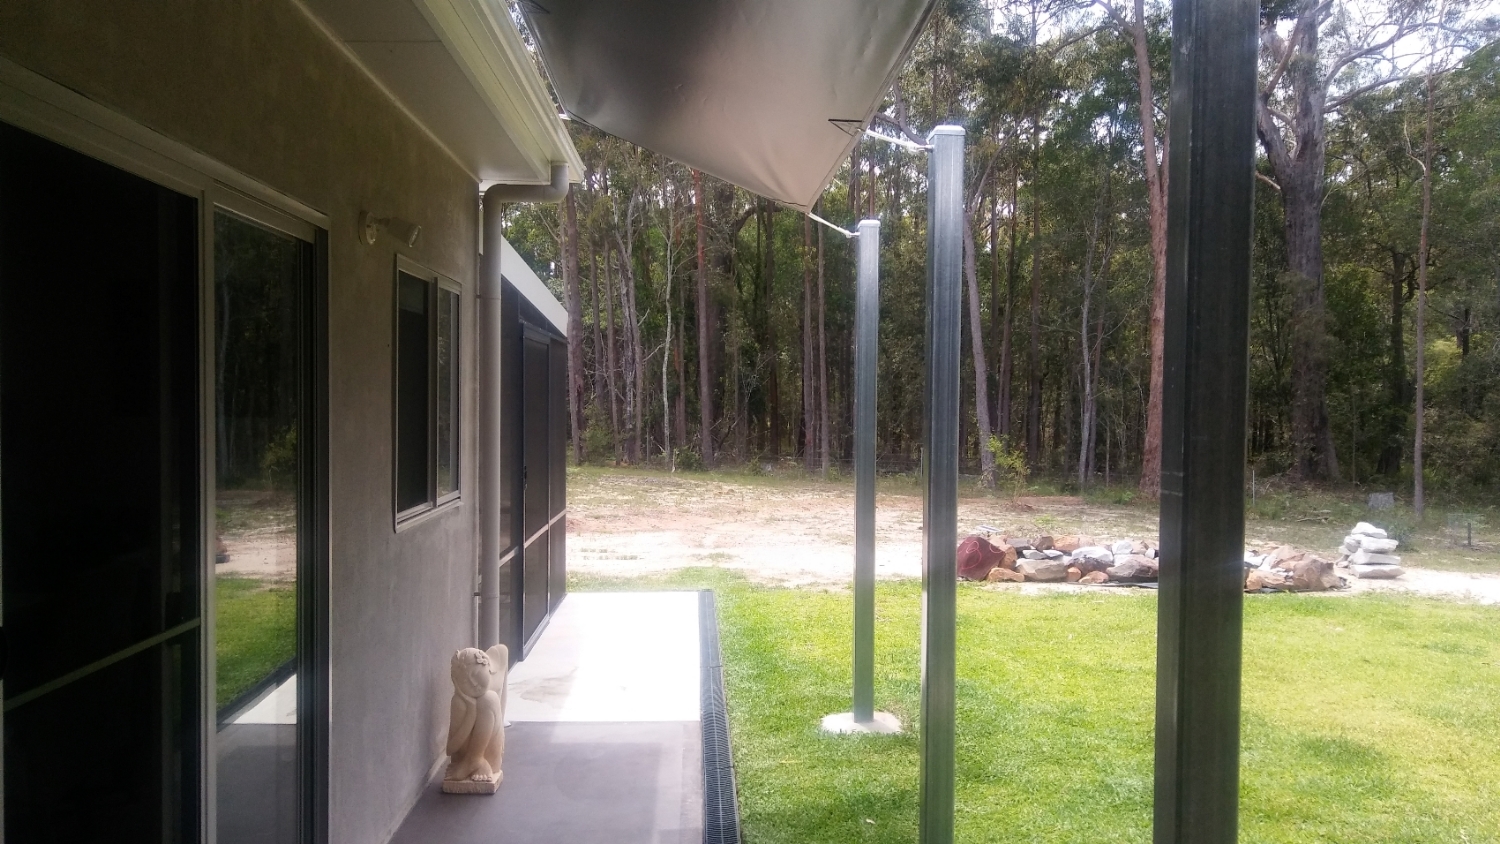
Posts for the waterproof shade sails
I loved this idea and took delivery of the 100 mm x 100 mm galvanised steel posts complete with top caps and connection rings installed. They were 3.5 metres long so were quite heavy. I carefully measured the height they needed to be so as to get a slope from the roof anchors, set them out with a string-line and had 400 mm post holes dug 900 mm deep by a bobcat auger.
I threw the posts into the holes, and set them up with stays before adding concrete: lots of concrete, then domed them off with a sand and cement mix. The next day the sail guy came out to do a final measure and plan for the sail.
He needed to know where the posts were and marked where the anchors needed to go, then started making the sail. It was to be a marine strength vinyl with wire rope inserted around the edges for strength.


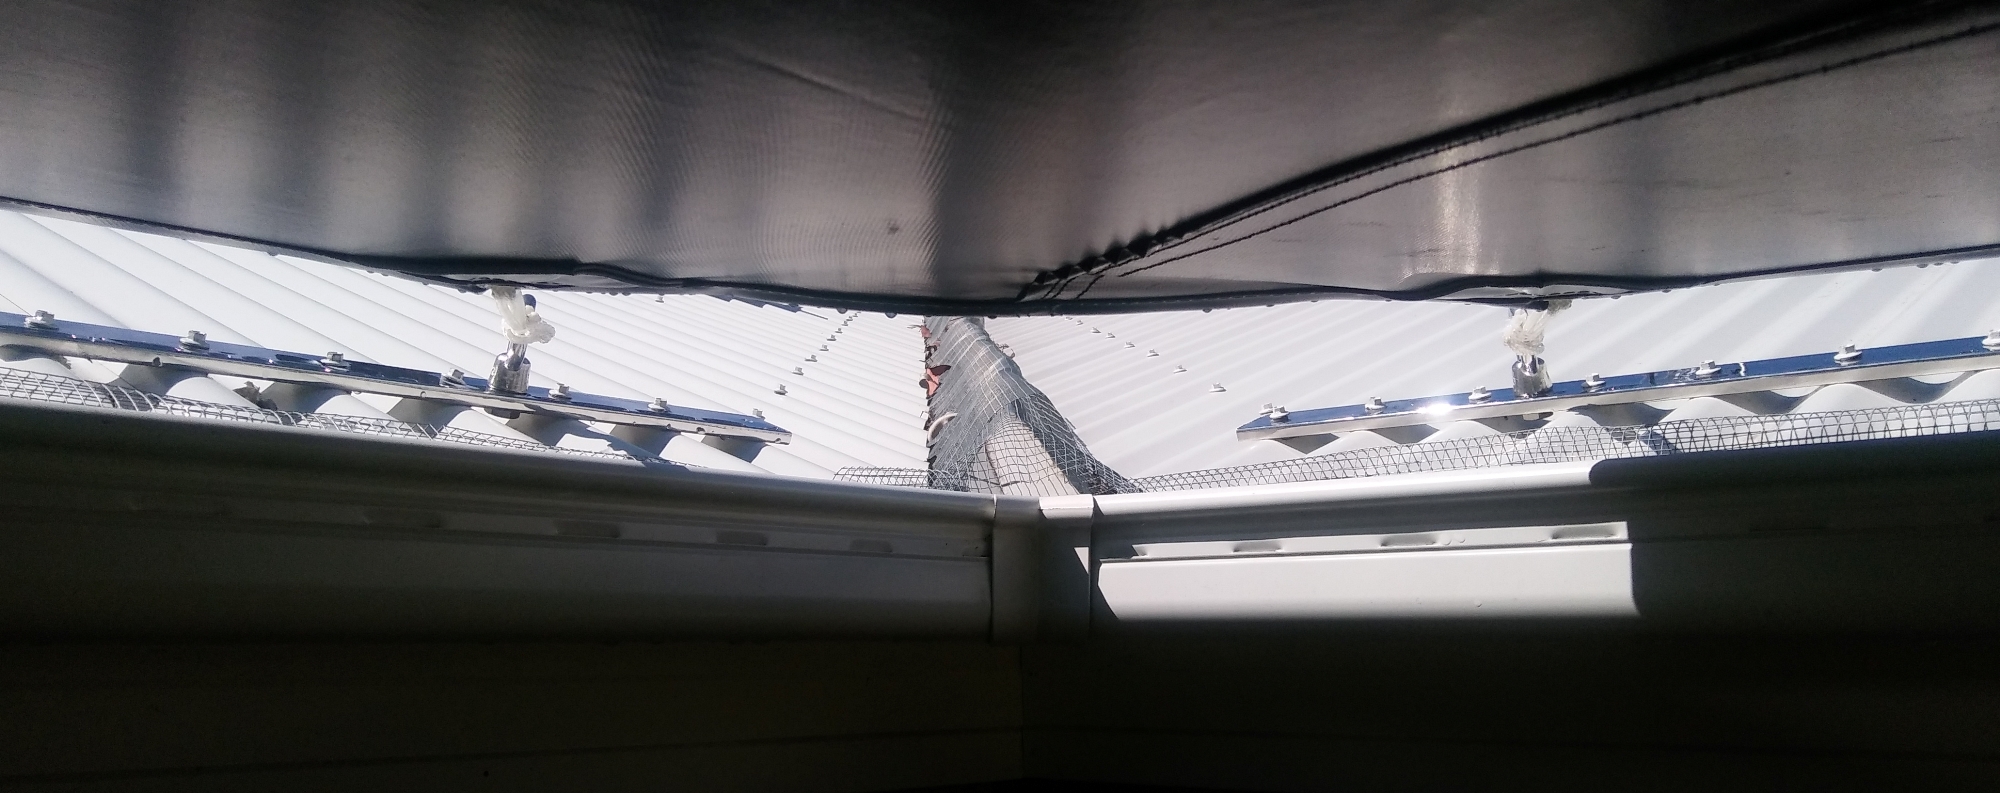
Waterproof shade sails: Roof anchors
I went about installing the roof anchors, which were heavy chromed bars with seven roof screw holes and an anchor eye-bolt on each.
I added a dollop of silicon on each underside screw hole before screwing them into the roof batten.
We toyed with the idea of d-shackles, turnbuckles, s-hooks etc, which would have cost about $500 extra, but, as they were short spans, I opted for using marine rope which costed about $20.


I picked up the custom shade sails a week later and he gave me a good system of assembly, that would get the result I wanted. I doubled up the rope and tensioned it up, tied it off, burnt the ends and used cable ties to neaten it up. I needed to work my way around adjusting it to get the ripples out first.
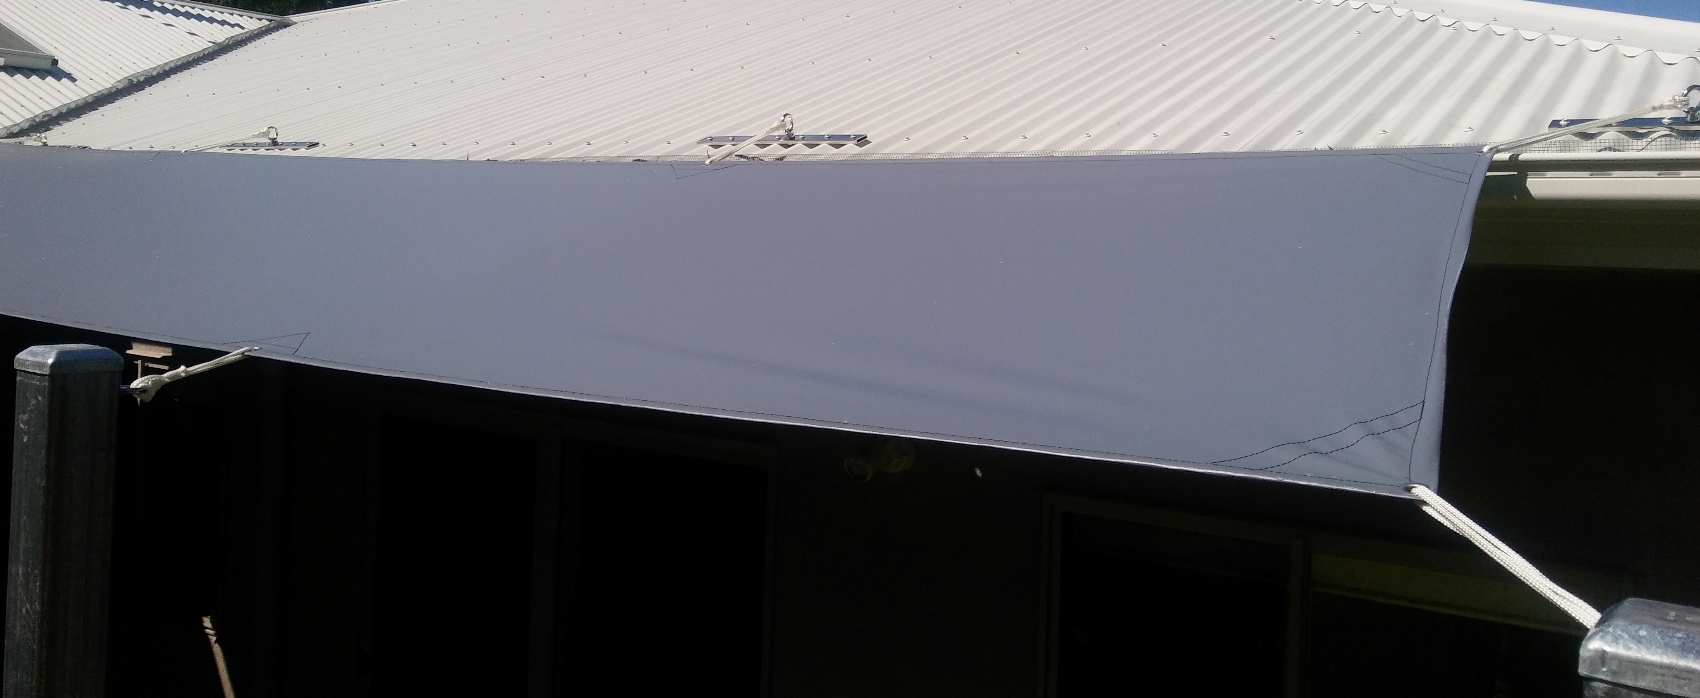
A great result with the sun hardly hitting the cladding now. My waterproof shade sails are a practical DIY solution.
See my wooden pergola solution for the other side of my kit home
Go back to DIY Projects or return to kithomebasics home page


