Build an easy wooden pergola
Lots of alternatives to a wooden pergola exist, and for my kit home, I looked into them all. The front of my house faces south west so some fierce sun hits us for three months of the year. I just needed to stop the sun hitting the cladding and heating up the house. To do this with awnings would cost a quoted $8,000 installed and would be subject to damage during summer storms from the west.
I chose to build a wooden pergola in the end because I could DIY it, the pergola cost was between $3-4000, and because wood has an enduring character: awnings do not. I could have employed a carpenter to complete the project but decided I had the skills and tools to build a wooden pergola.

Wooden pergola plans
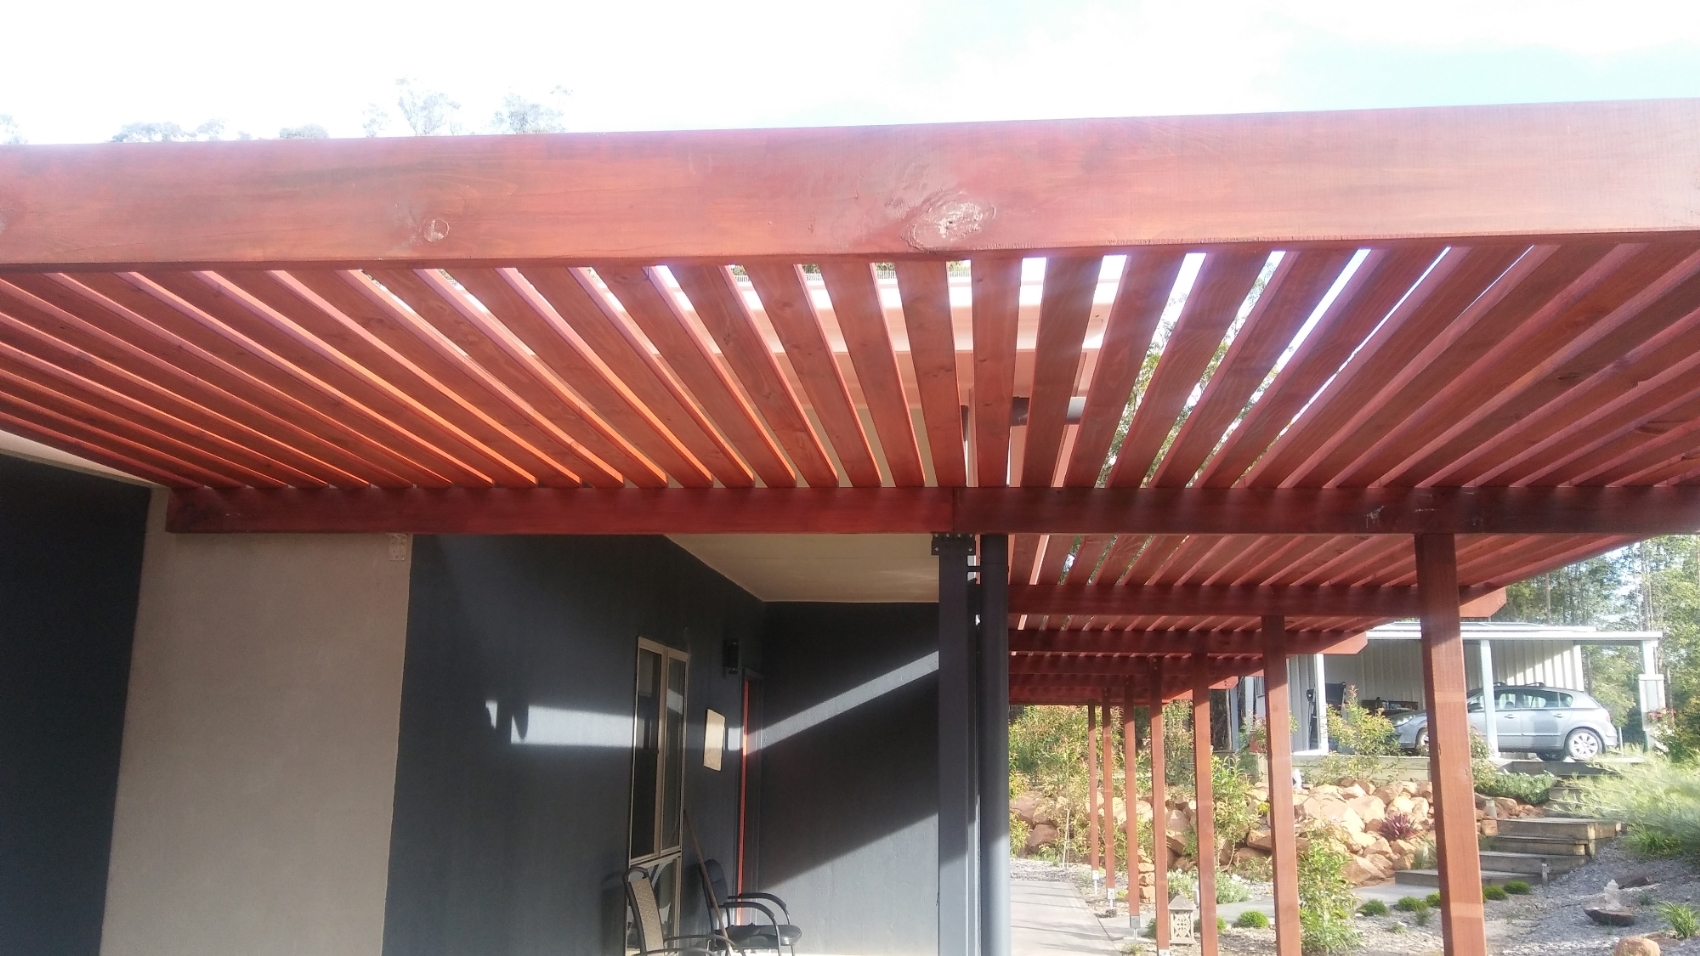
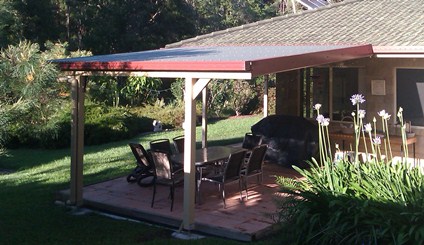
This pergola was going to span the full length of the kit home: just under 15 metres. As it was a steel frame, fastening a ledger to the wall studs was problematic without de-cladding it around the fastening points.
So instead of having all the weight on each end, I decided to have a single centre post to hold all the weight. Then I only needed to fasten each cross beam to the stud with a joist hanger as a brace. I also needed to diagonally brace it so I used slotted gal strap. A few right angle supports were also needed to dodge down-pipes and work around a corner. I used LOSP (Light Organic Solvent Preserved) pine for the slats and crossbeams and CCA treated Kaituna pine for the posts. These posts are laminated so they stay straight.

Wooden pergola materials list
- 90mm x 75mm x 6m LOSP H3 slats
- 240mm x 45mm x 2.4m LOSP H3 end fascias
- 140mm x 45mm x 2.4m LOSP H3 cross beams
- 90mm x 90mm x 3m CCA H4 Kaituna solid pine posts
- Galvanised bolts, bugle screws, post stirrups, joist hangers, and slotted strap
- Quick set concrete and a couple of bads of sand and cement mortor
- Wood stain
How to build a wooden pergola
Step 1
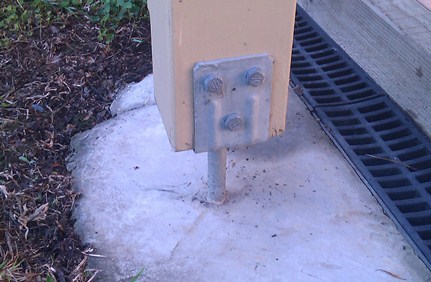
With a string line I plotted post holes measuring about 2.3m wide. I dug 500mm deep x 350mm wide holes and then used the string line to help set the post stirrups to the right heights. I used the quick set cement as it sets quickly and you don't need stirrup bracing. Lastly I covered the concrete with a 3cm topping of sand and cement mix to a neat dome.
Step 2
I sat the post on the first stirrup, propped it, then bored bolt holes through them. I then tightened them on making sure the post was dead straight. I did the same with each post making sure they were all lined up.

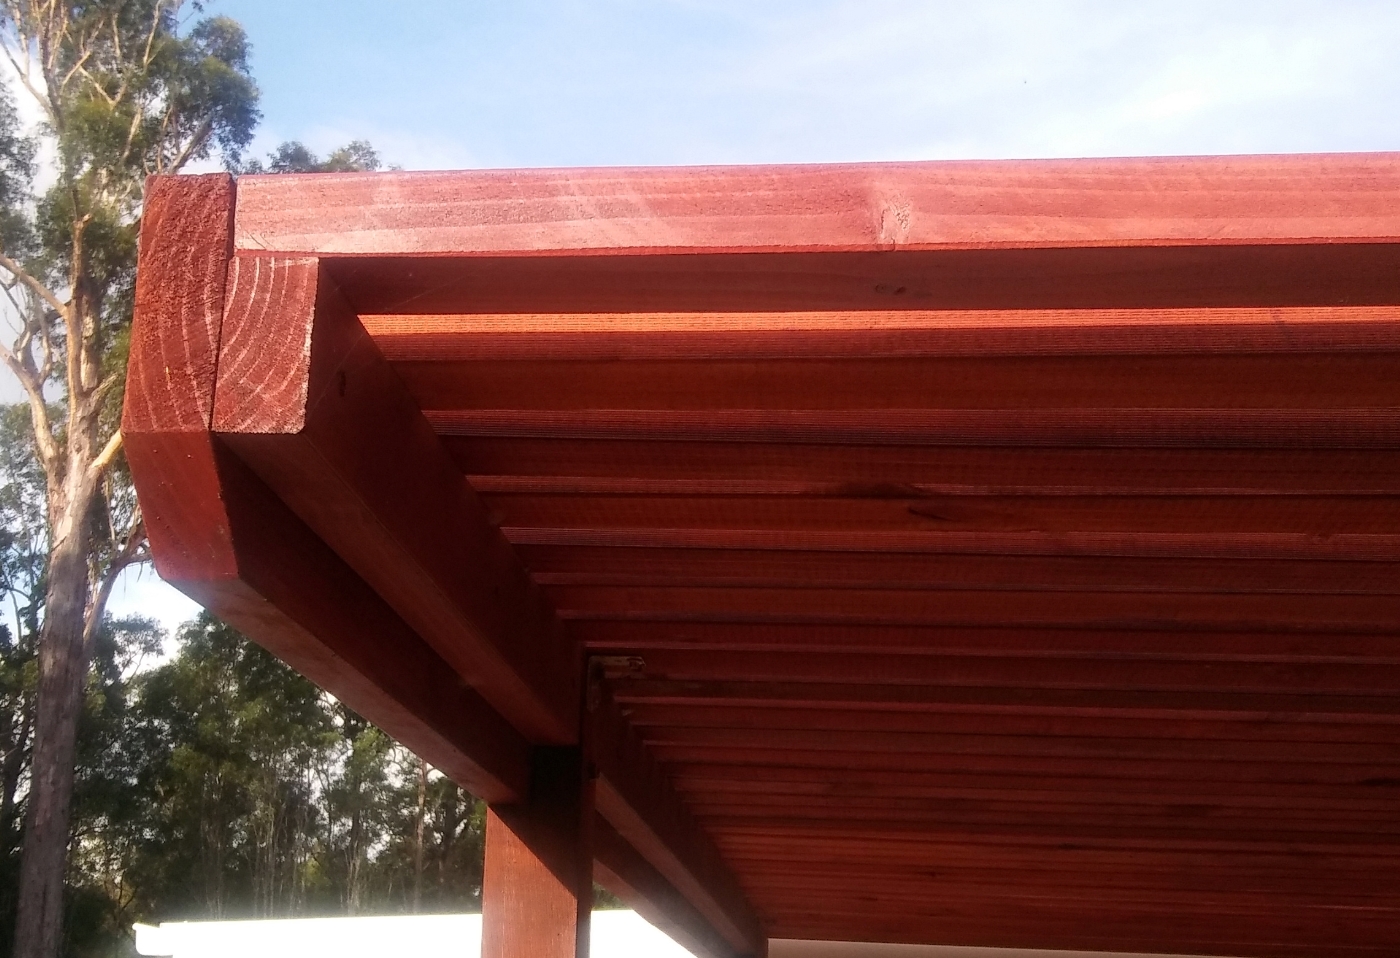
Step 3
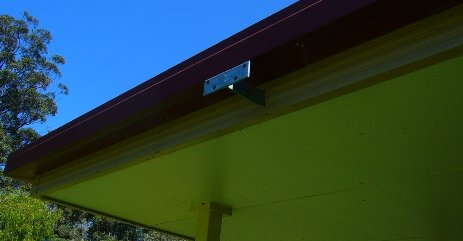
The first end fascia beam was next. This beam was wider (taller) so the post had to be cut 90mm higher. I leveled the fascia top height against the house and attached a support to the steel stud with tech screws. I checked out a 240mm x 35mm seat on the top of the post for the beam to sit on, sat the pre-cut beam on the post, clamped it, bored and bolted the beam to the post and secured the beam to the house joist hanger. I did the same to the other end fascia.
Step 4
The inner posts were 90mm shorter, but the same process was used. All check outs were sealed before bolting together. I used stringlines and levels to keep level lines between posts.

Step 5
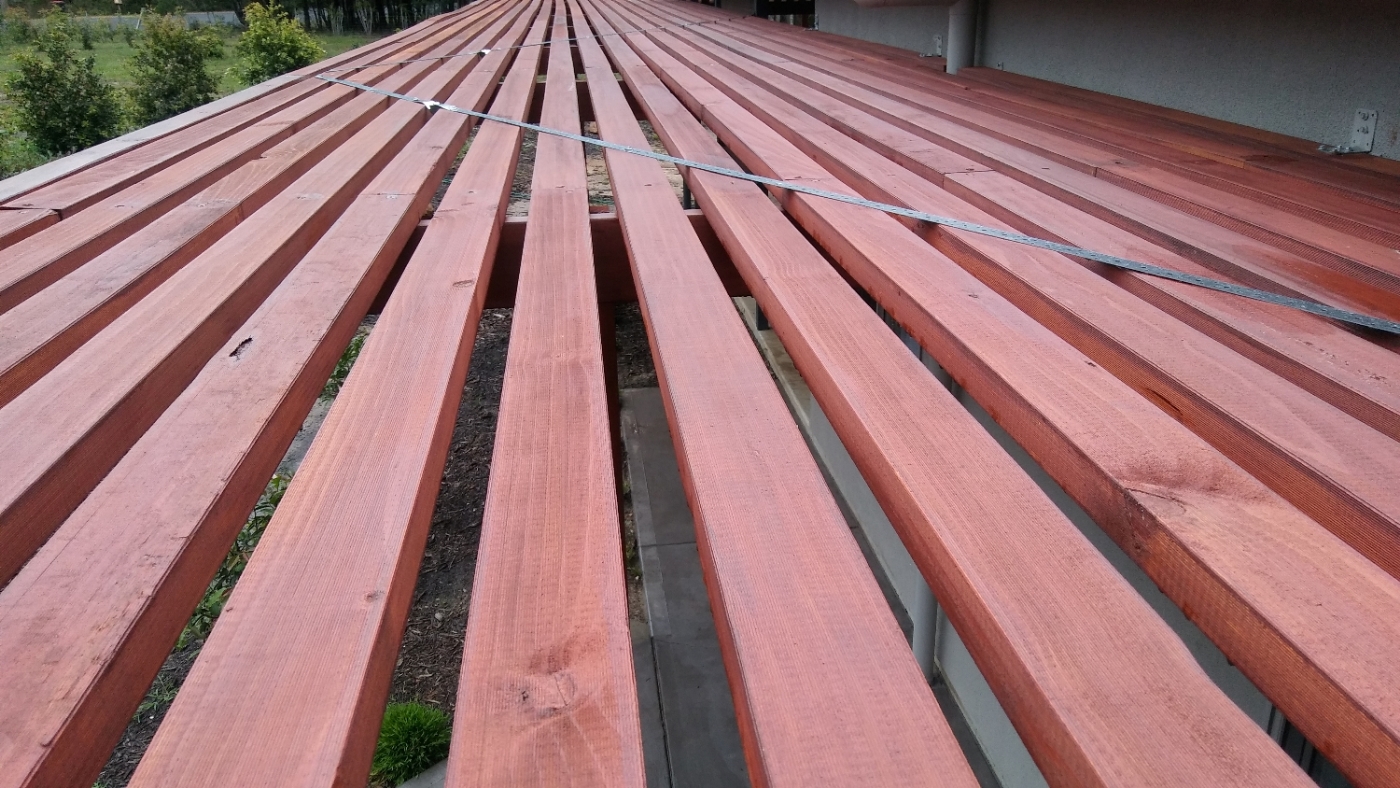
It took a while using trial and error to set out the spacing of the slats. I cut the slats to span 2 cross beams and secured them by pilot holing then fastening with gal bugle screws.
Step 6
I anchored the gal strap to the house and the end of the second beam. Then back to the house at the fourth cross beam. I used a tensioner to tighten the straps before screwing down across the slats.

Tips
- Stain/seal/paint all wood joints and ends before securing
- Any bows in the slats need to be 'bow up' before securing
- The cross beam seats can be checked out before the posts are erected if desired

Go back to DIY Projects or return to kithomebasics home page
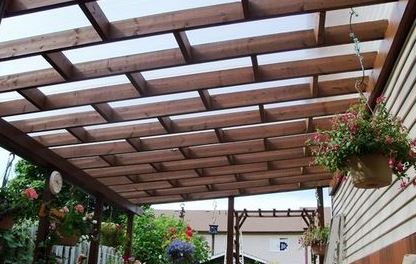
To build your own pergola attached to house and roofed, click on a graphic below.
 Pergola plans Pergola plans | ||


