Framing a ceiling
in steel home kits
Steel home kits owner building Part 3. Part 1 detailed my steel wall frame plans, Part 2 detailed the standing and tie-down of the wall frames. The next stage was getting the ceiling frames onto the wall frames. In normal framed houses houses there would be a ribbon plate on top of the frames, truss frames to stand and ceiling battens to screw up onto the base of the trusses.
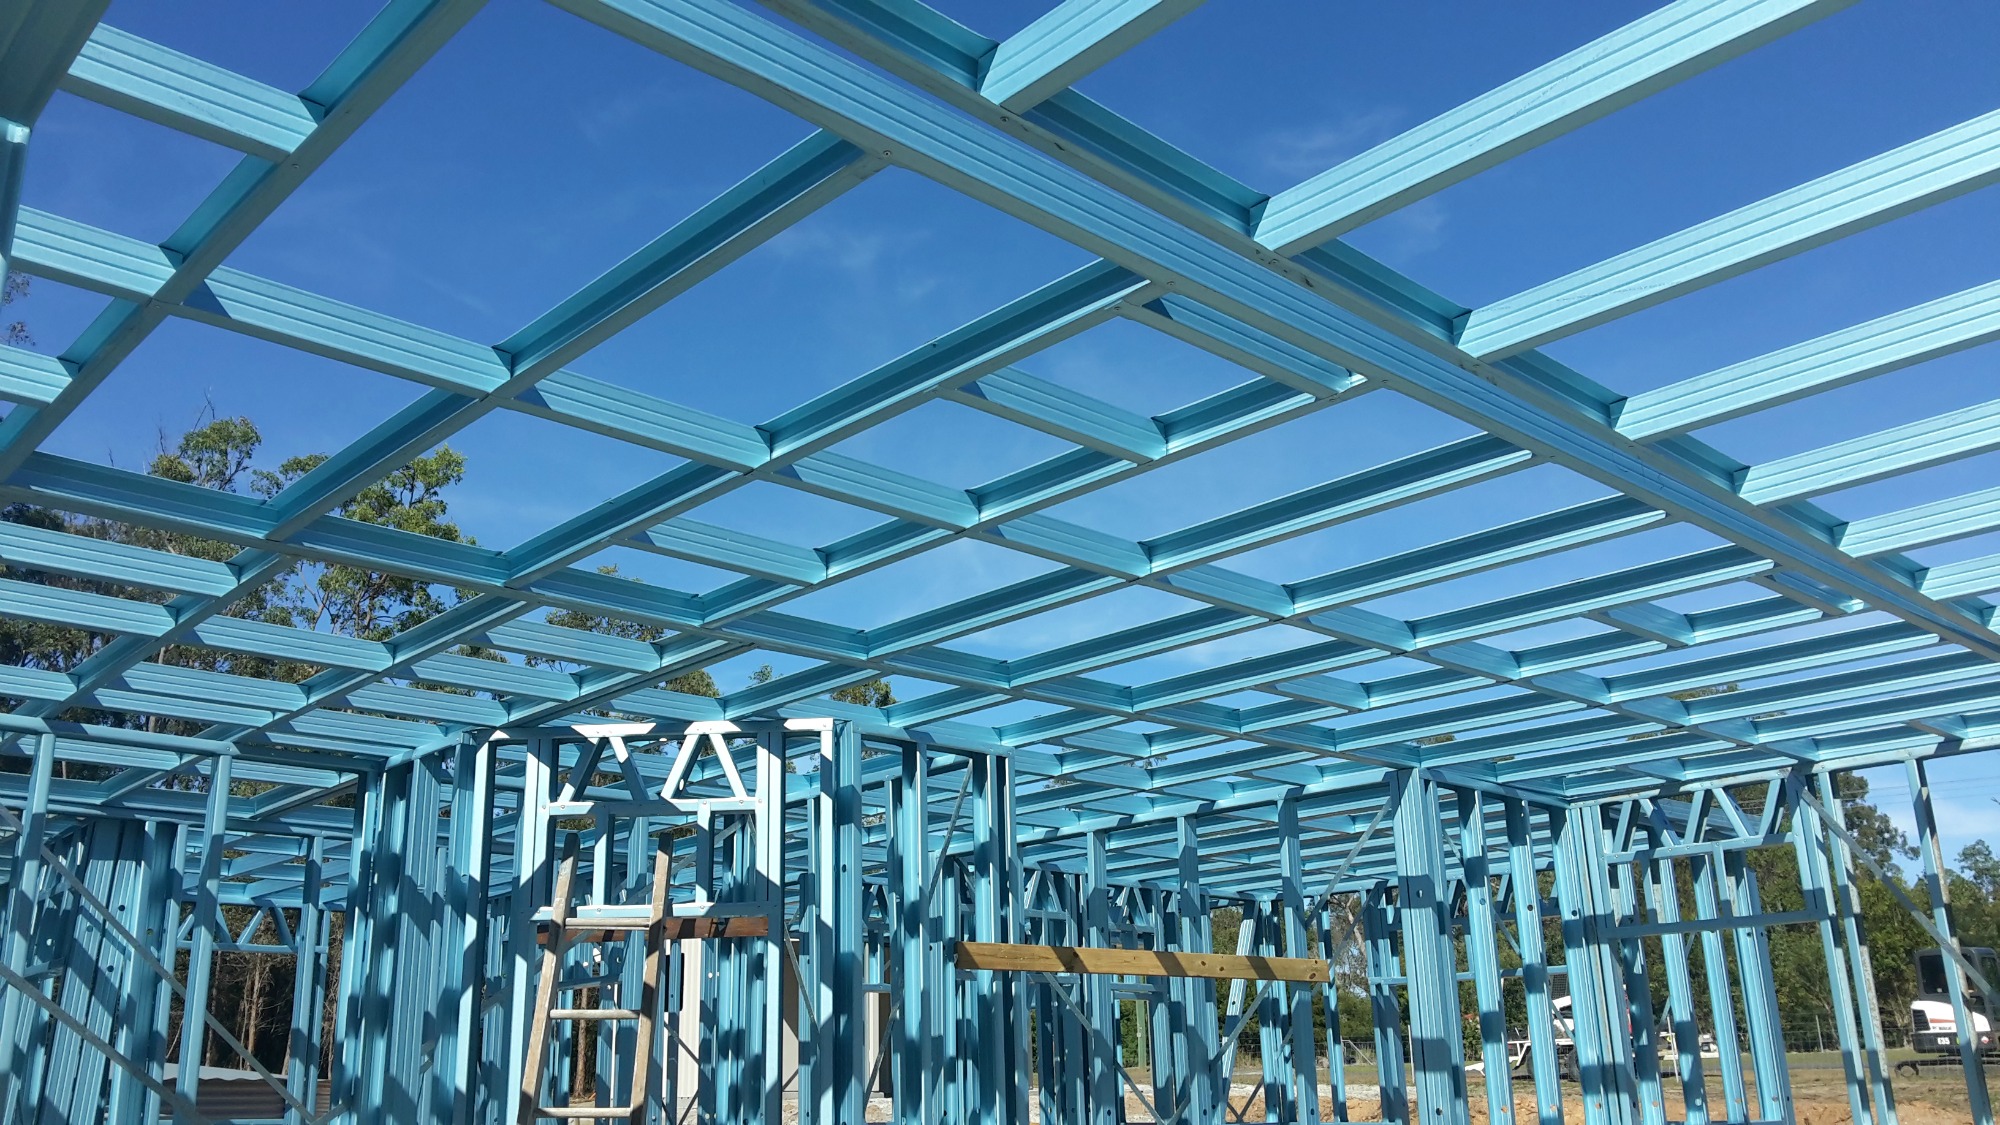
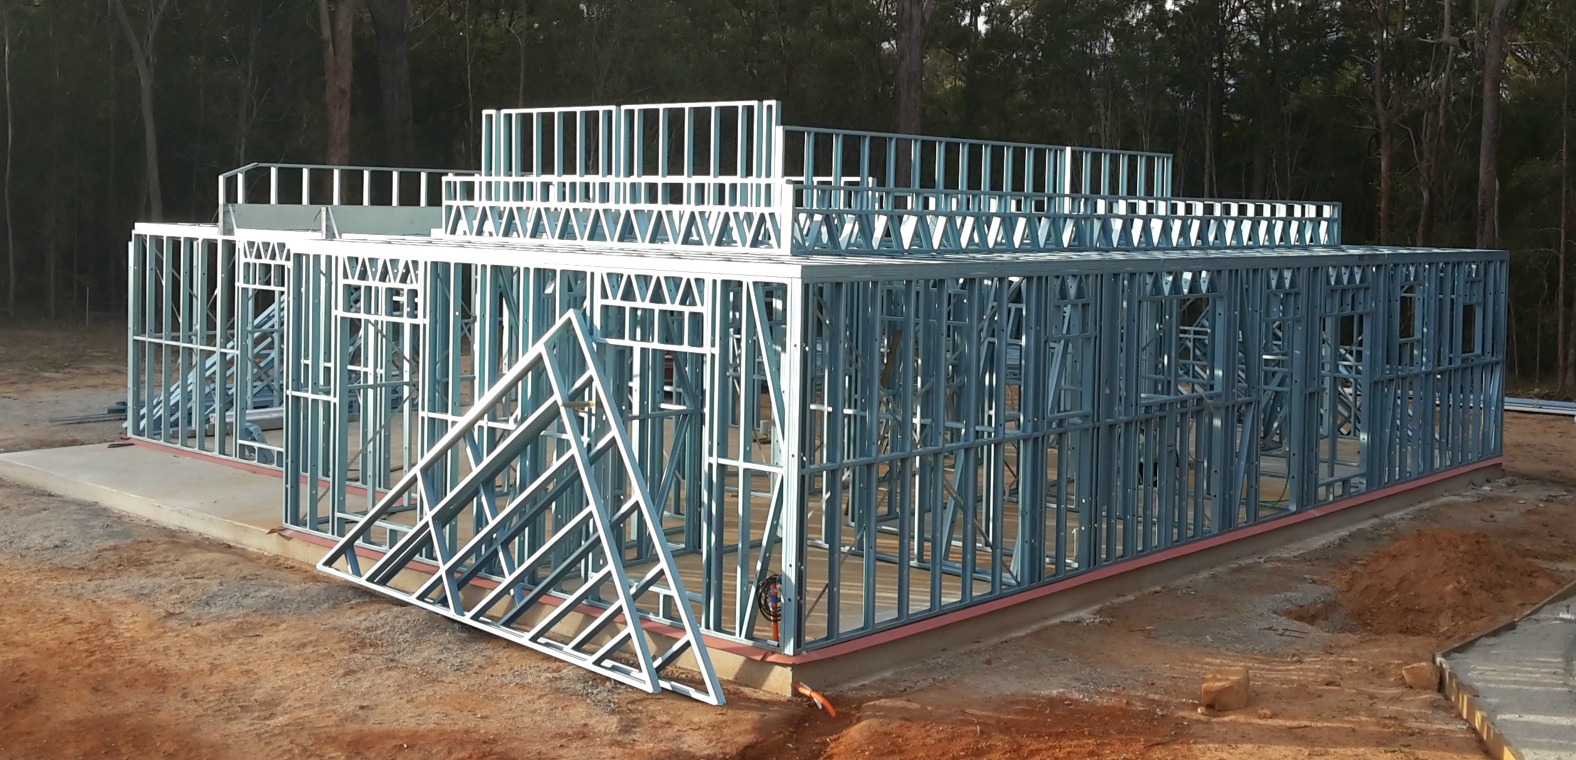
Not this design. Frames, frames and more frames. The ceiling frames, about 15 of them, were designed to be laid flat on top of the wall frames and lock together forming a complete ceiling panel system.
Building steel home kits: ceiling frames
Sorting this stell home kits frames was the first order of business: placing them around and leaning up against the wall frames in an area close to their position. Now these frames were pretty heavy, about 40-50 kgs each, so getting them on the roof required a minimum of three people: two to push the frame up and one to pull it onto the wall frames. As I didn't have helpers I waited until I needed an excavator on the property and used it to hoist them up over the wall frames.
The ceiling panel layout was very important as it helped make sure the frame was right side up and correctly orientated. The 3 x 7 metre 'hanging beams' had to be hoisted first and due to their position, could not be done by the excavator, so I used a genie mechanical hoist. Here's how I did it.
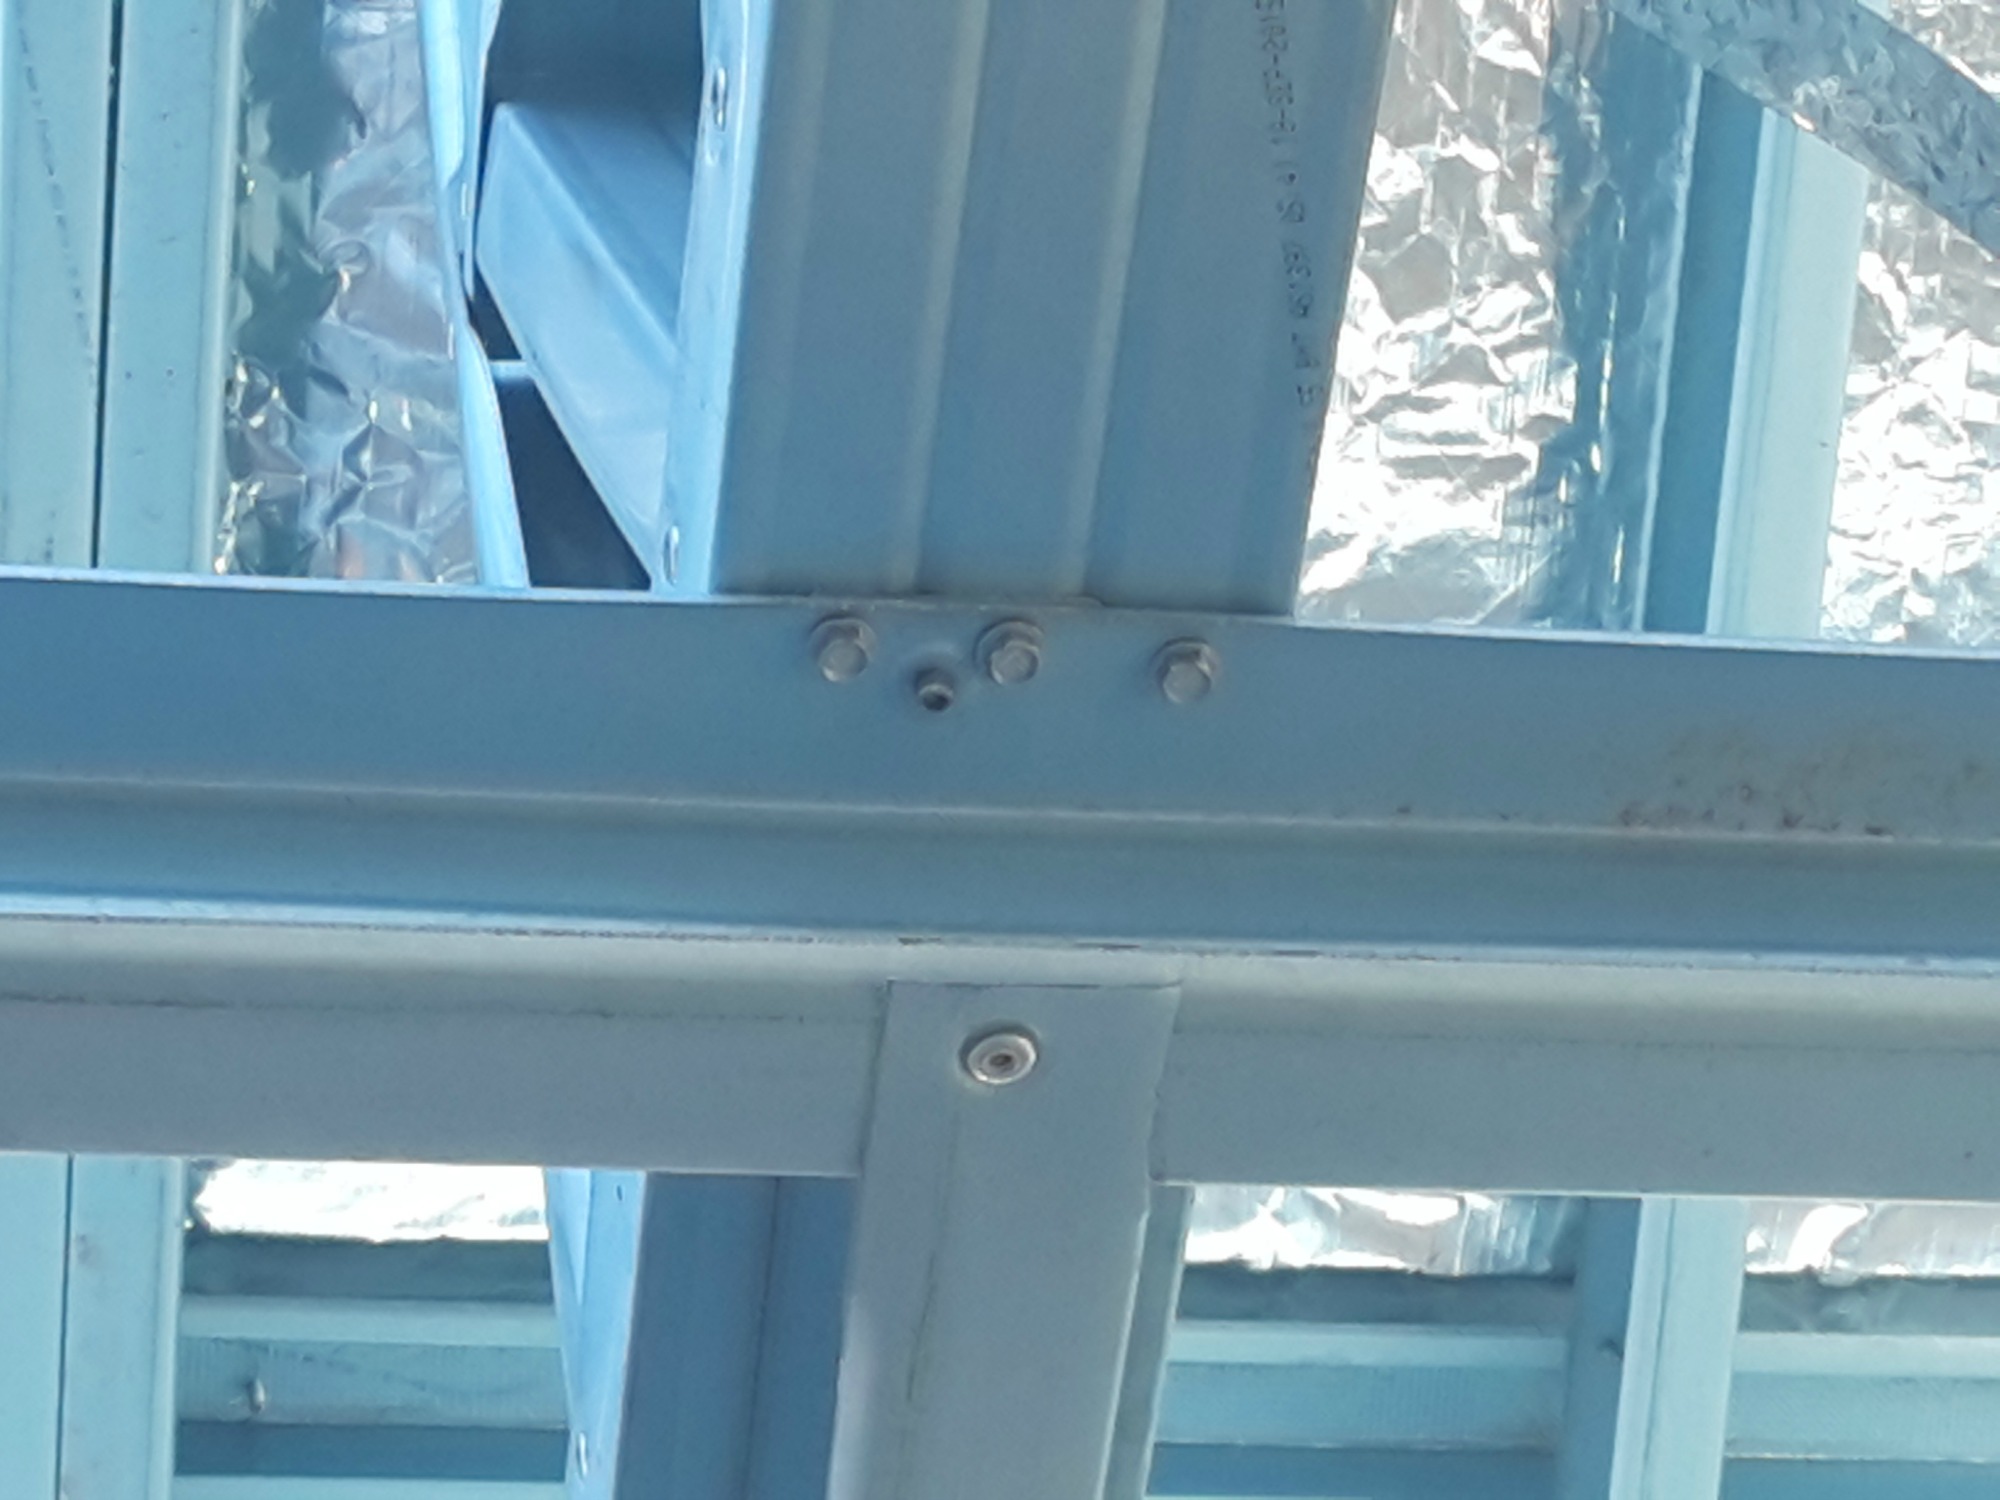
At this point a final vertical level check of the wall frames can be done. About 1000 tech screws later, it was all tied down to the metal wall frames.
Building steel home kits: roof support frames
Next up for this steel home were the roof supports. Rather than regular roof truss construction, these were an assortment of smaller frames designed to be installed upright on top of the ceiling frames in three rows around the steel framed building. They were set up to give support at two points to the roof frames. The roof frame layouts provided positioning details and distances from the wall frame edges. See the layouts here. I used the mechanical hoist to get them onto the roof while I had it for the hanging beam lifts.
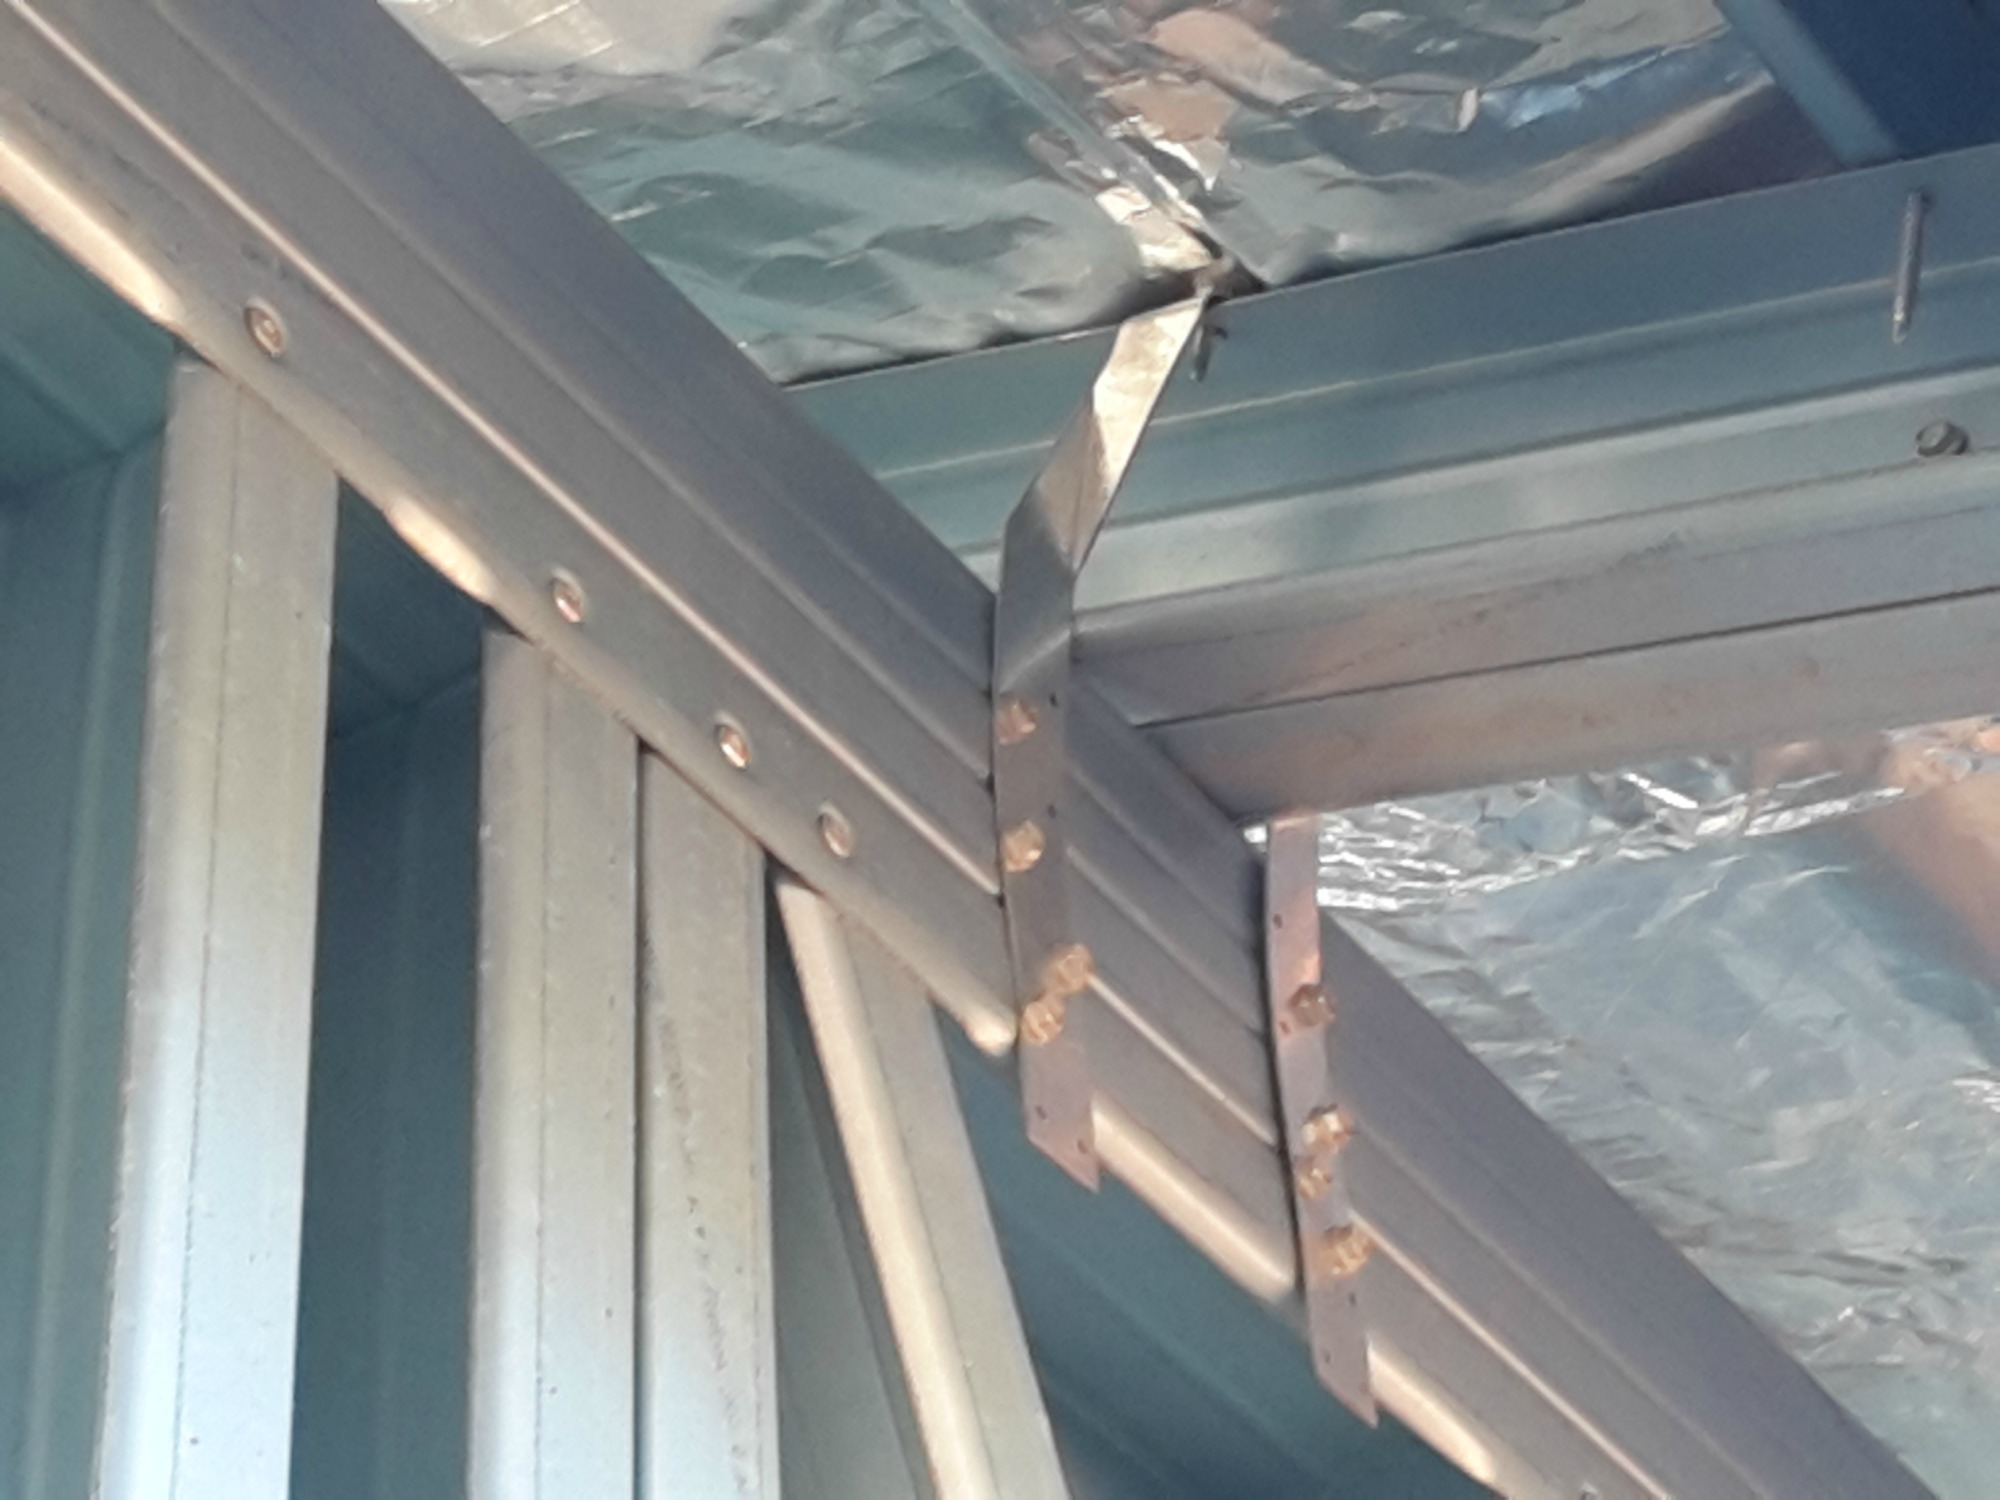
Each support was tech screwed to the ceiling panels on all horizontal studs and strapped down at 1200mm centres. Included in the strapping tie downs were the 3 hanging beams which needed strapping at 600 centres.
Building steel home kits: roof frames
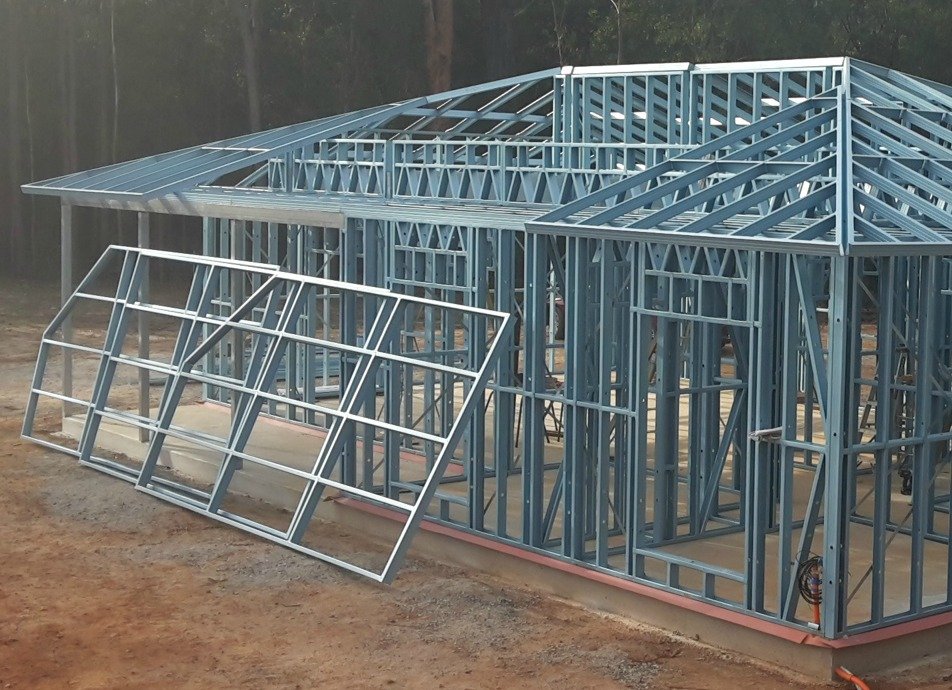
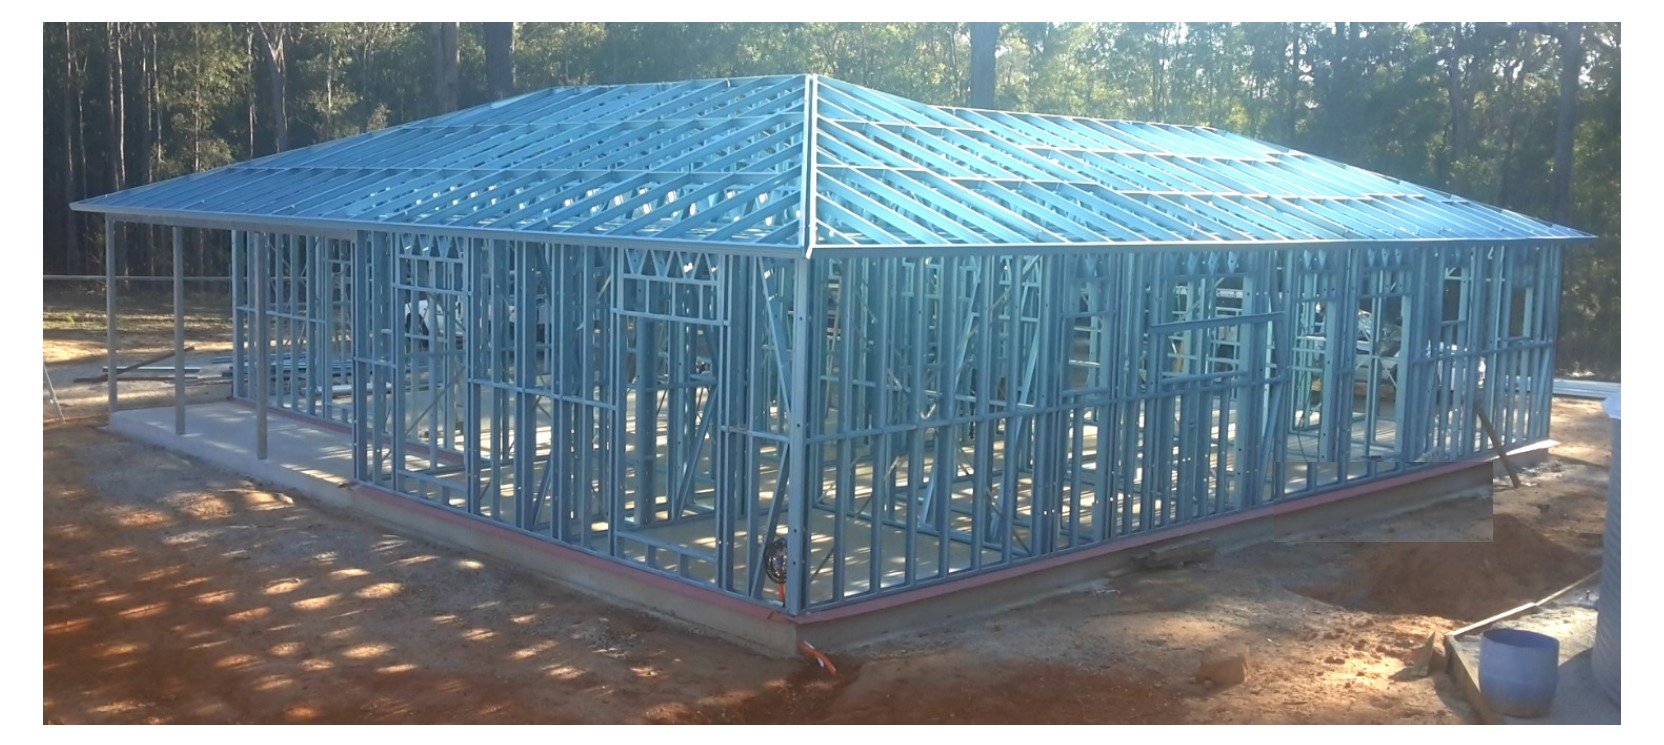
Lastly, the roof panels: another assortment of triangle and square metal frames, this time much lighter thanks to a thinner grade of steel frame made up this hip roof construction. As usual I arranged them around the building ready for lifting up onto the supports. The triangle corners needed to be installed first. These were a little shorter and easier to handle but my excavator driver was gone so I needed my special solo worker hoisting technique: see how I did it here.
The corners had to be set up so the roof overhang was 450mm on the bottom edge of the frame. This took a bit of work but it helped to join the two corner frames first, then move them around until in position. A string line set up from the new roof panel corners helps to keep a good overhang line.
The roof panels have to be tech screwed everywhere i.e. on all roof
supports and the wall frames. They also needed to be tied down with gal
strap over the ridge line to the ridge support frames. The system
created a hip roof with five hips and one valley.
The last tie down was the
cyclone straps over every rafter as it sat on the external metal wall
frames top plate. I believe I was up to my thousandth tech screw! The next steps were roofing and then blueboard cladding.
