Building a Carport Shed Combo

My carport shed combo started its life almost eight months before it was finally built. The dreaded corona had vastly reduced material procurement due to shortages from a huge rise in building activity.
The shed salesman said we needed to lock in a contract as there was three or four price rises happening before the end of the year. And given his projection was next February (seven months later) to erect it, we fell into line and waited our turn. Early 2022 weather delayed things more, but by early March we had some progress.
Carport shed combo planning
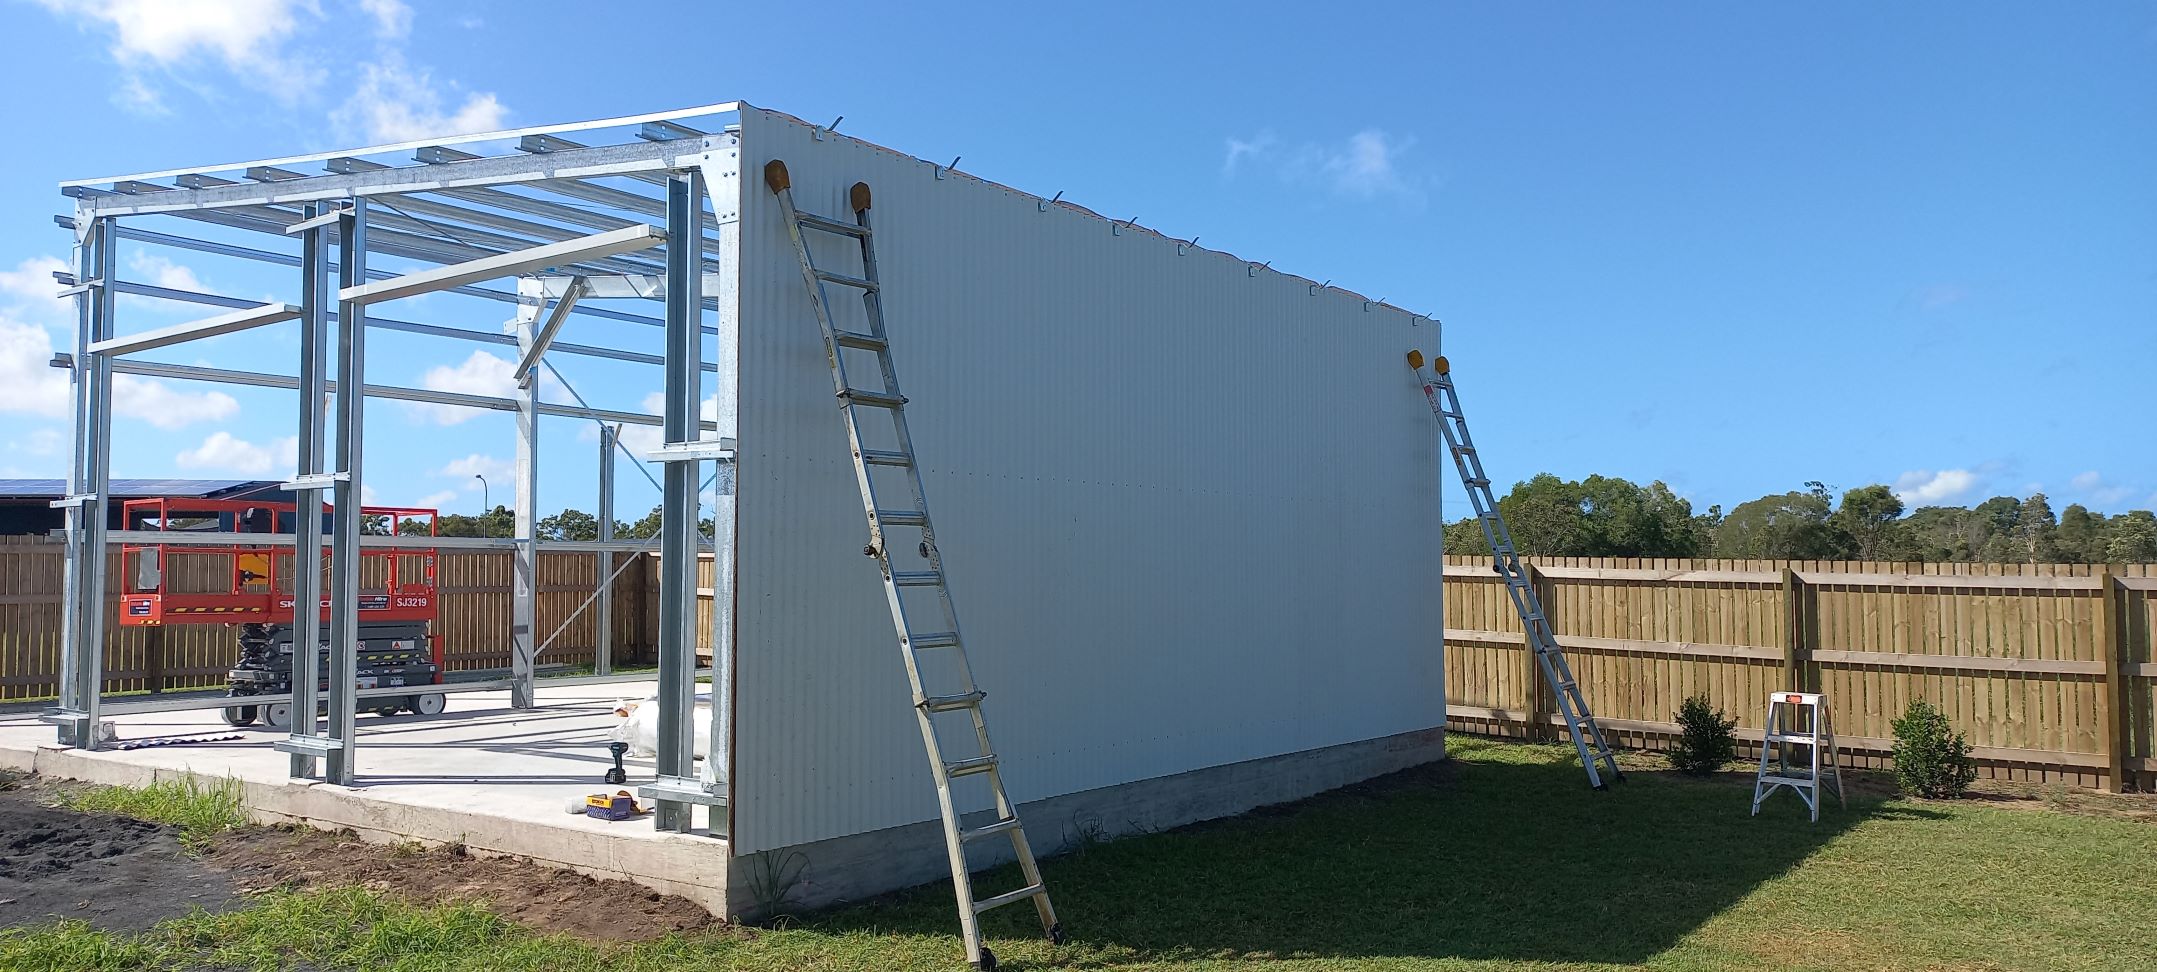
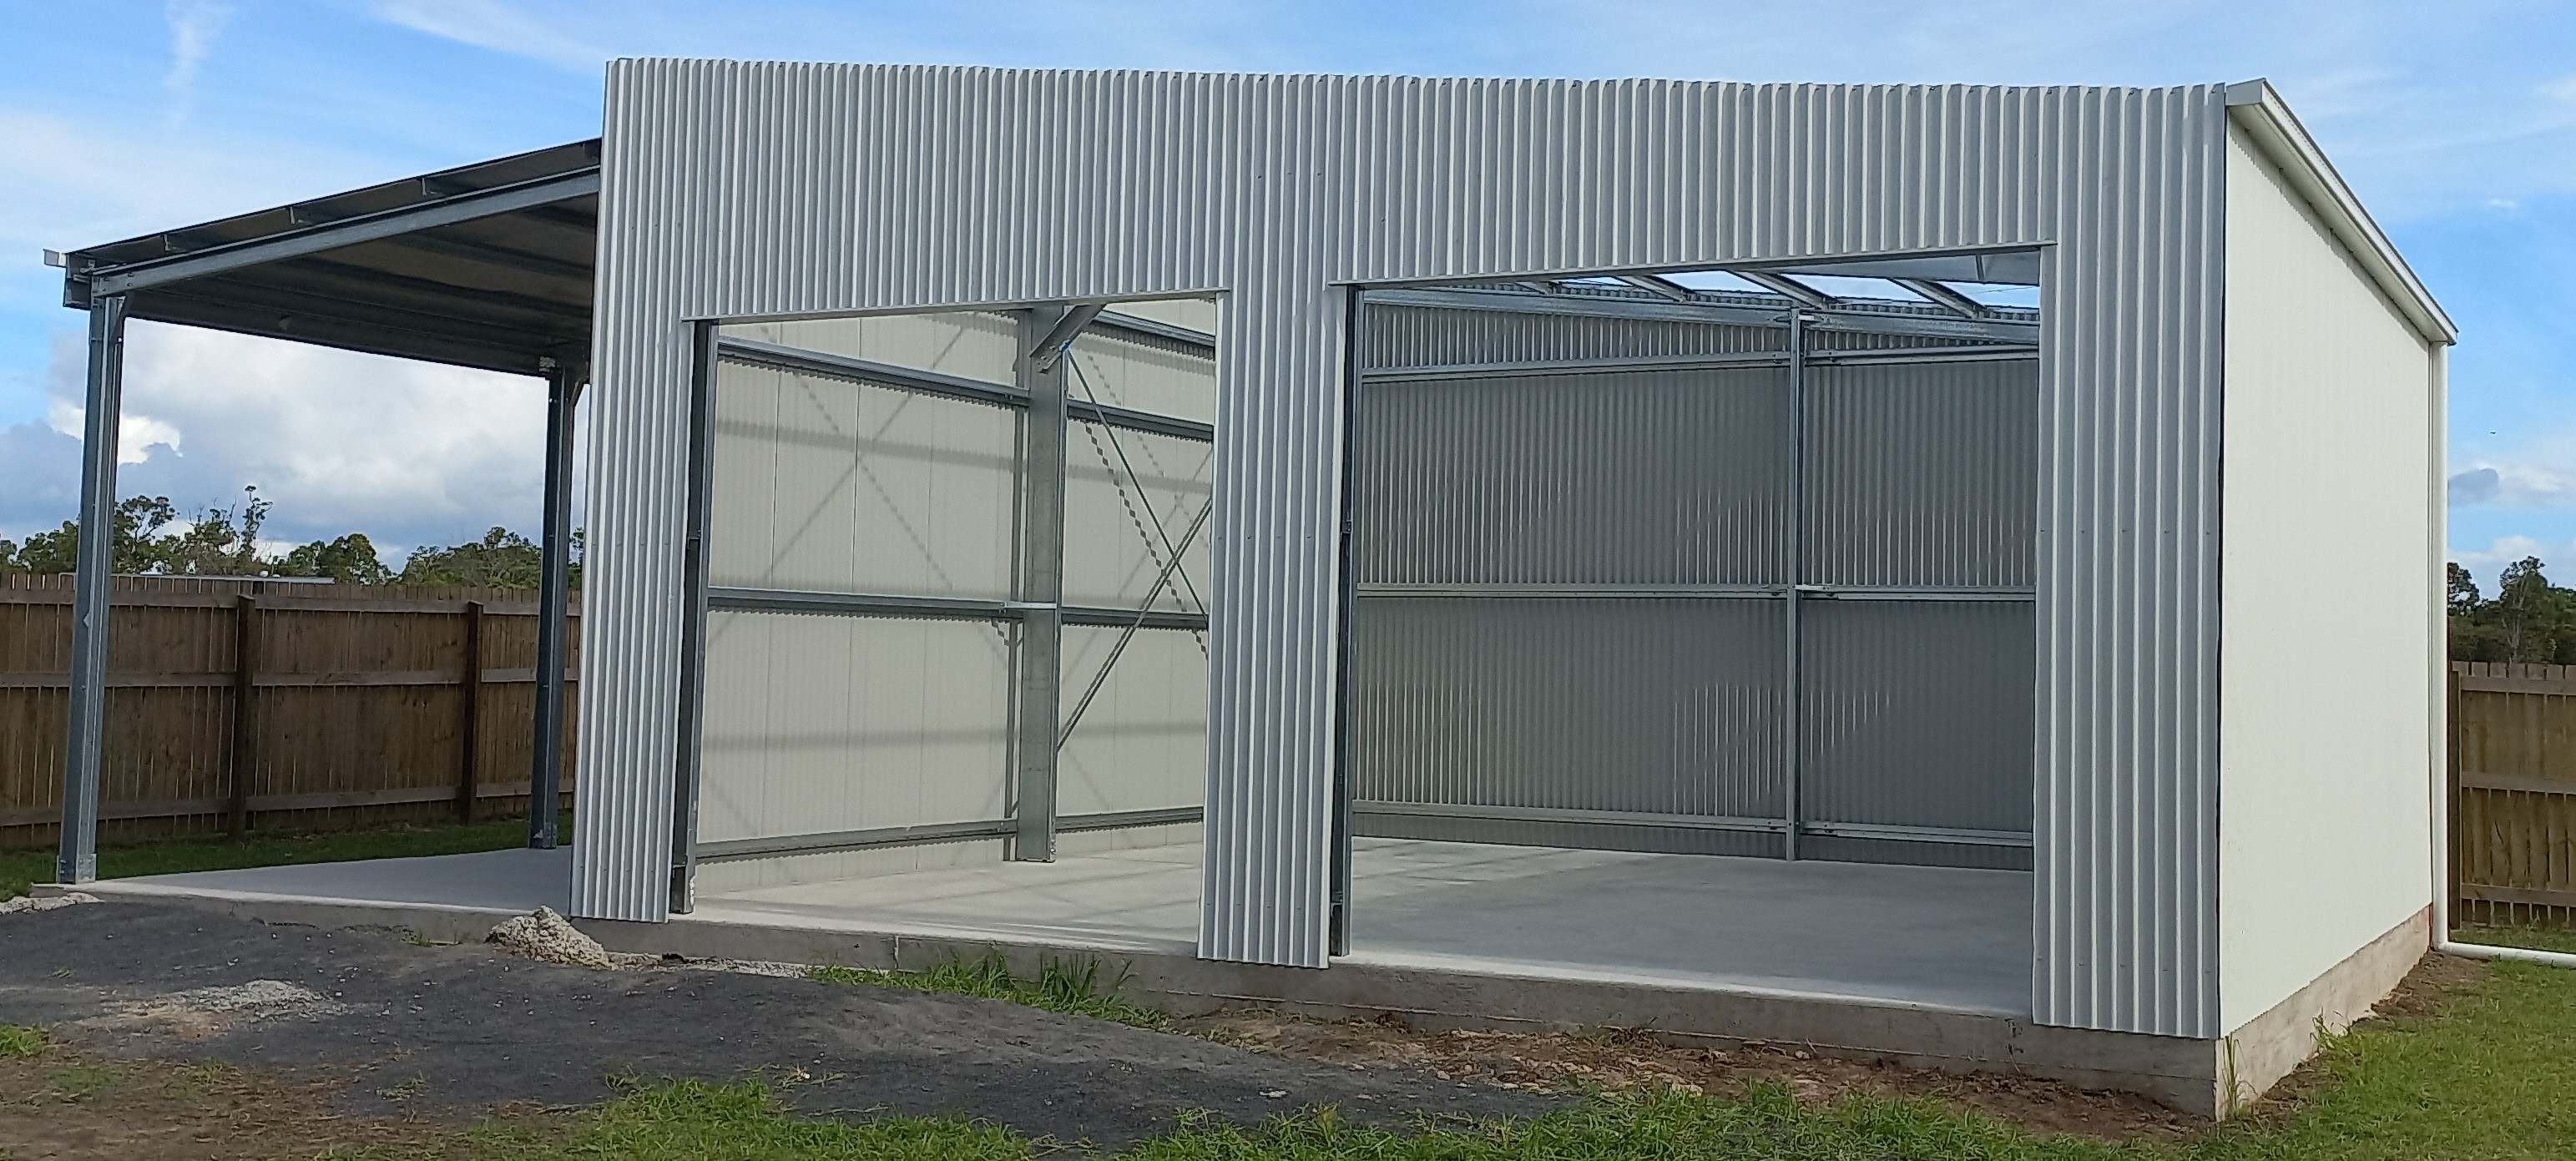
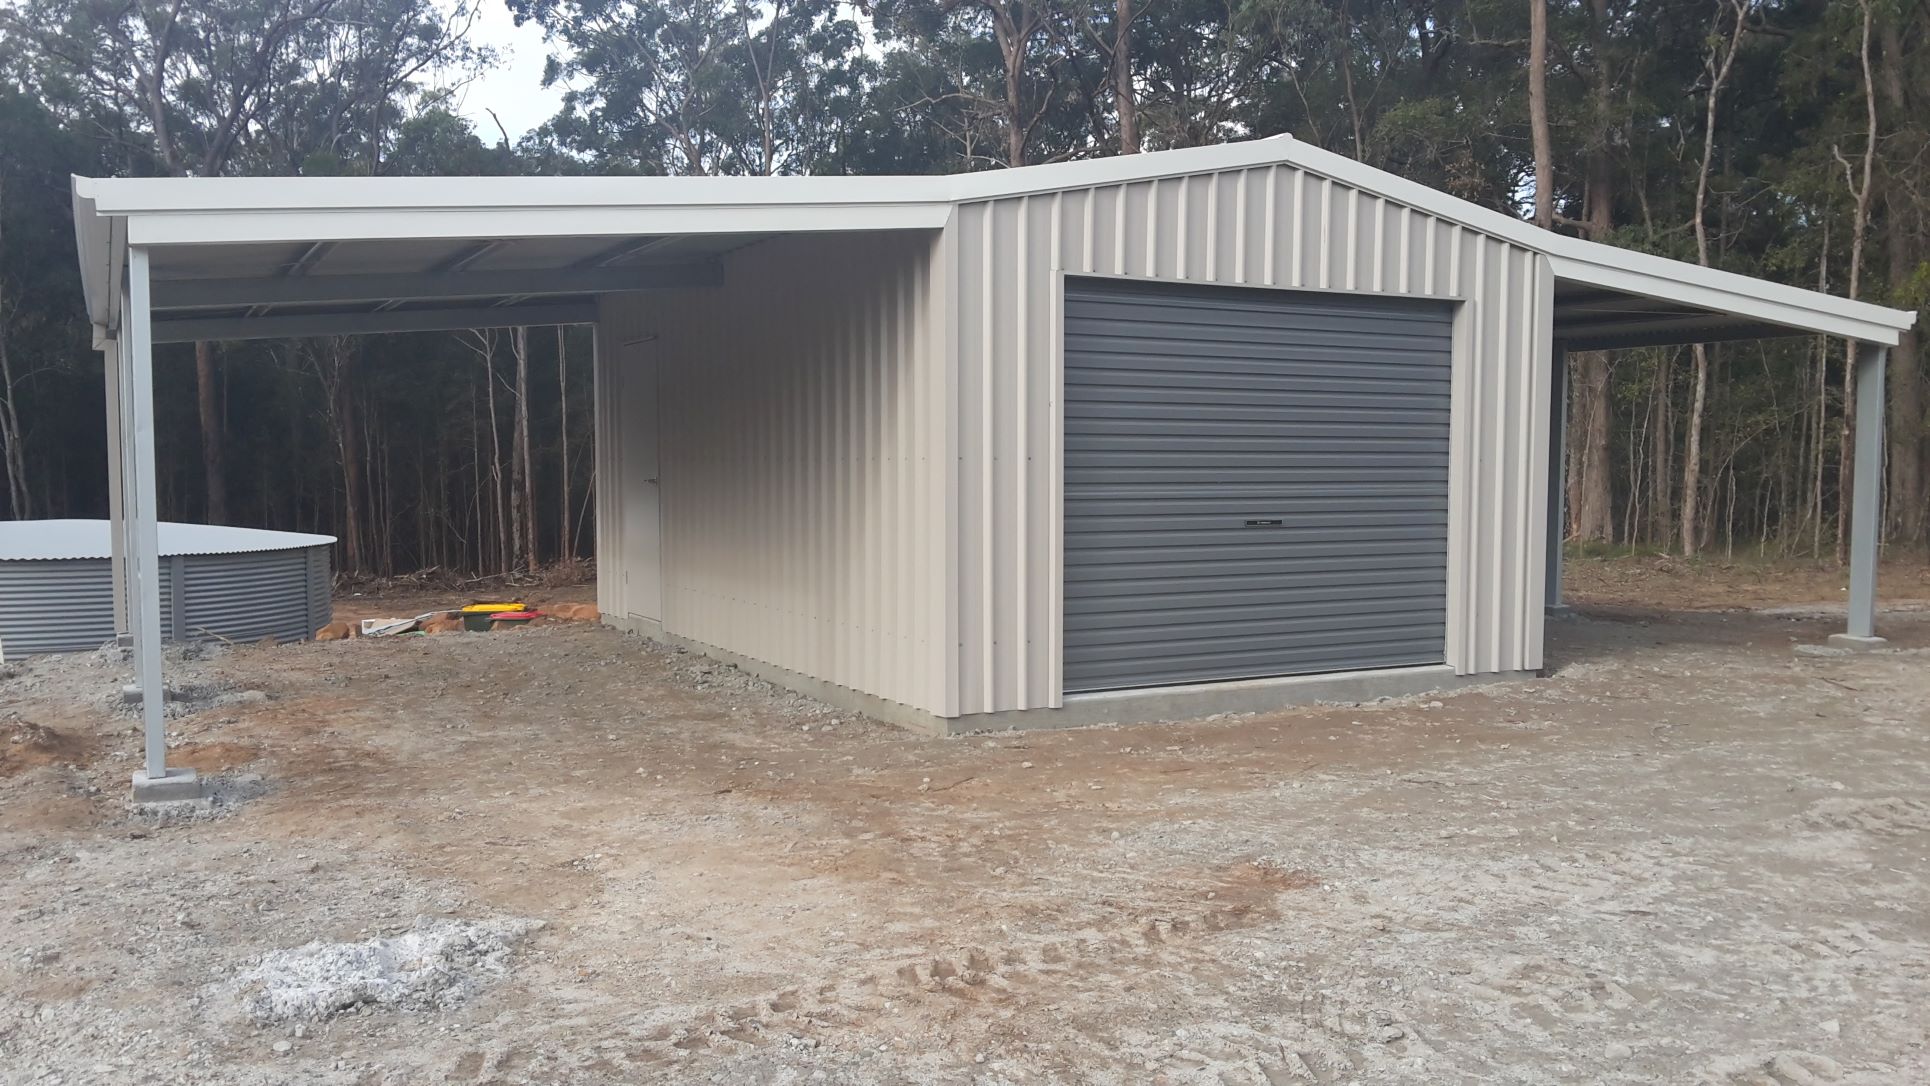
We live on a half acre (0.2 hectare) property near bundeberg queensland and the estate has numerous very large sheds, but very few houses at present due to the 'rona', building supply and labour shortages. So a bigger than average shed was our objective: one that could house an off road van and a tall 4 wheel drive, and maybe a boat or trailor. I also wanted good bay width to easily open doors, and depth to have gear in front or behind vehicles. So a carport shed combo was decided on with a skillion roof.
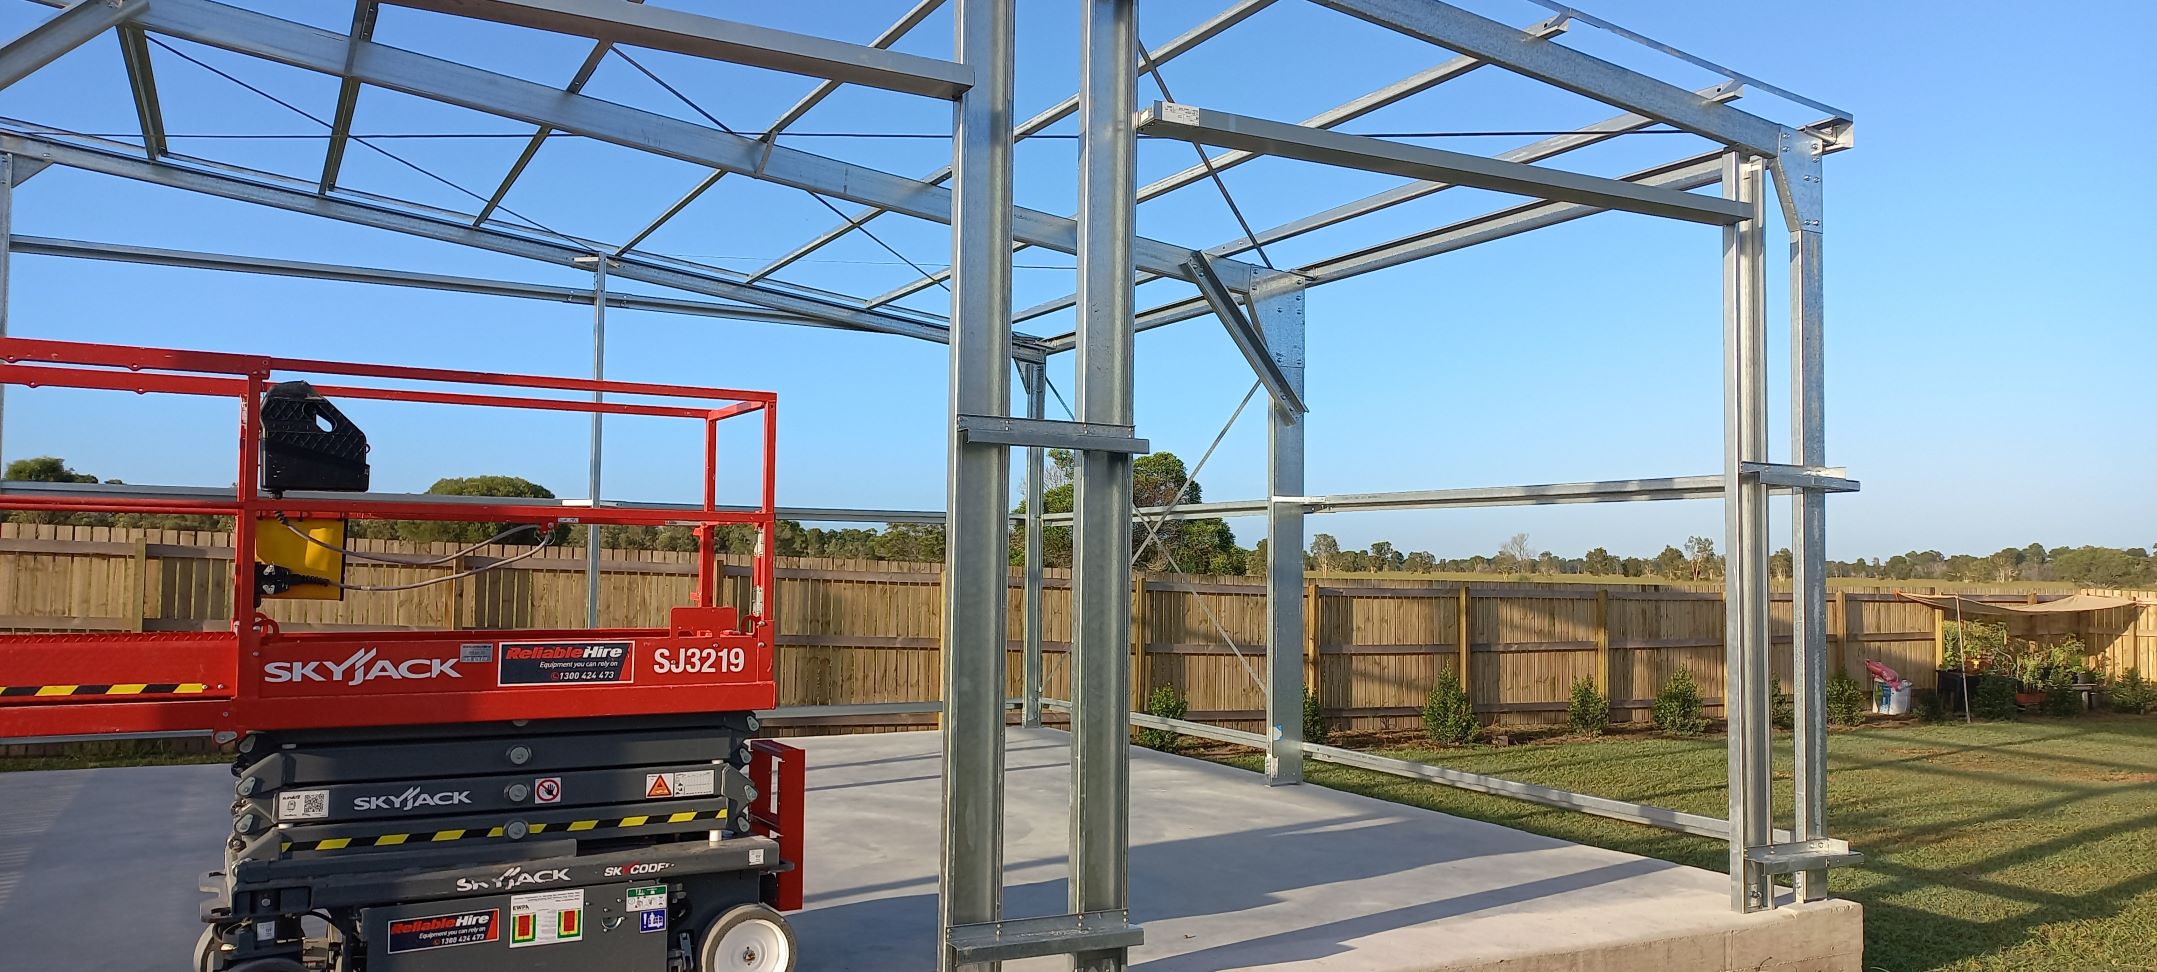
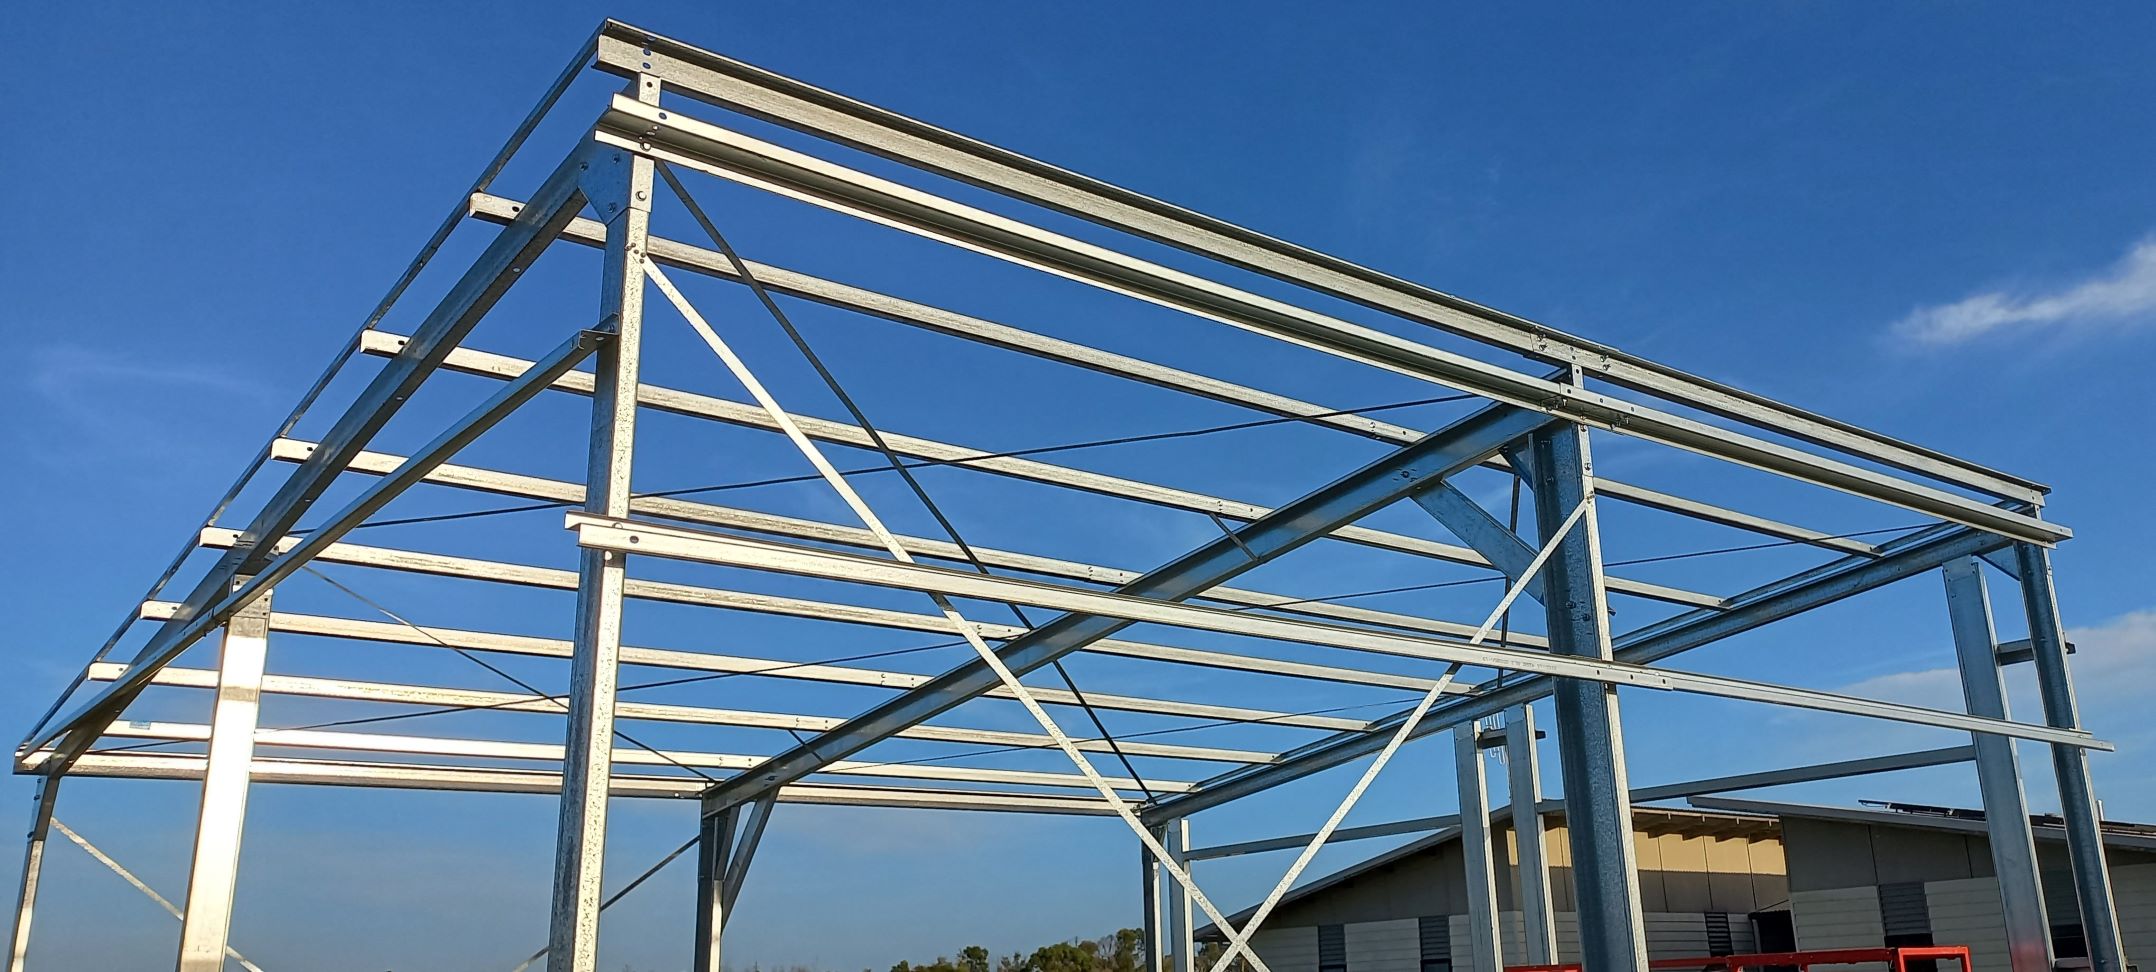
The double shed and carport ended up being 8 metres deep with 2x4 metre wide bays and an 8x4 metre carport lean-to. As the carport required a 3.5 metre entrance at the lowest point, the whole structure became rather large. Two sliding doors, an entrance door, window, roof insulation and whirlygig finished off the plan. We decided on colorbond surfmist to reflect heat as much as possible. As we live in a cyclone prone area the shed needed upgraded framing to N3/W41- 50m/s rating ie up to 180km/h.
Cost to build a shed
The cost of building supplies has risen sharply this year so locking in a contract was important. My shed cost was..
Shed kit $17,000
Labour to erect $7,800
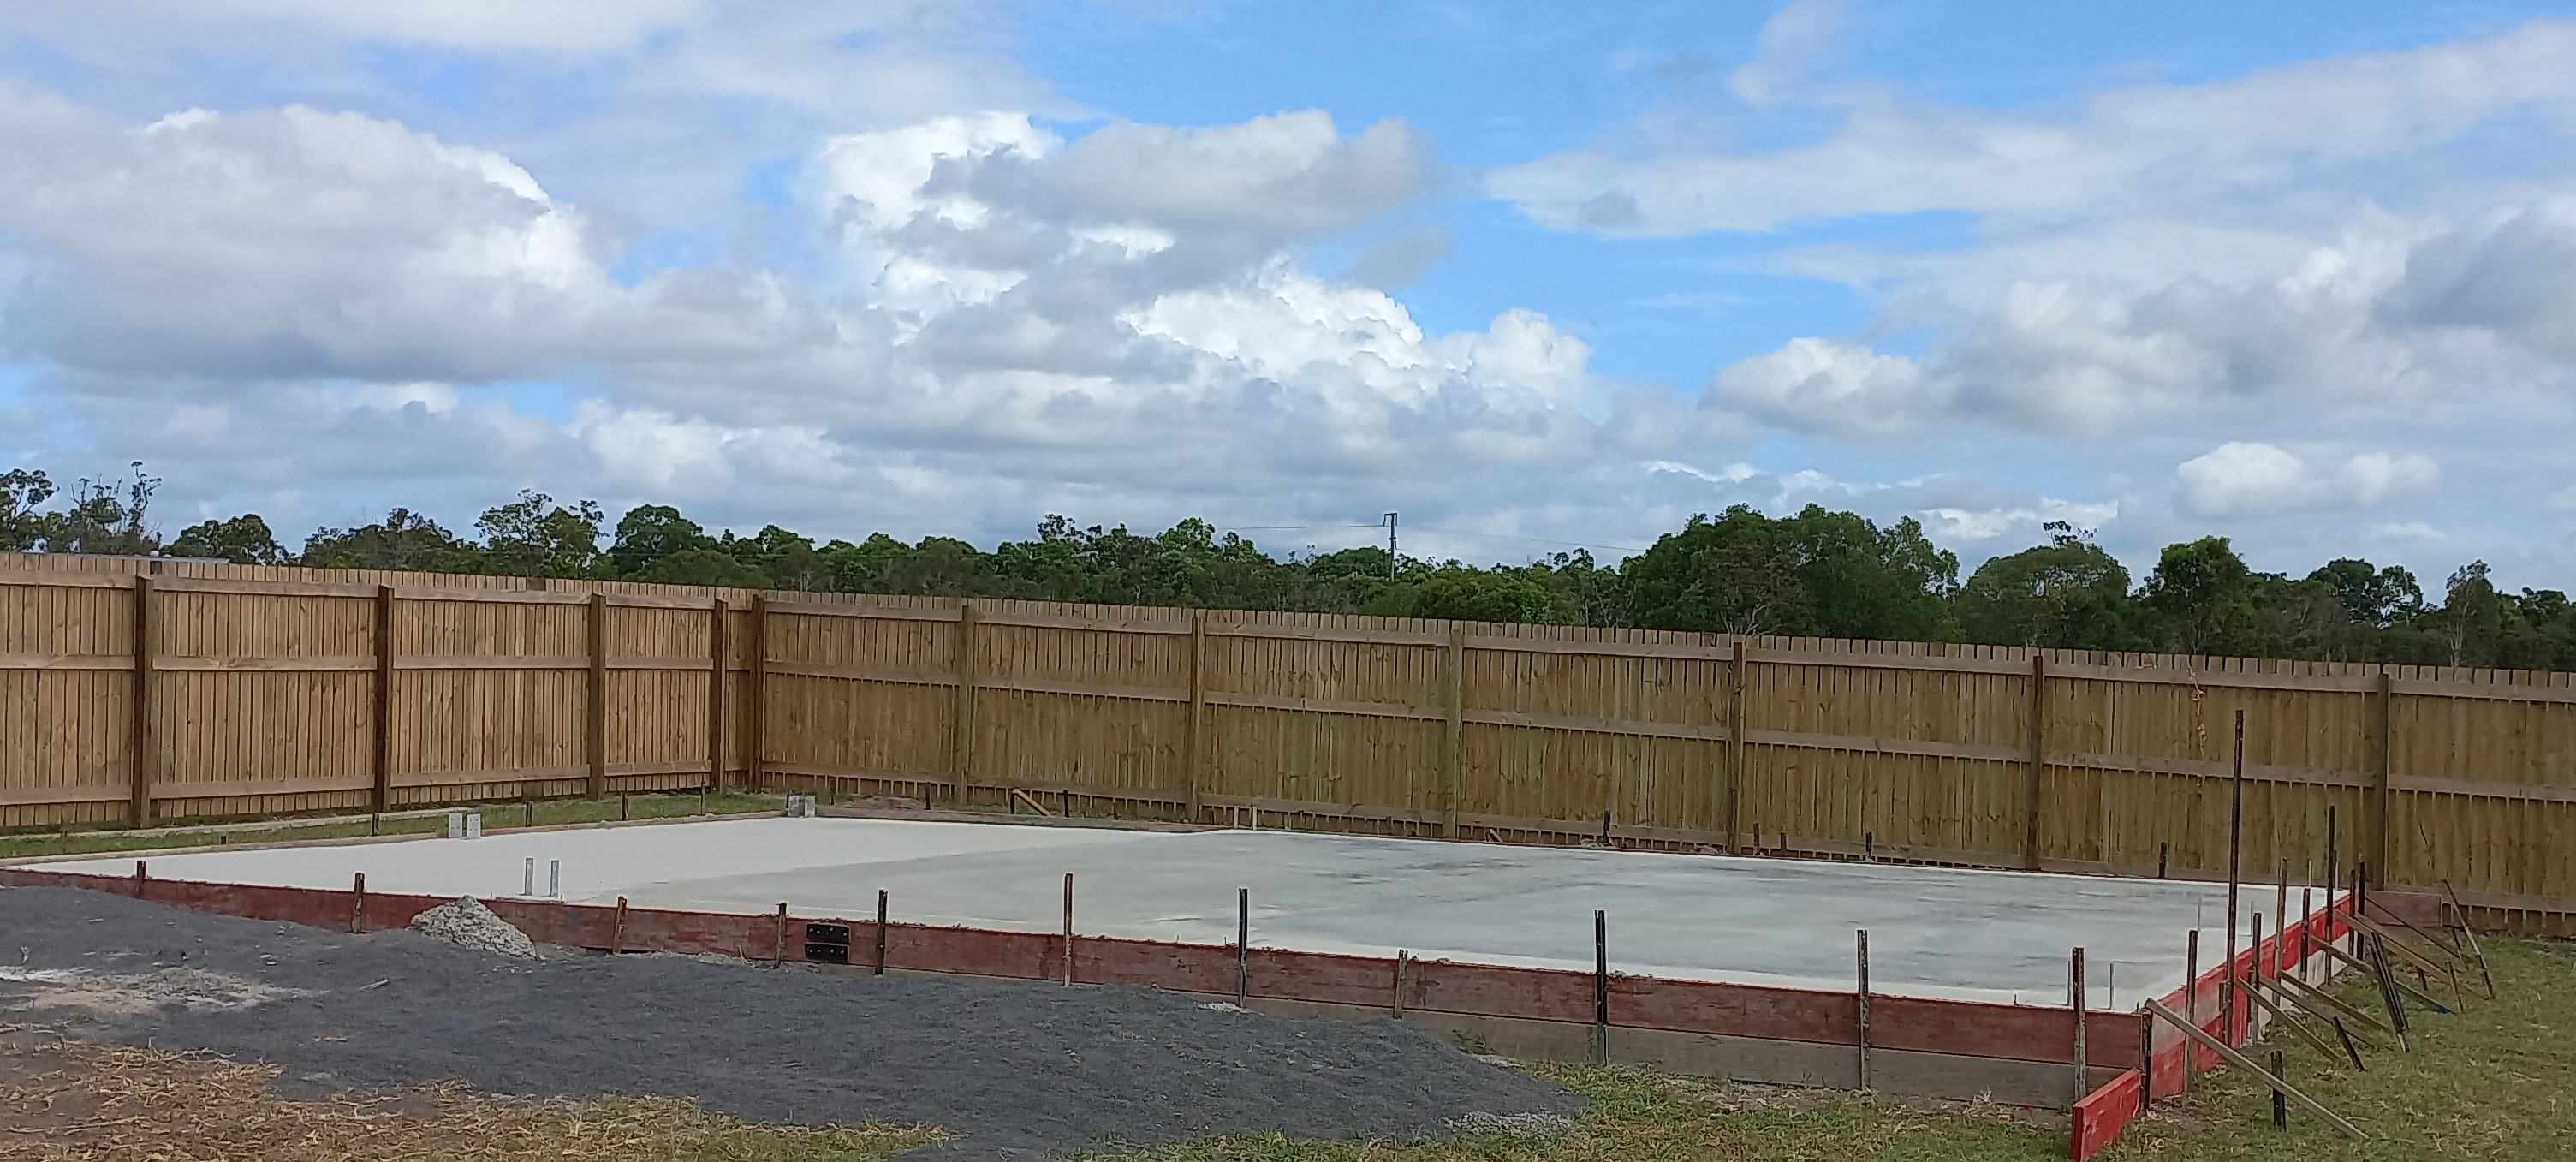
Slab construction $8,800
Building approval $850
QBCC ins fee $470
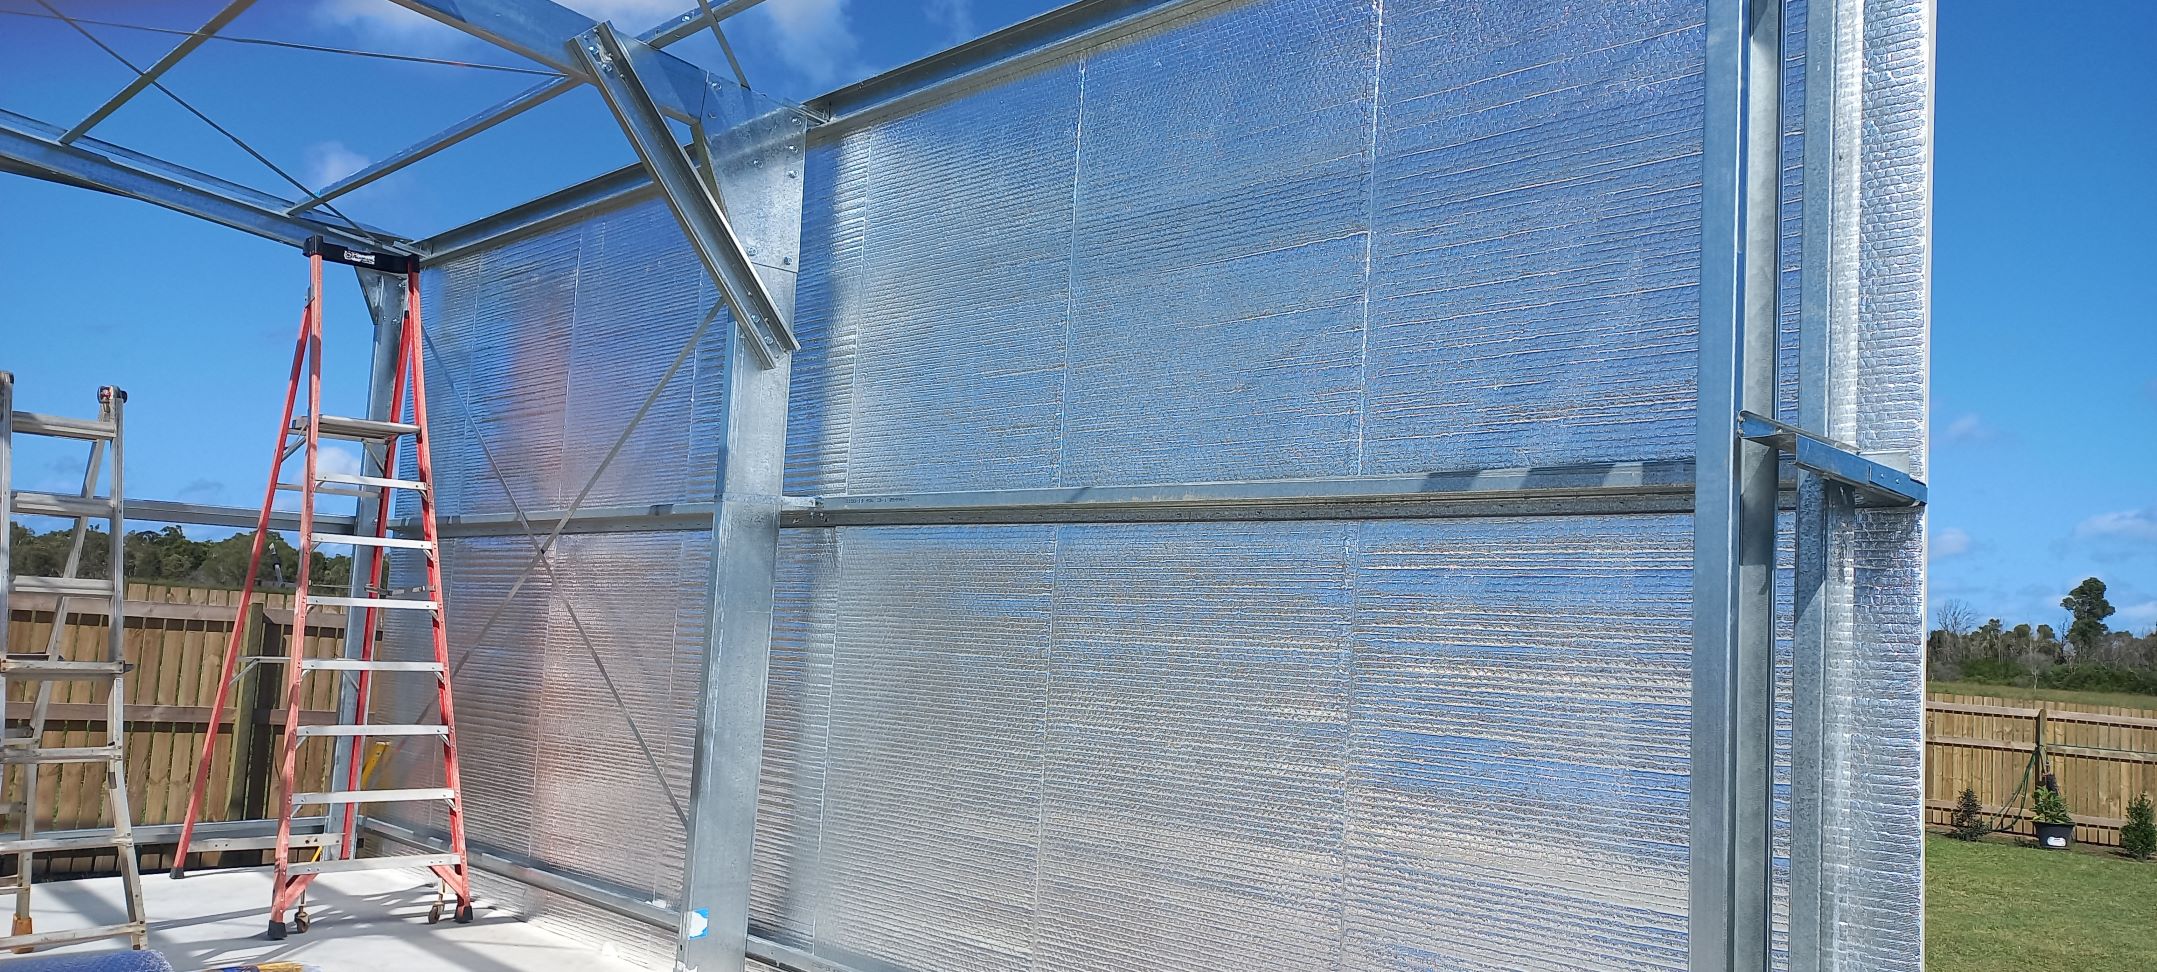
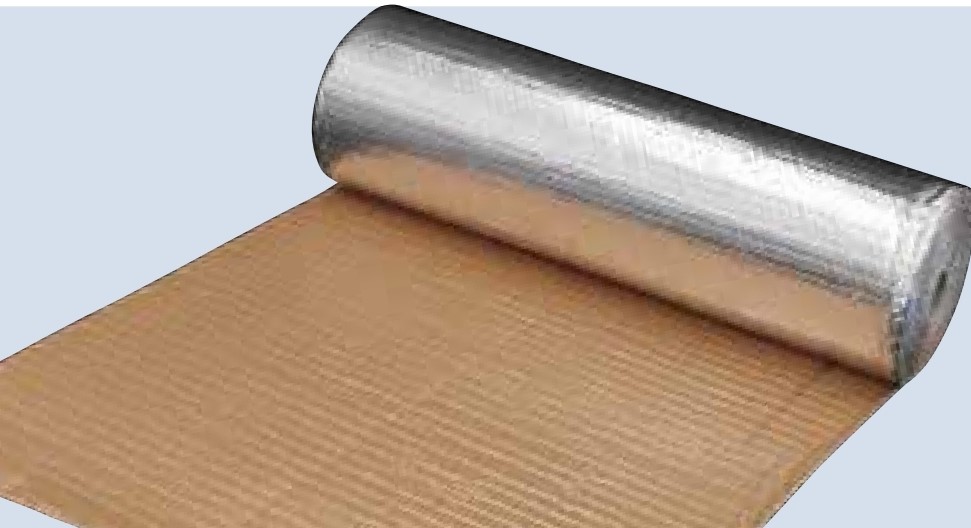
Insulation to roof and west side $1,330
Total shed cost incl gst $40,000
Extra costs: Powering the shed and ramp fill into the shed
Metal shed frame parts
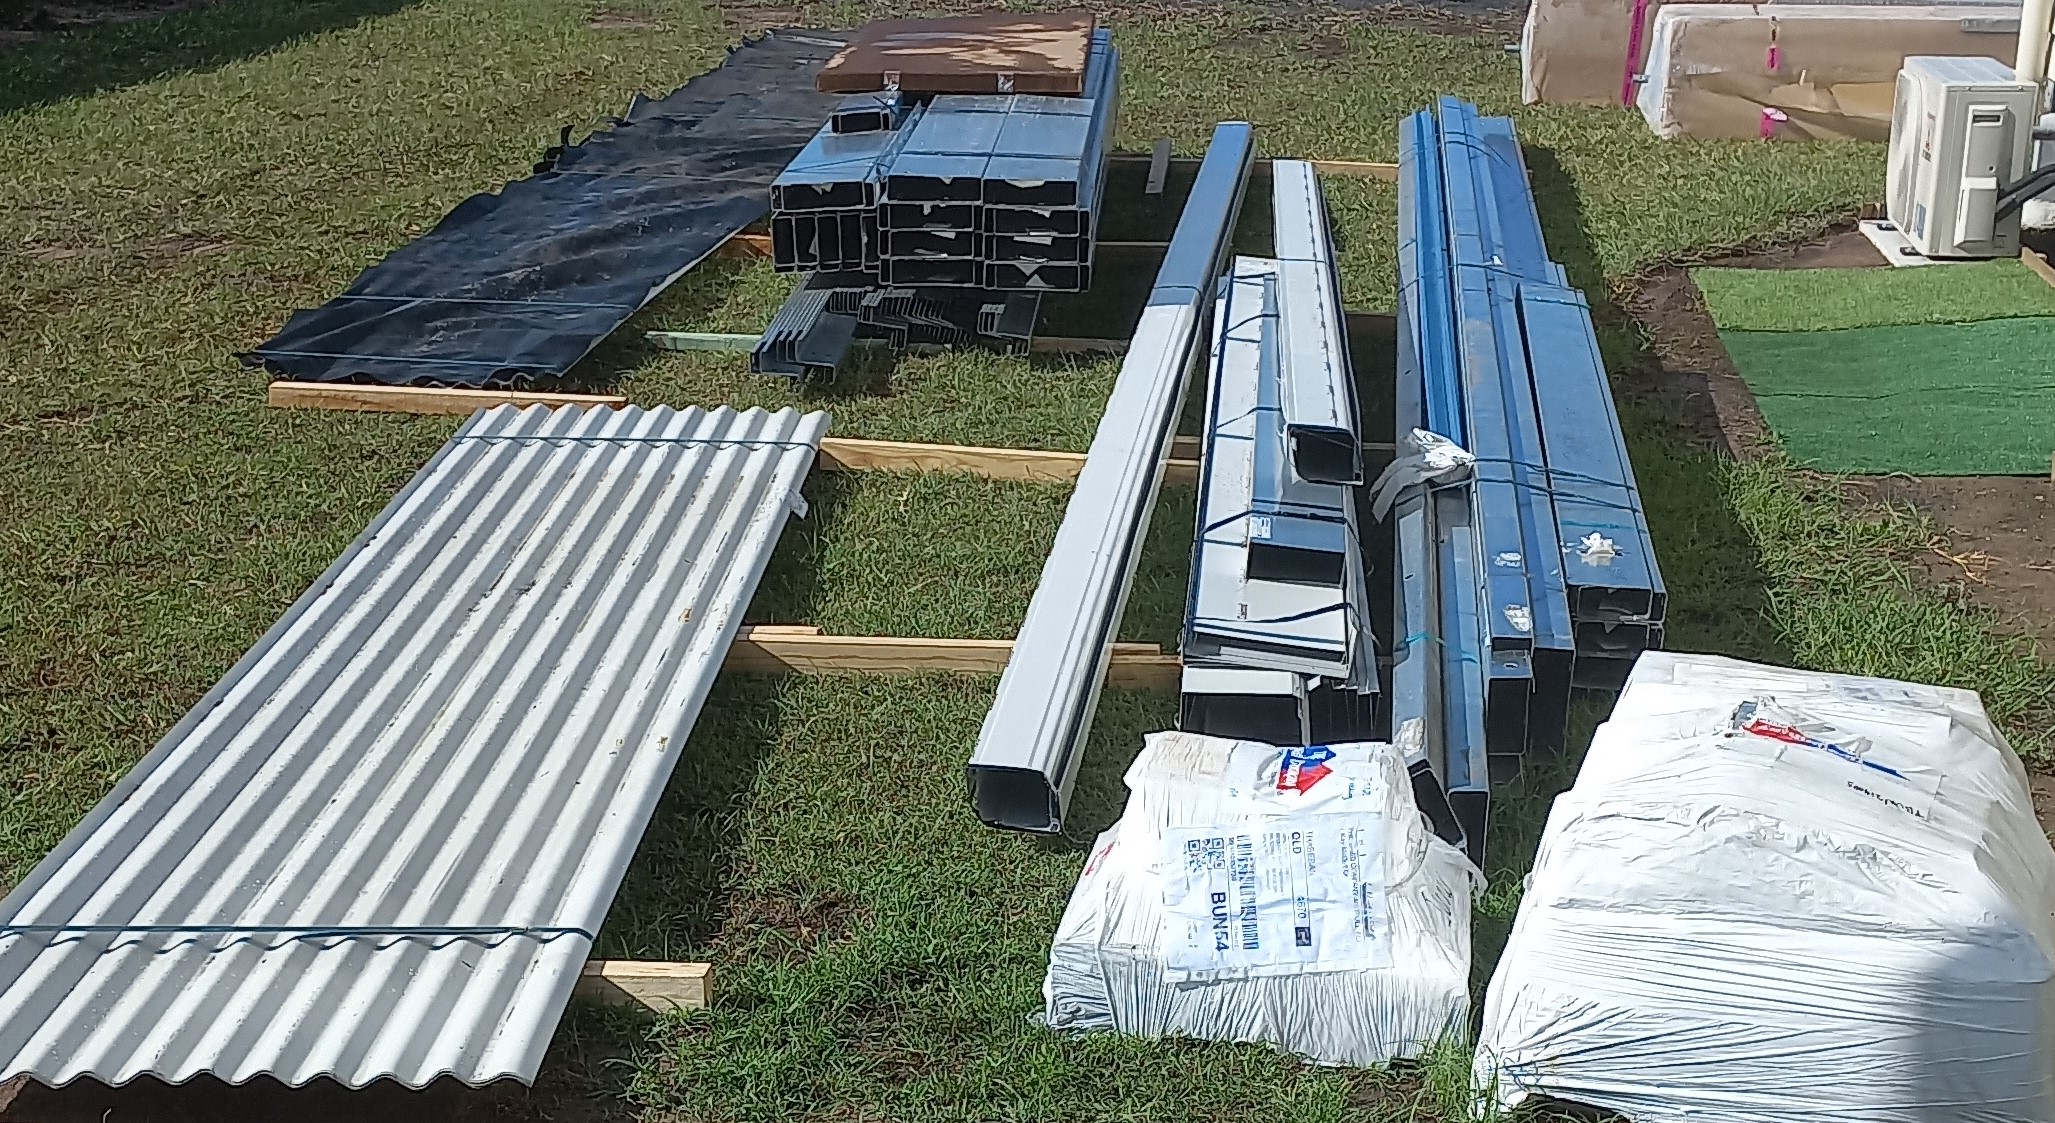
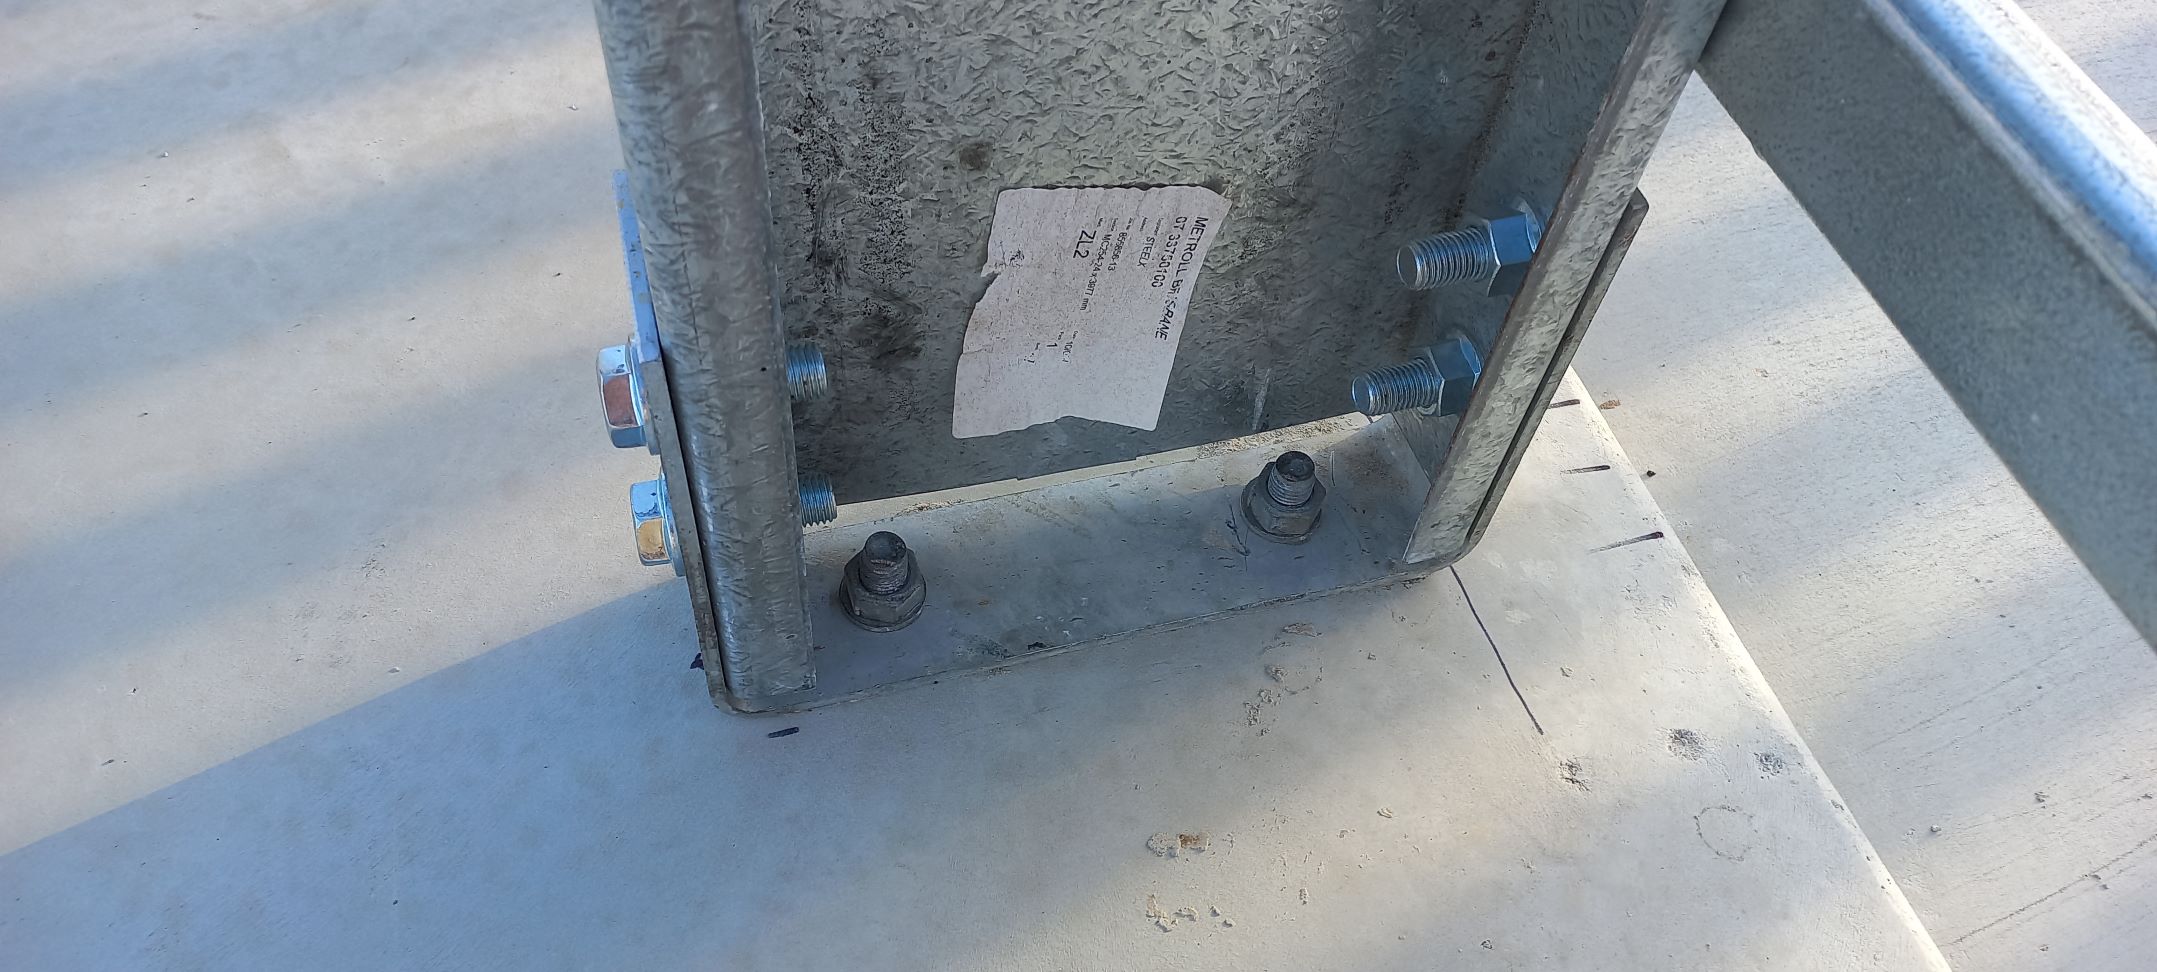
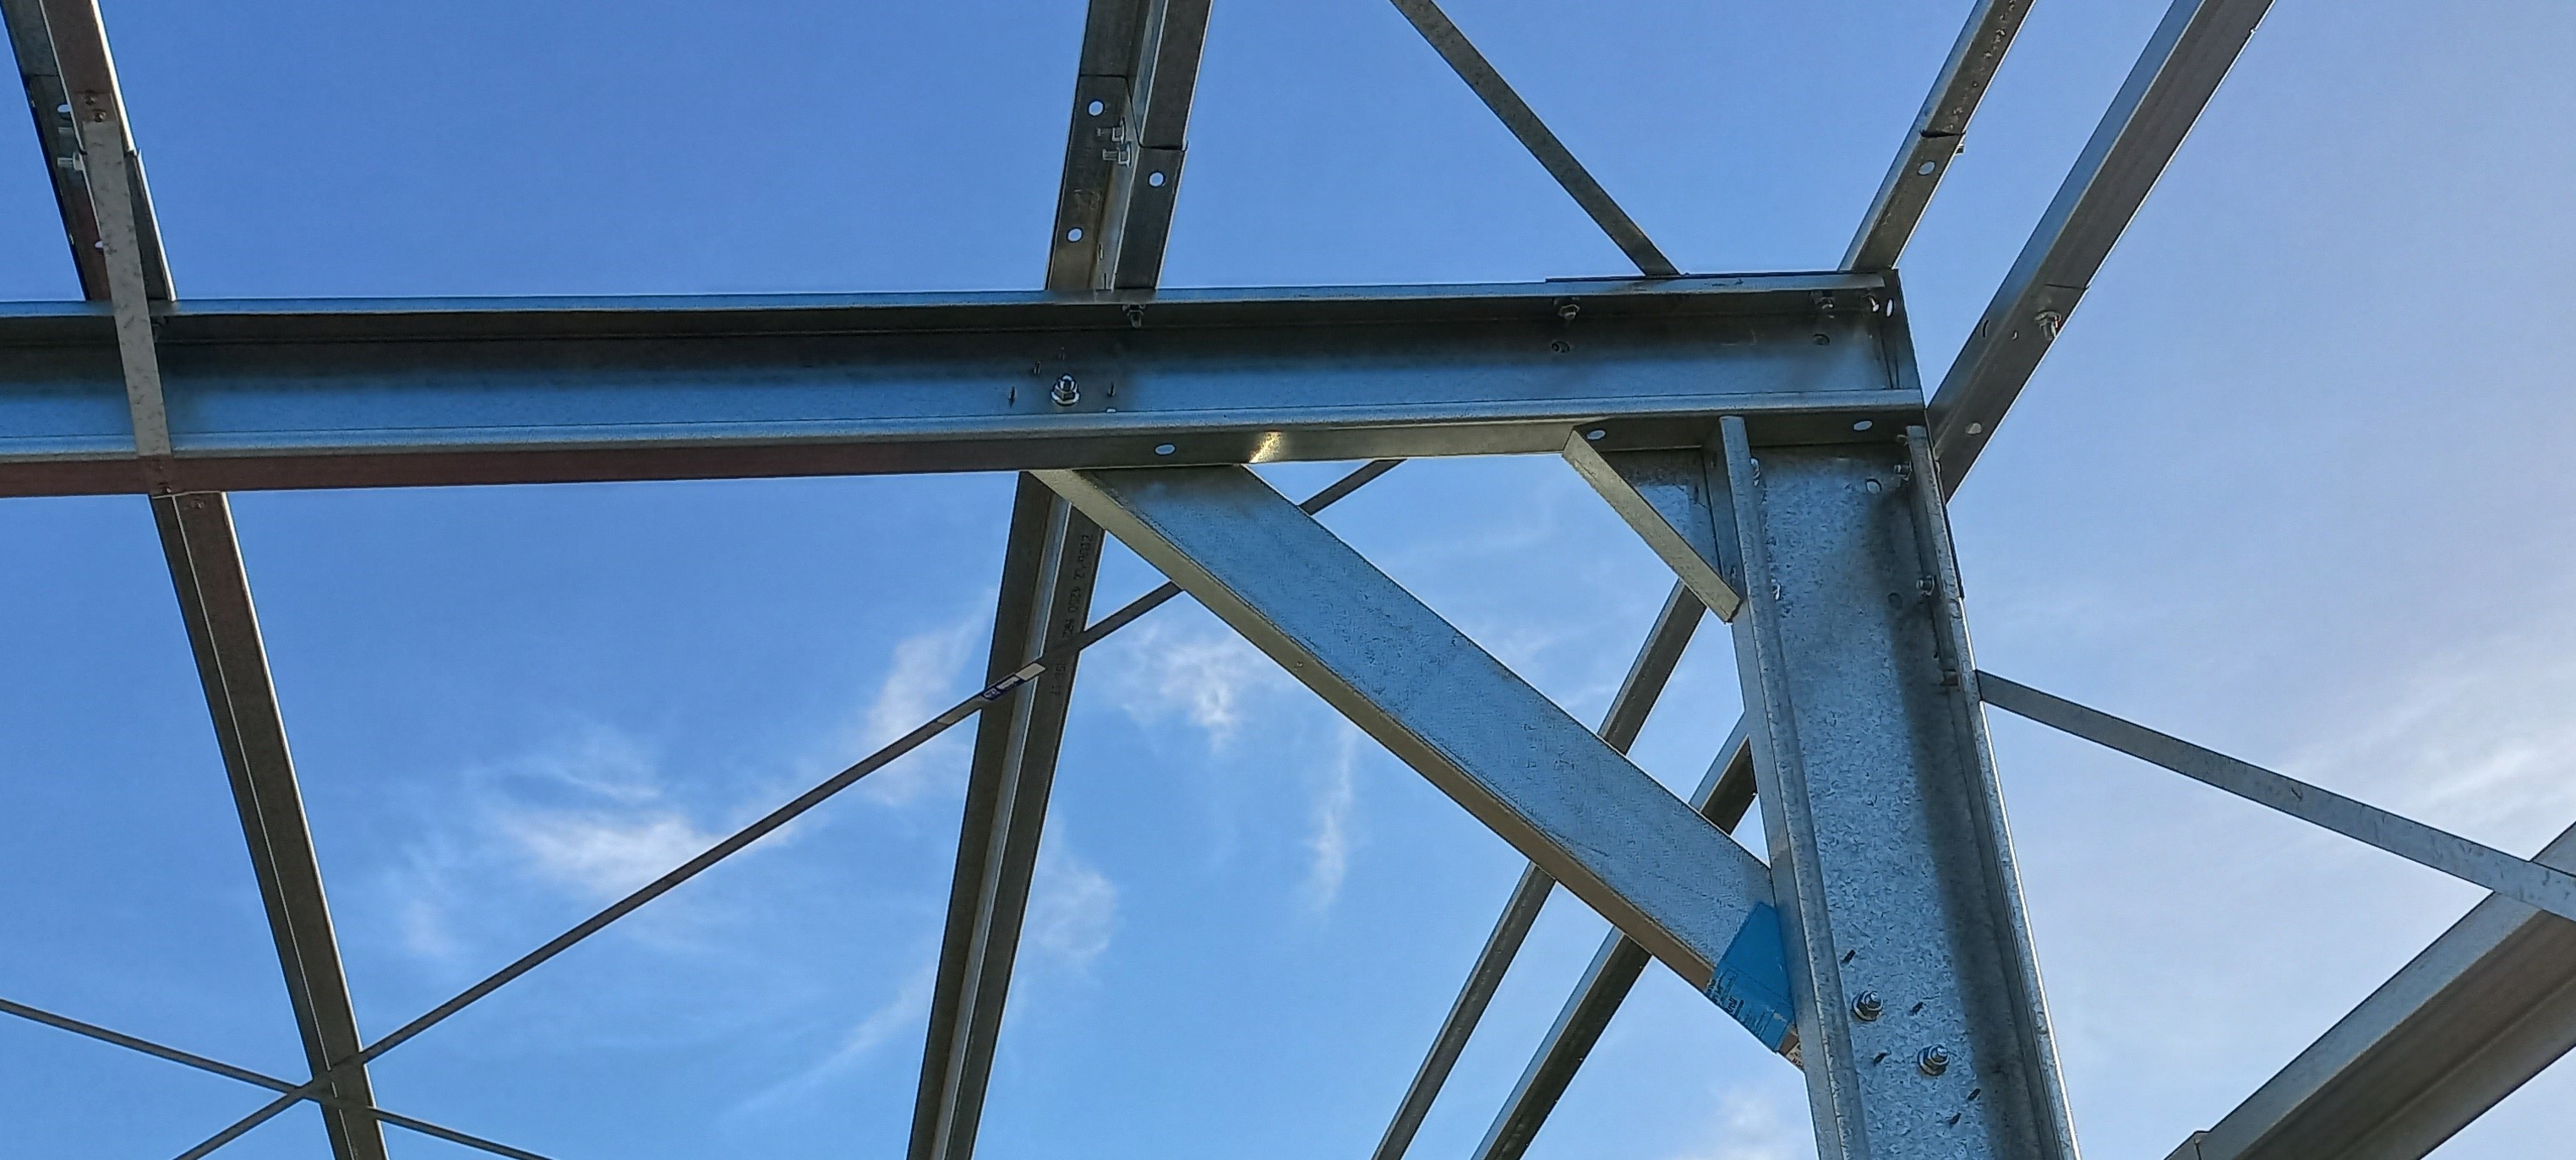
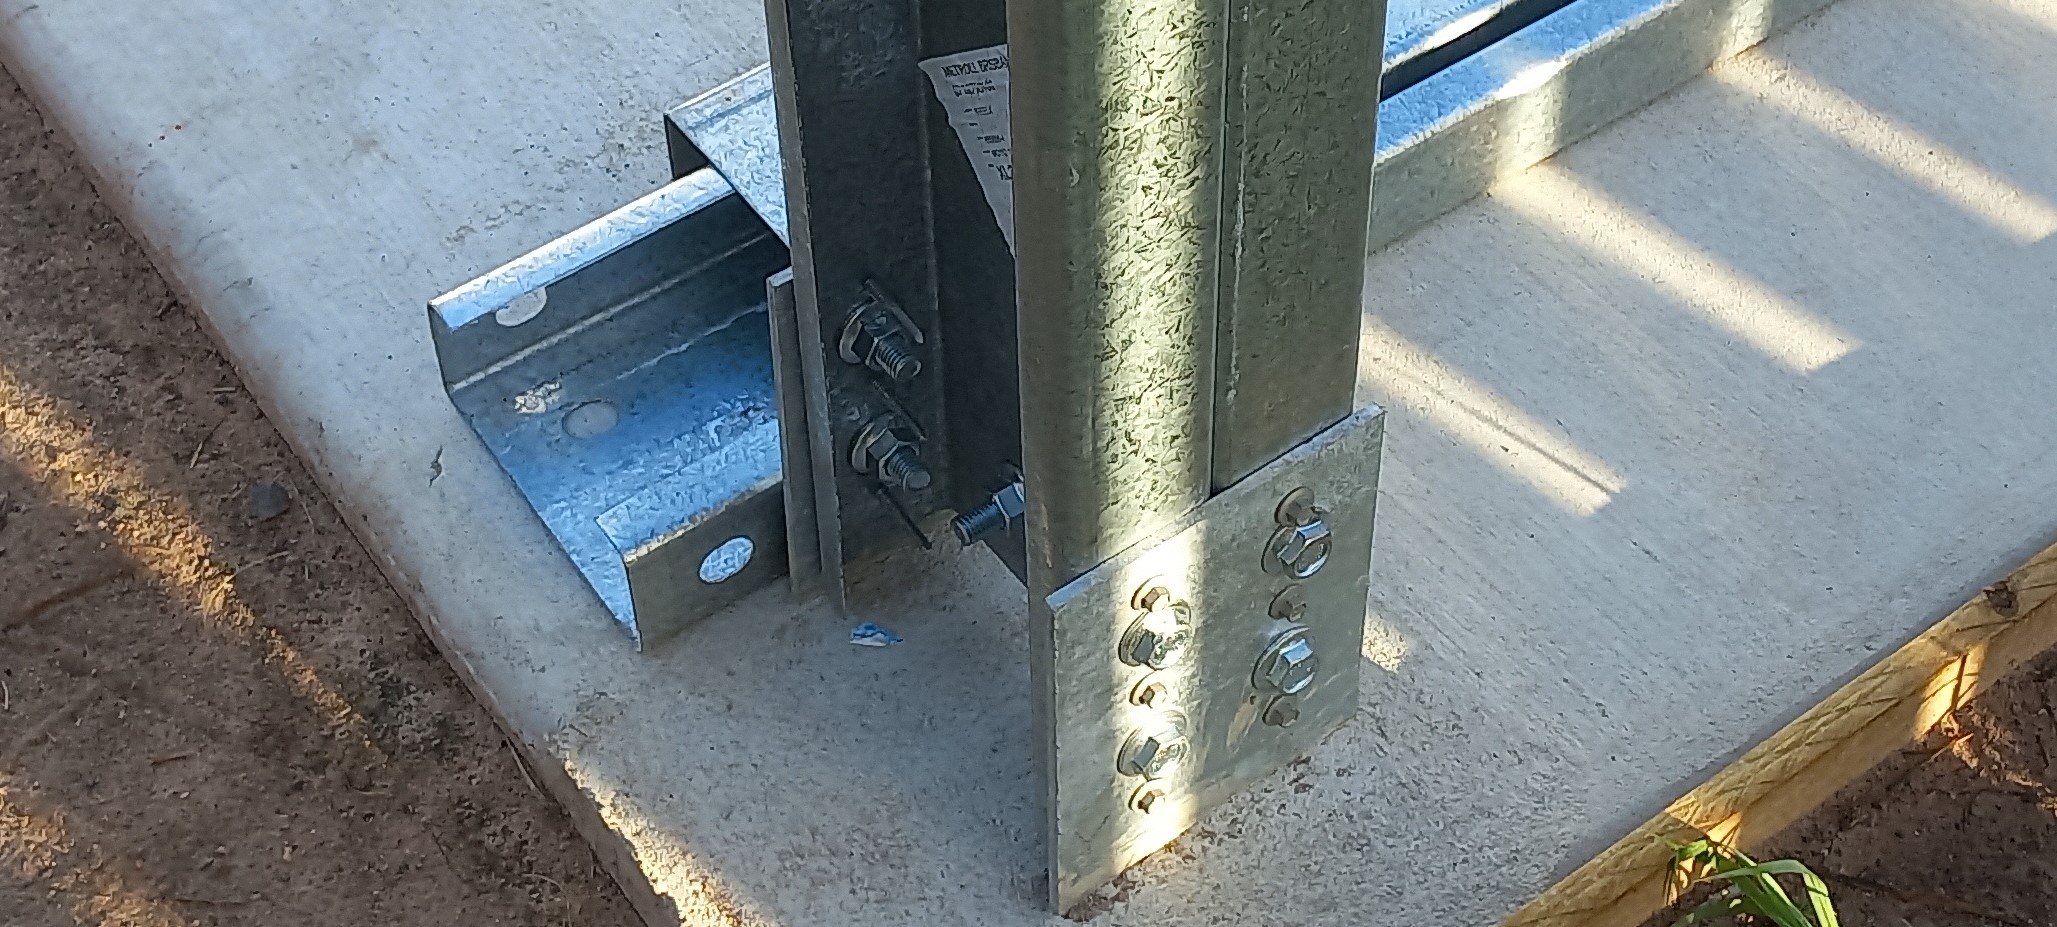
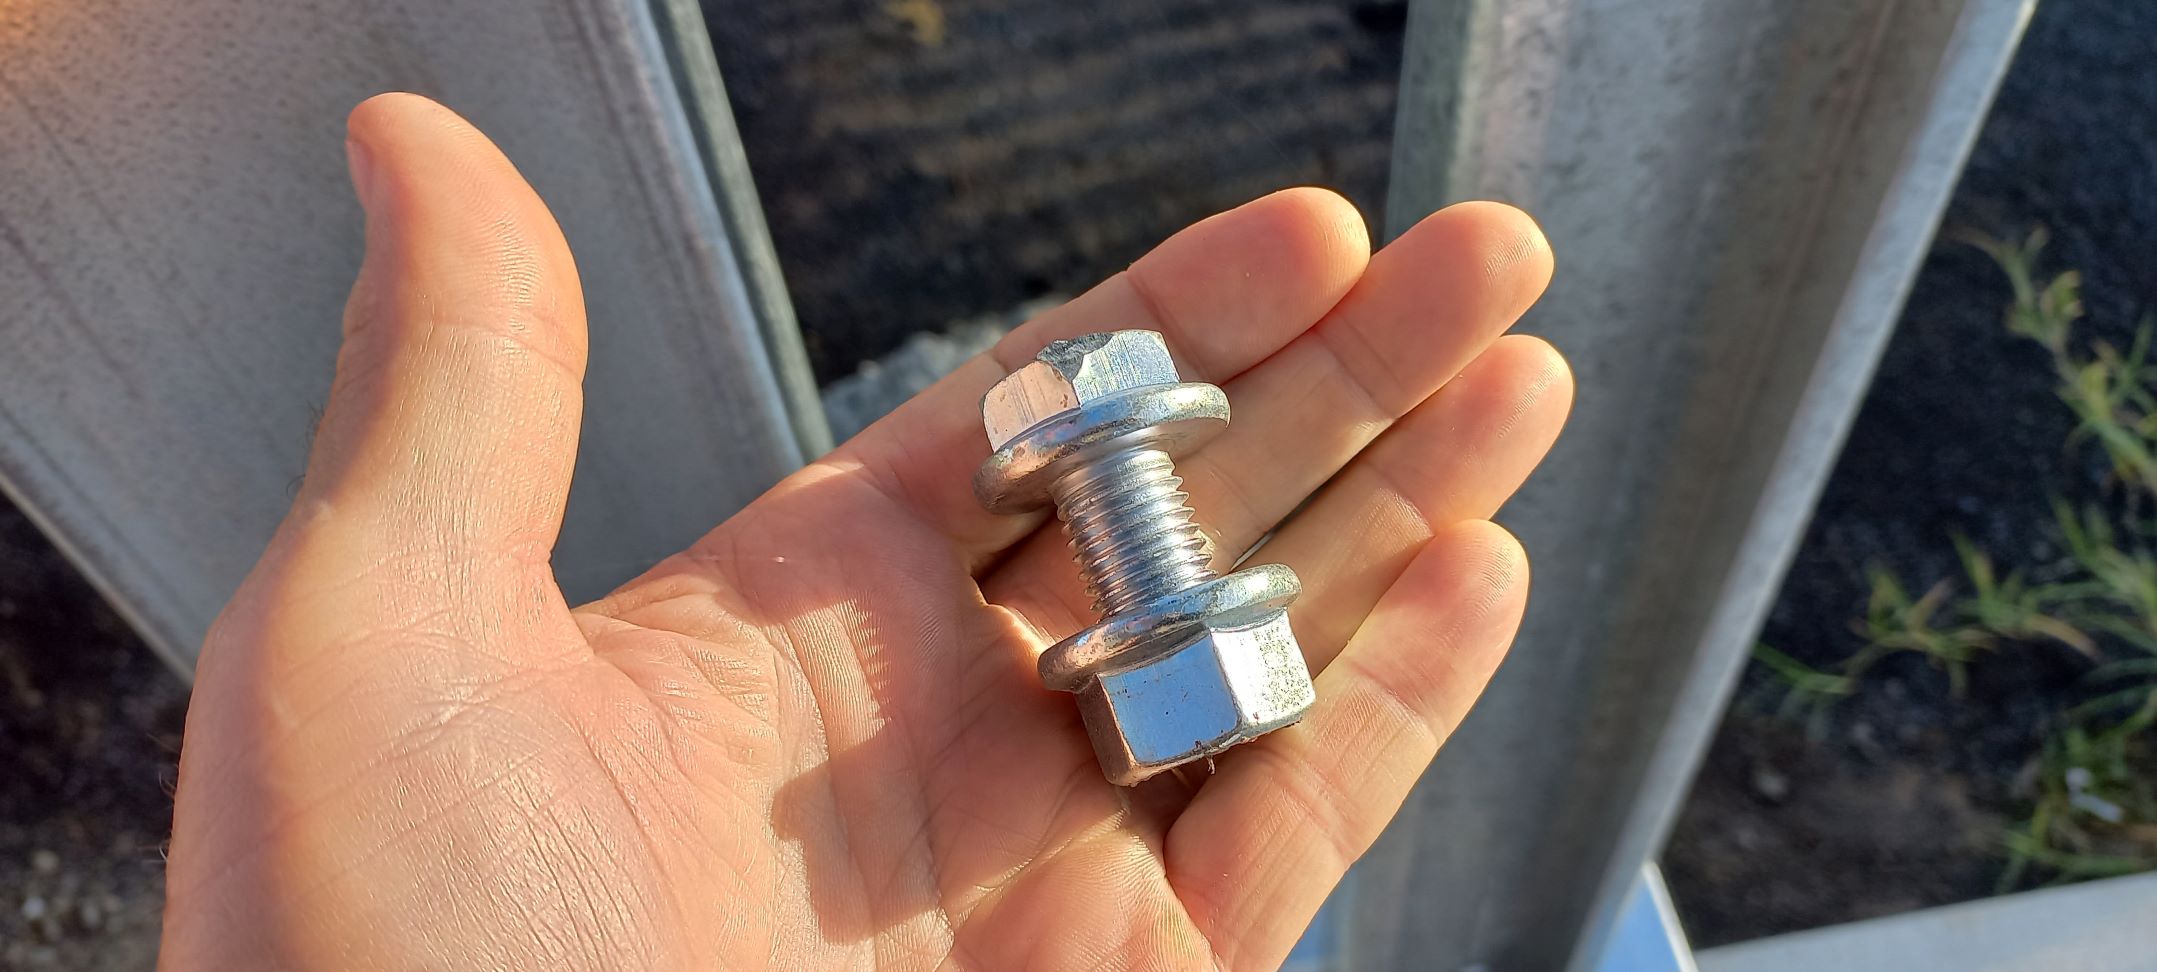
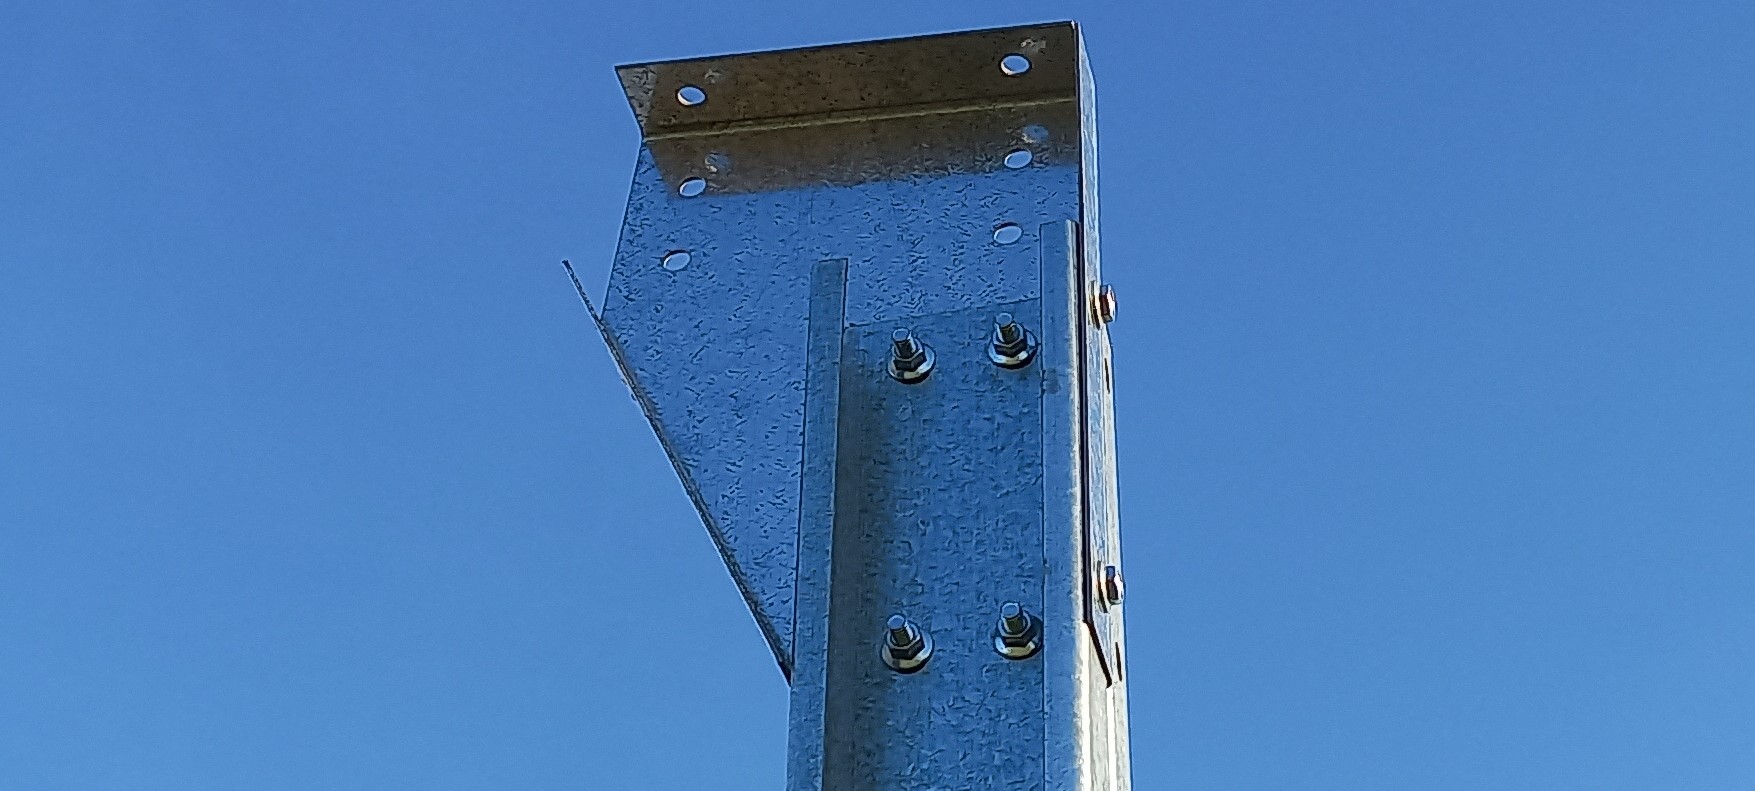
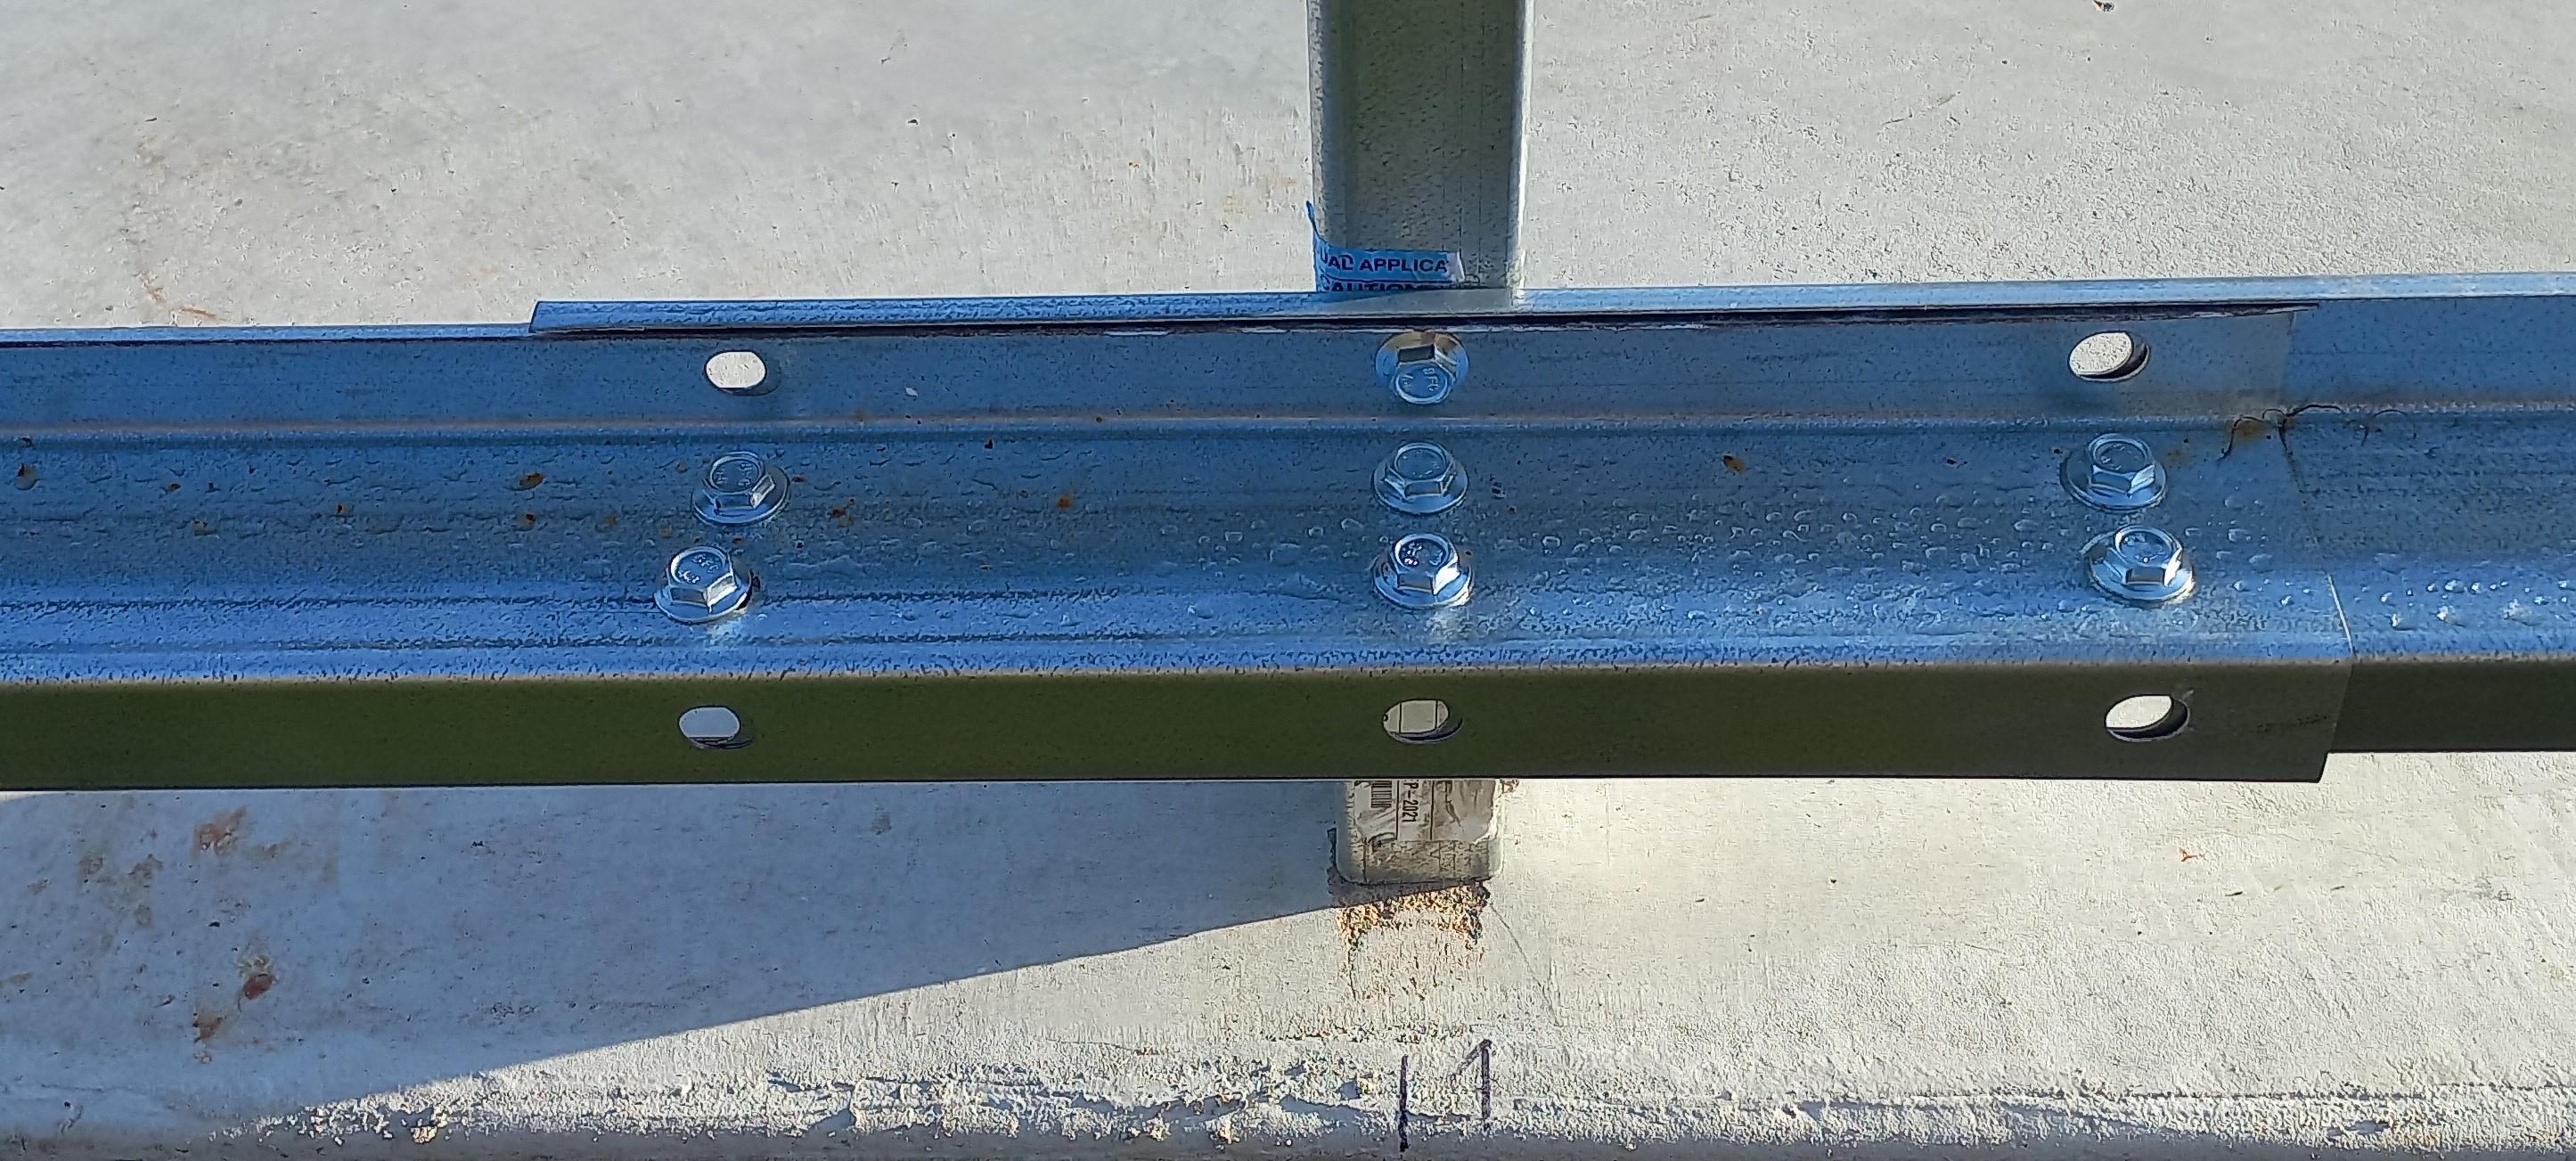
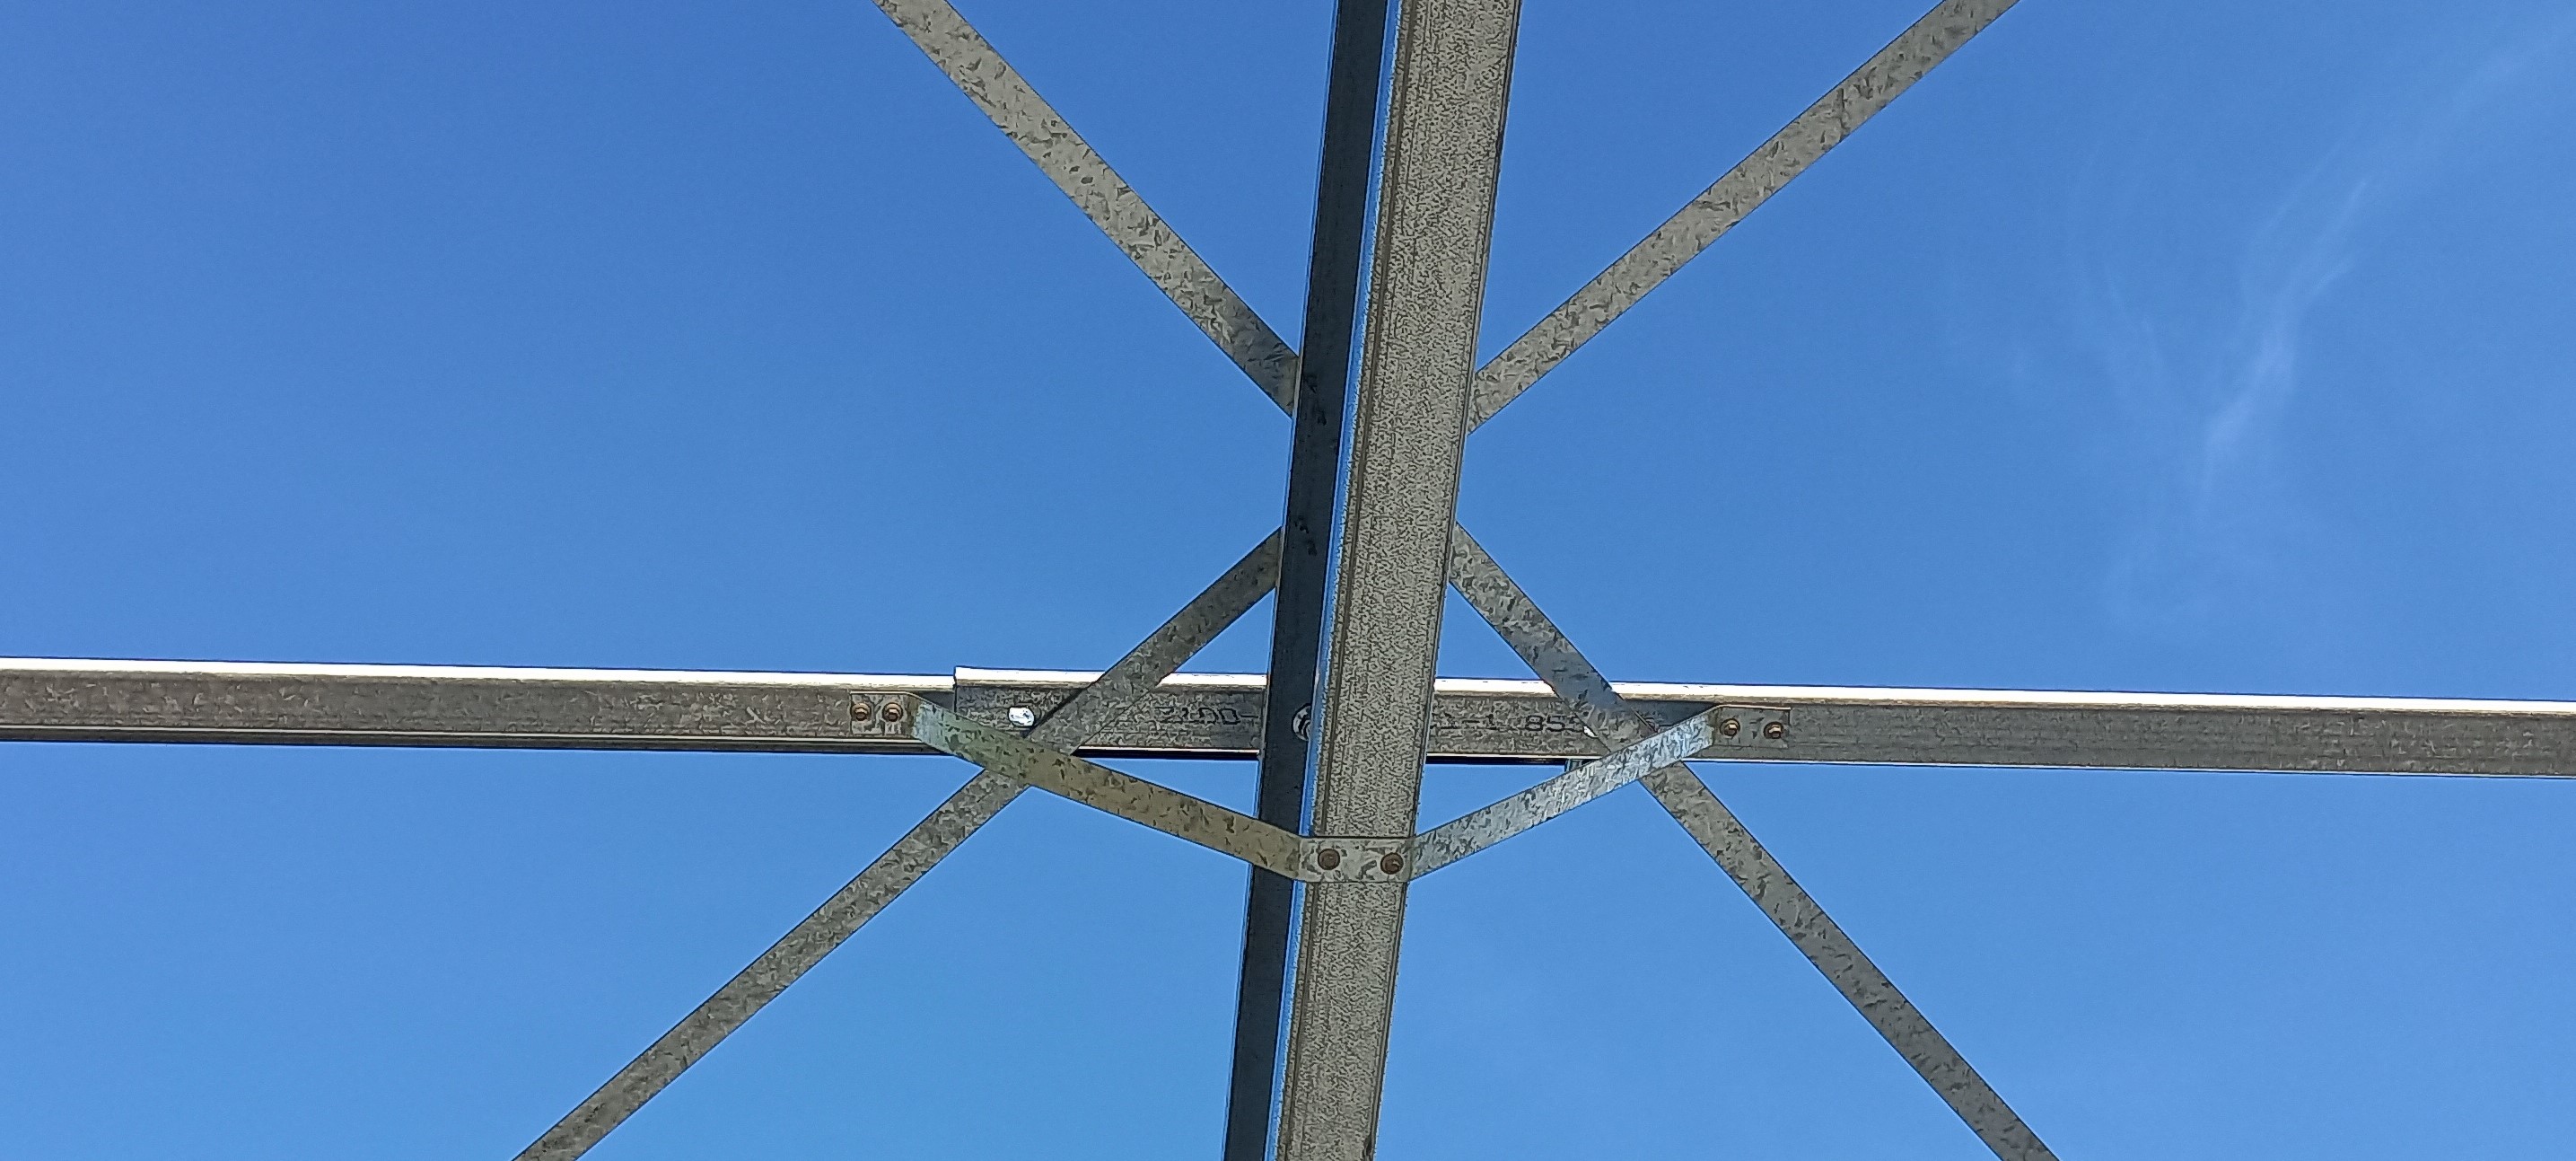
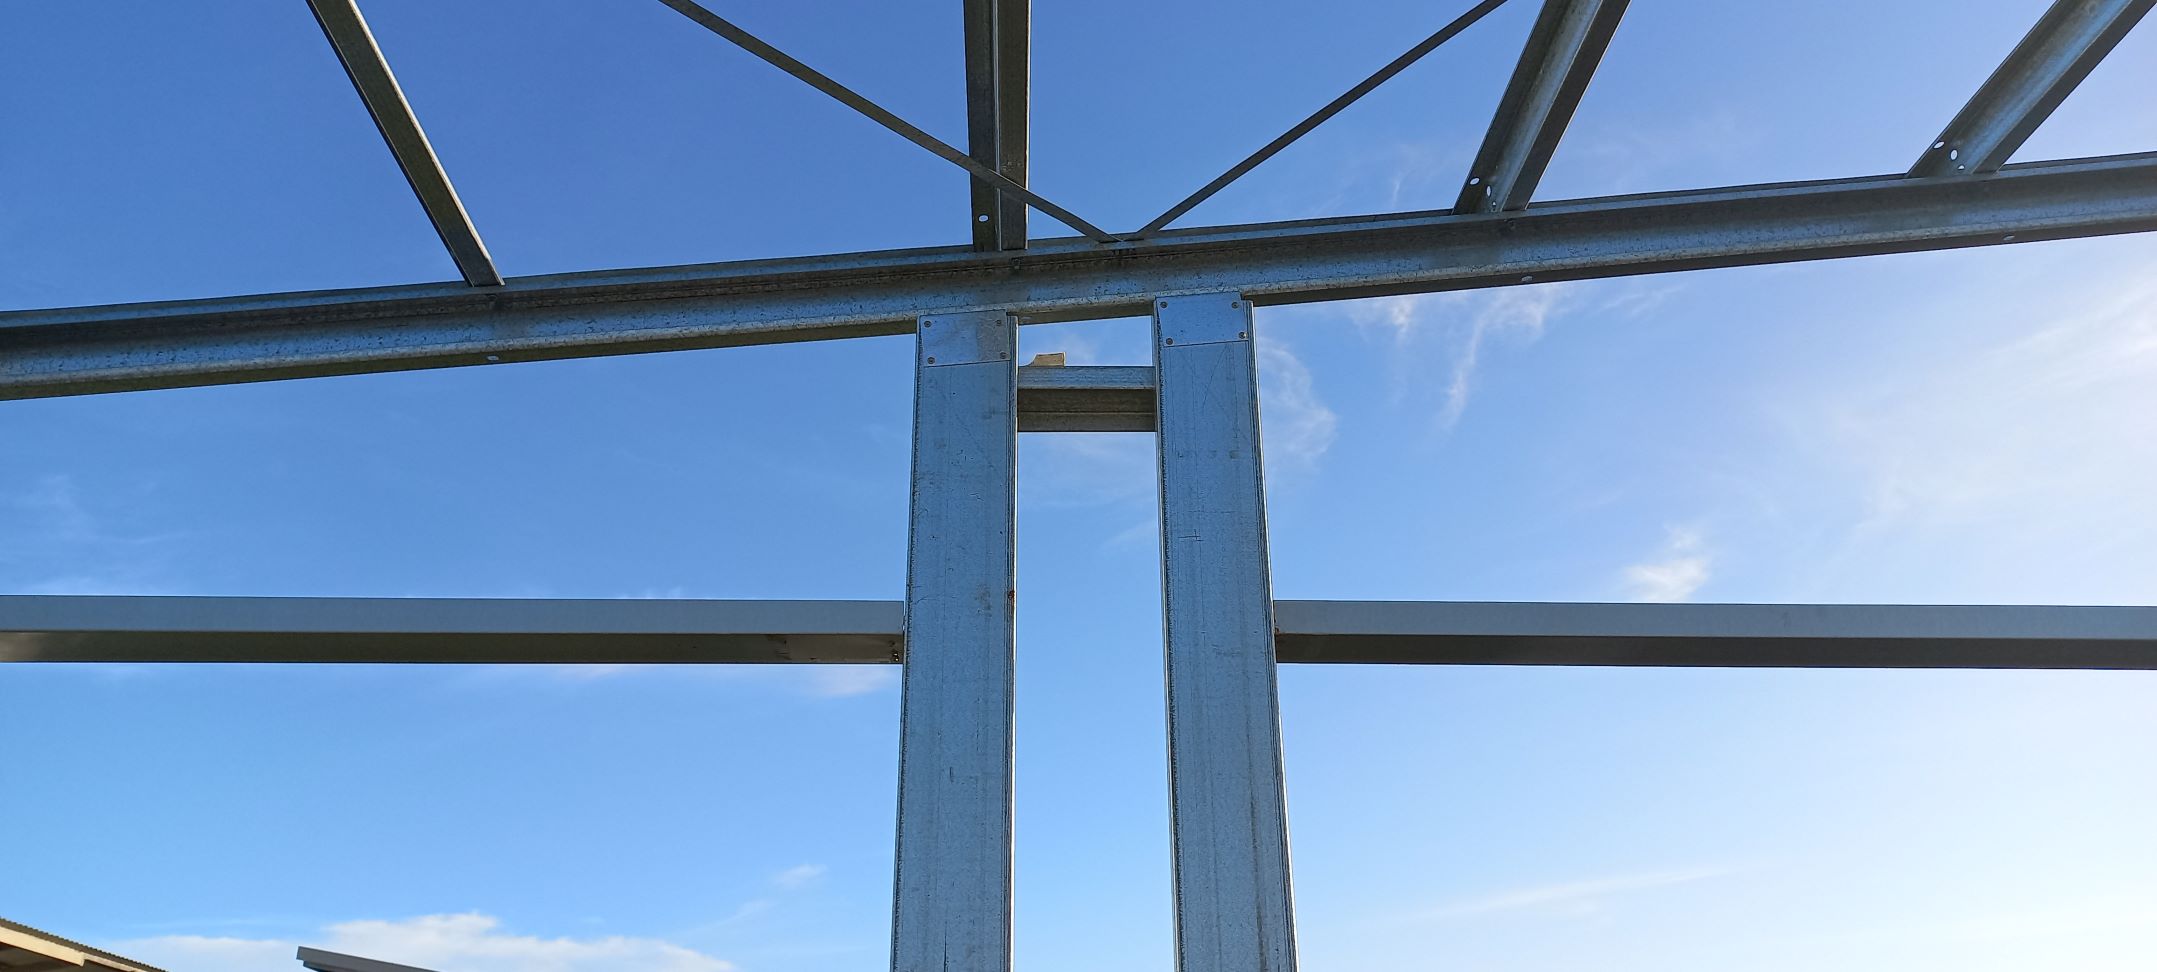
As stated the frame needed to be cyclone proof so the carport shed combo kit was more expensive. As well as the normal 200mm C section steel columns and rafters, Mega C 300mm centre columns were specified. Instead of regular steel battens we had 100mm Z battens, bolted rather than screwed. And instead of one upright C column, two were used, laminated for extra strength. 9x gal knee (haunch) brackets were required, gal U brackets to sink into the comcrete, Surfmist colorbond corrogated iron, barges, fascias and gutters. 15mm stainless bolts, gal metal hex screws and poly downpipes as well as 2 roller doors, an entrance door and a window finished off the carport shed combo frame and materials. All shed components came on a very long flatbed truck with a crane installed. It needed to be long as the gutters were 8 metres in length. This would be a tough shed.
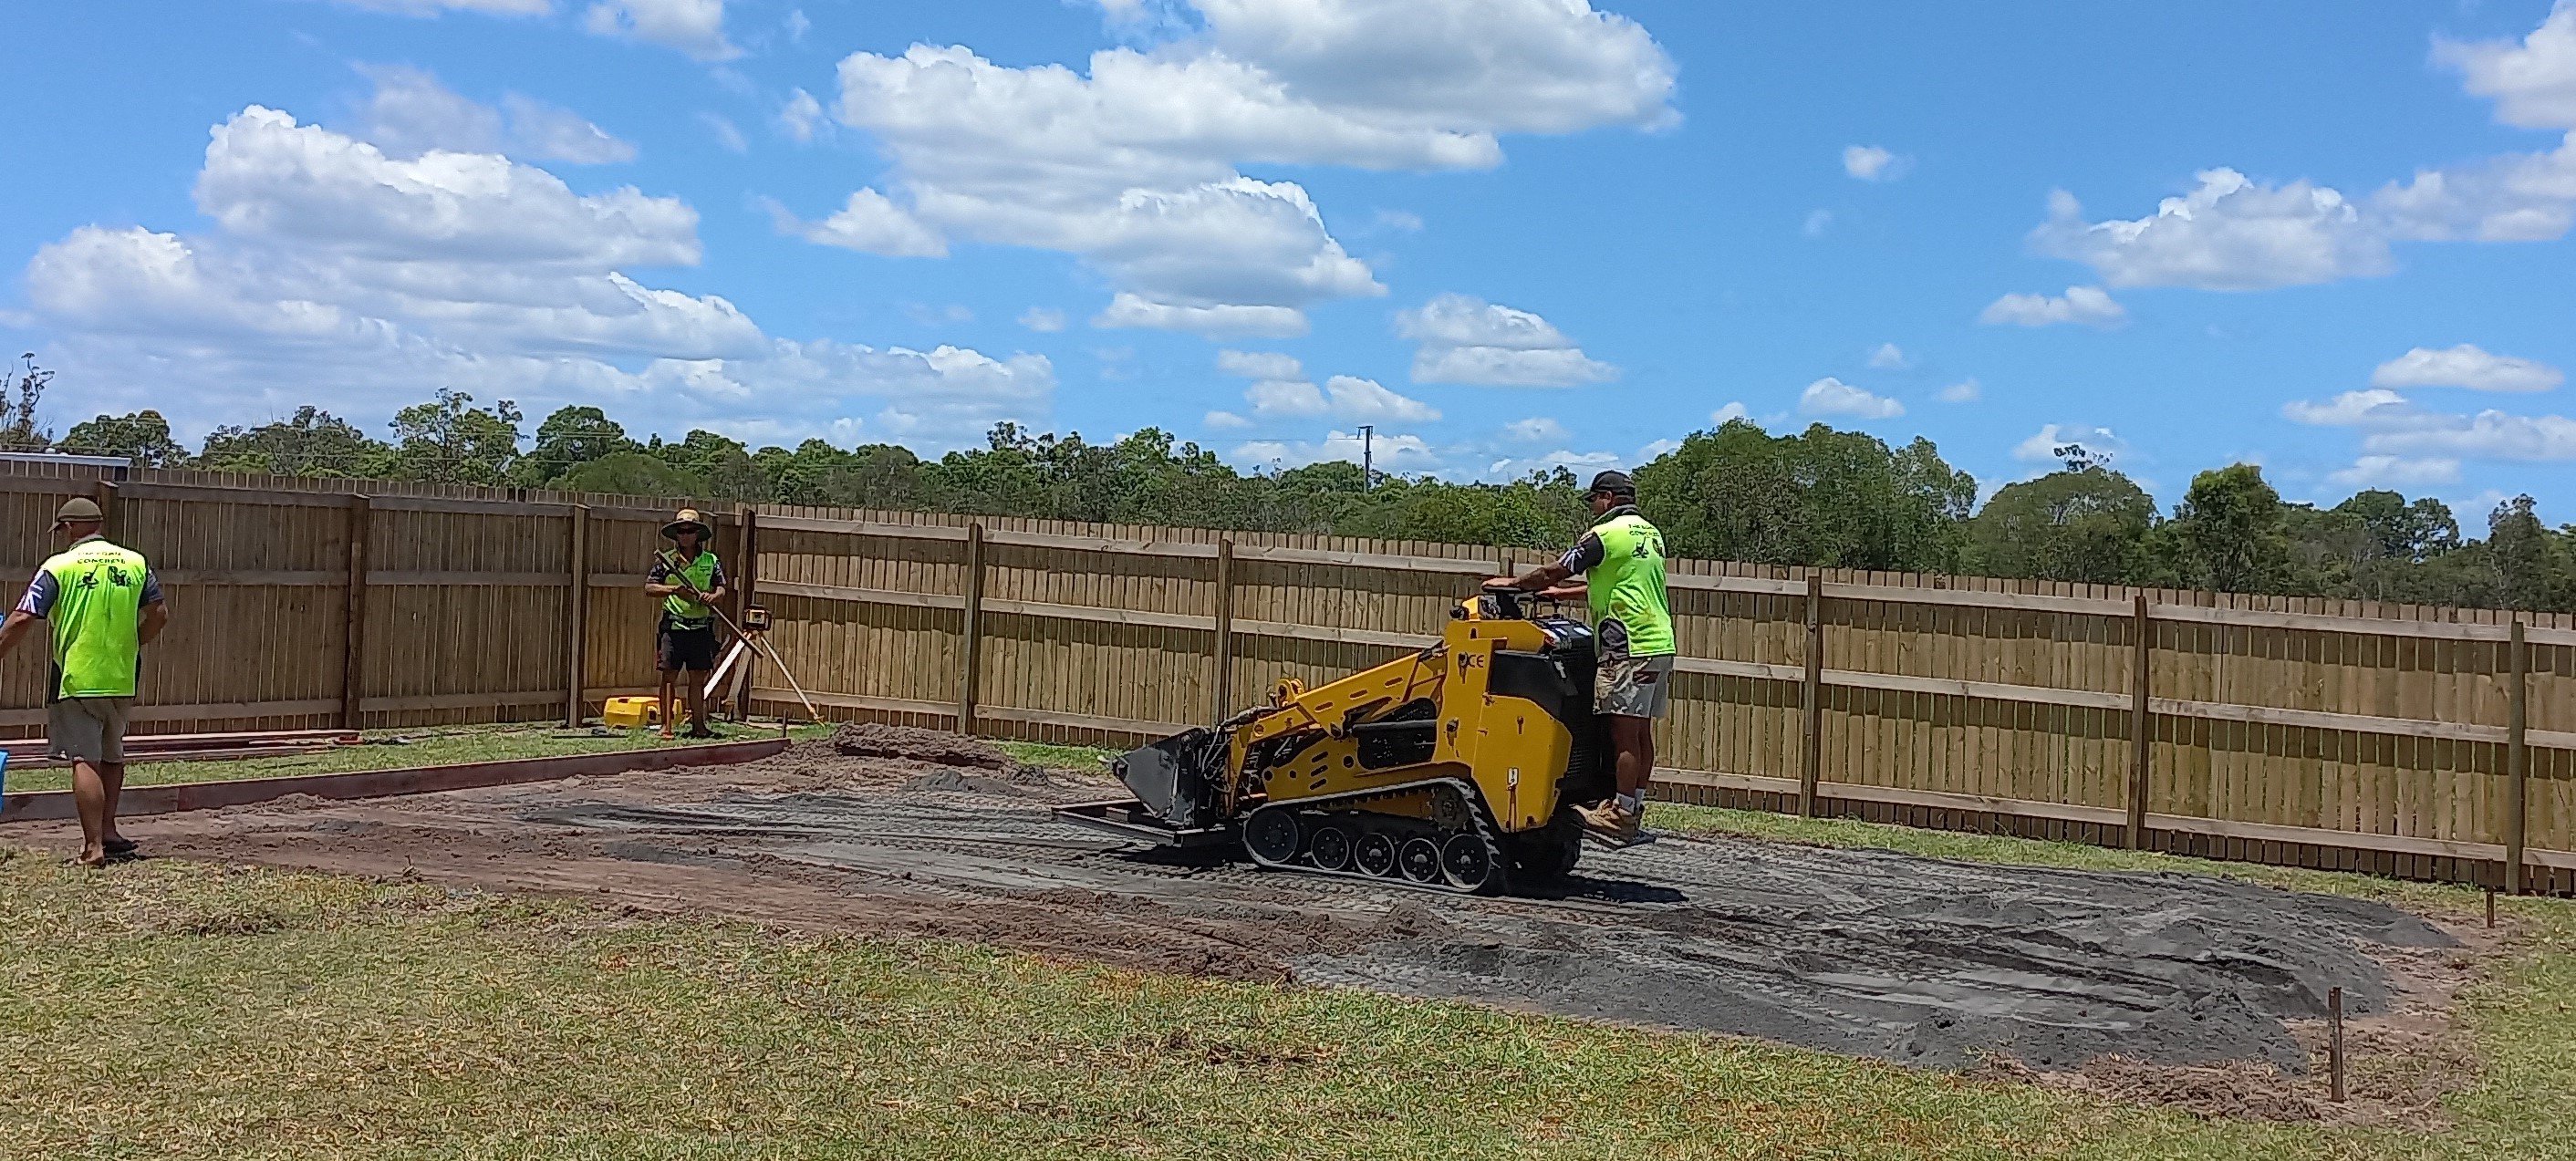
The initial slab cost was added to as an extra 10 meters of crusher dust was needed to raise the low end. More crusher dust will be needed to provide a ramp into the carport shed combo after it has been built.
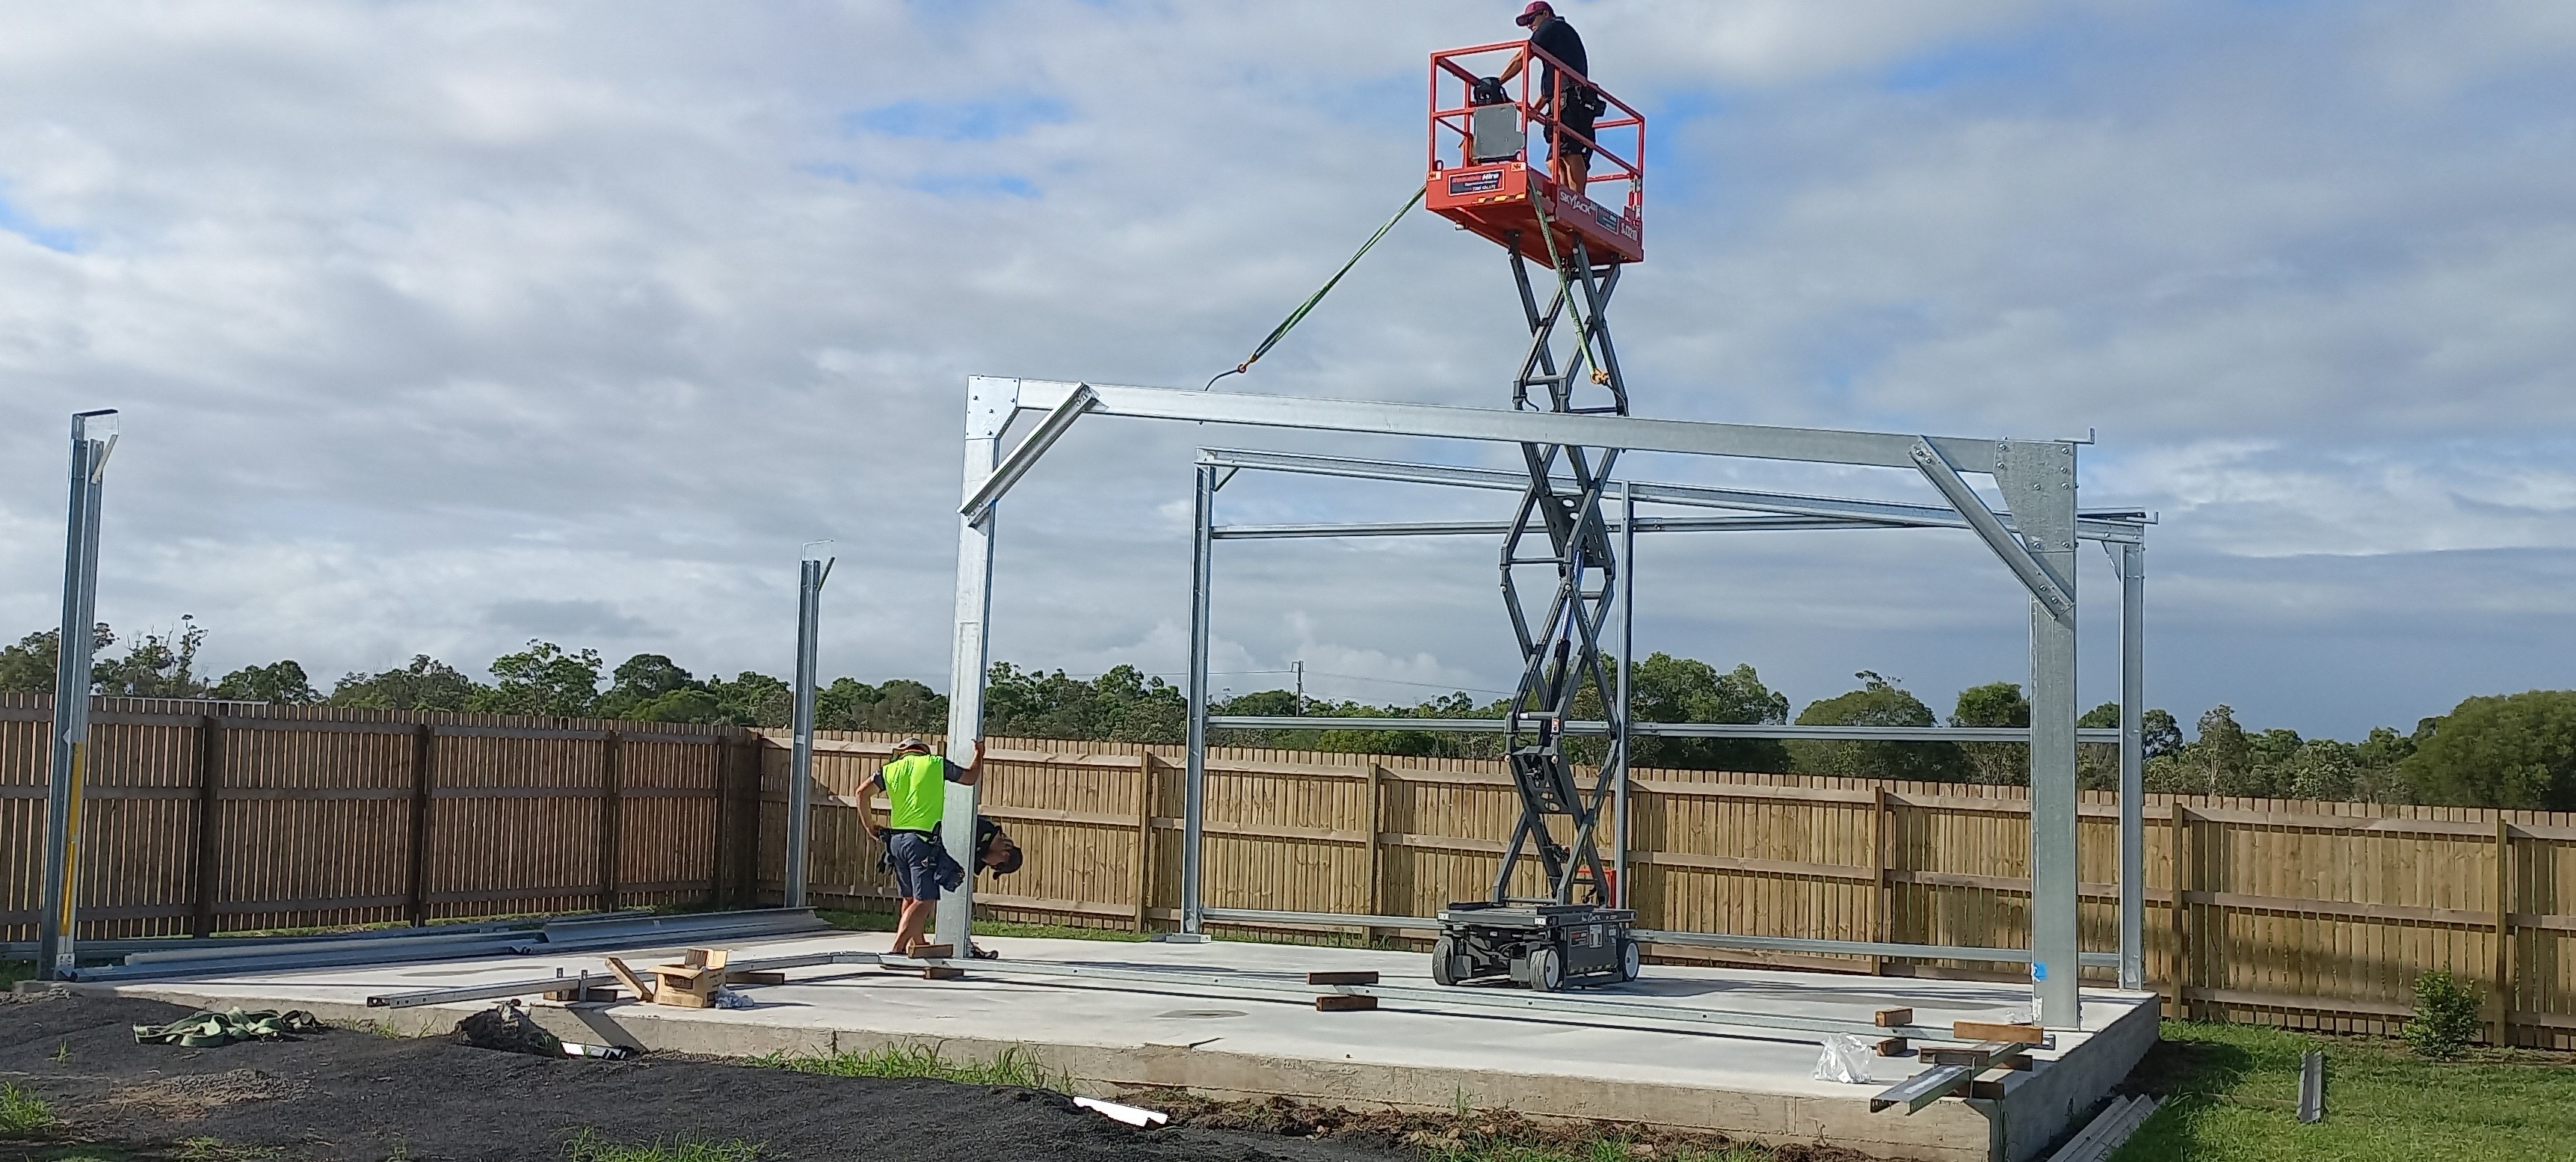
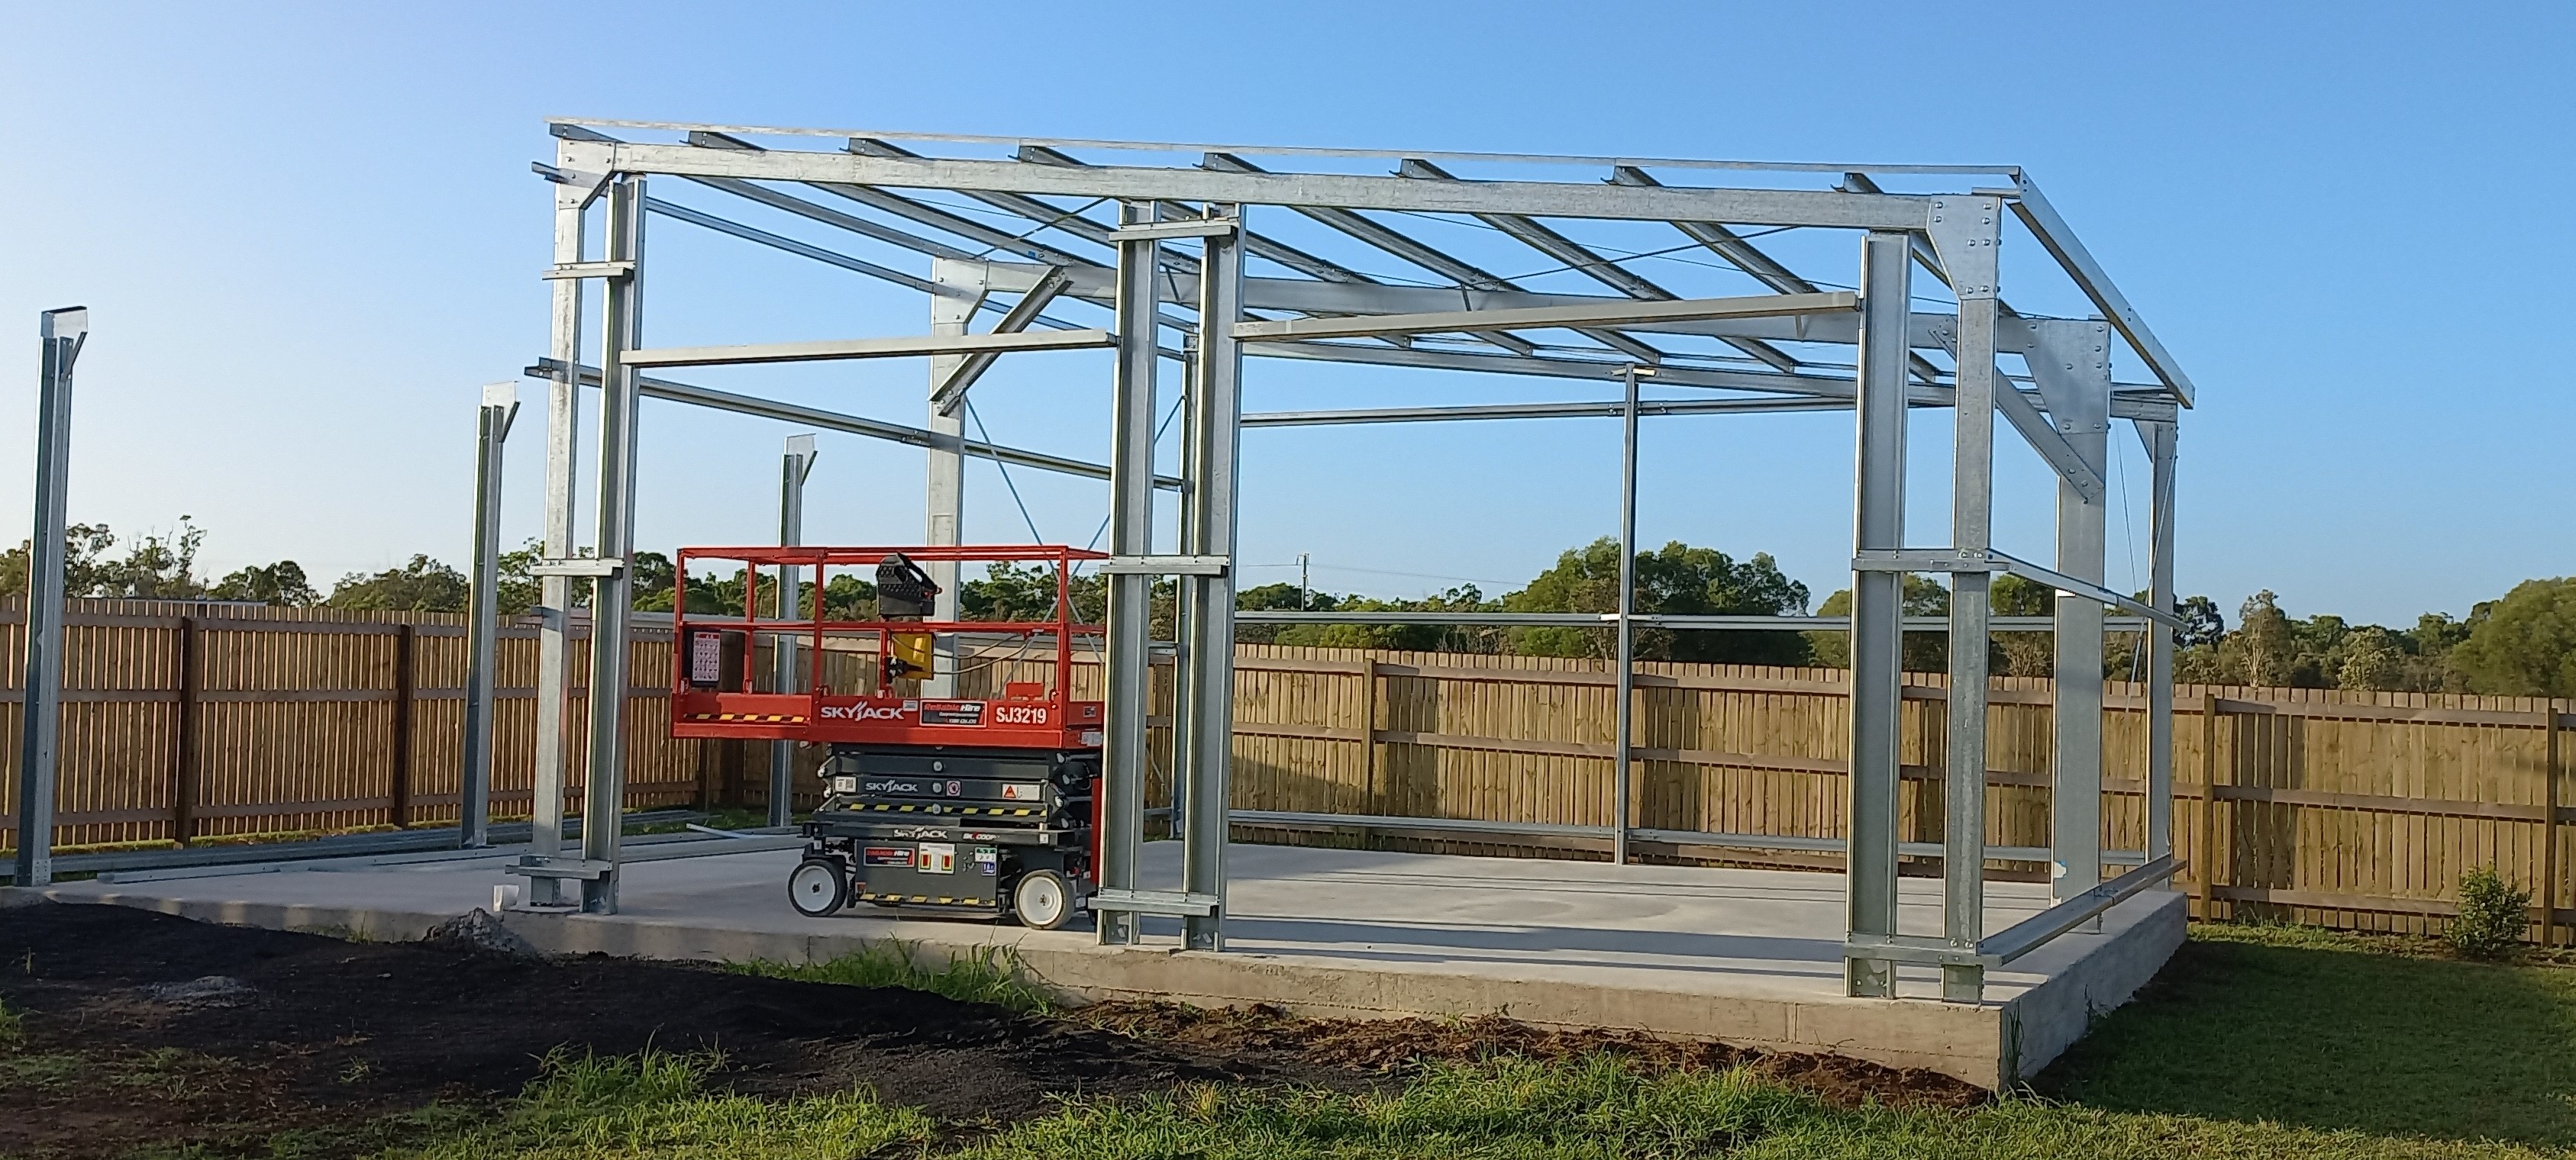
A scissor lift was the novel solution for this outfit to raise the beam structures. Thankfully there was no wind that day! At around 4 metres high a scissor lift was an essential tool especially attaching the Z battens across the roof frame.
Insulating a shed
I decided on Air-Cell insulation due to its neatness and longevity rather than 'R' performance. There were many other reasons...
- 3-in-1 Insulation, thermal break and vapour barrier
- Delivers a R0.20 thermal break solution for steel-framed construction
- Helps achieve a 6-star house energy rating
- Fibre-free, non-allergenic, non-irritant
- Quick and easy to install
- Strong, tough, durable
- Water-resistant and unaffected by moisture
- Anti-bacterial and anti-fungal
- Rodent and insect resistant
- Compliant with AS/NZS 4859.1:2018


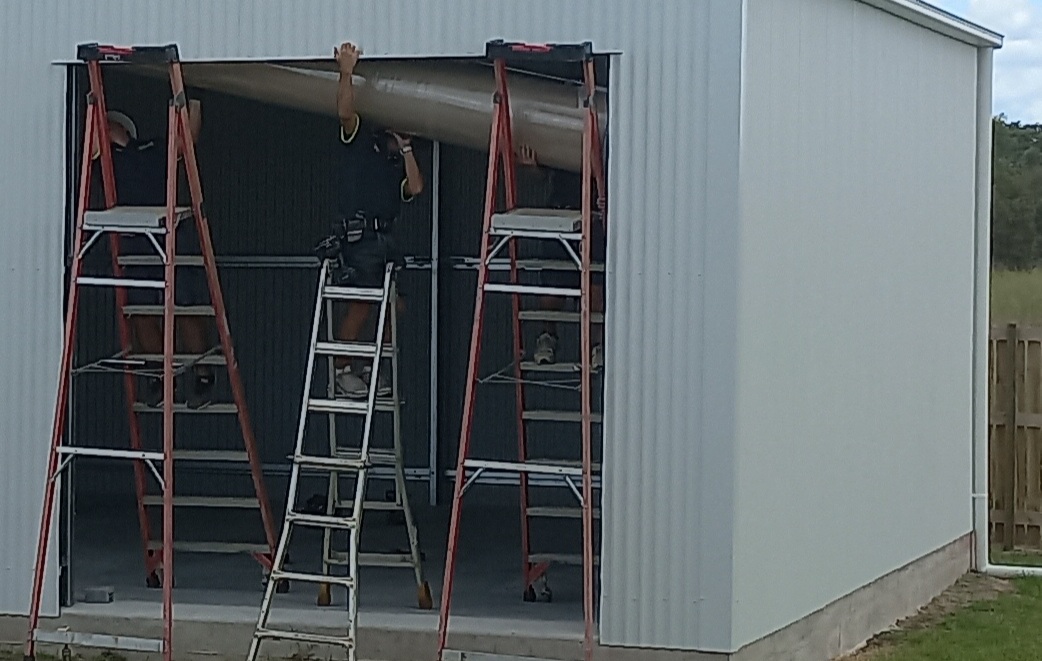
The final installations on the shed carport combo involved the roller doors, access door and sliding window. The roller doors were oversize and somehow the three workers heaved them onto their shoulders and walked up ladders to sit them on the brackets.
The door and window had to be cut into the walls using a nibbler and then installed. The result was a large tough shed with enough height to add a mezzanine floor on the high side if required.
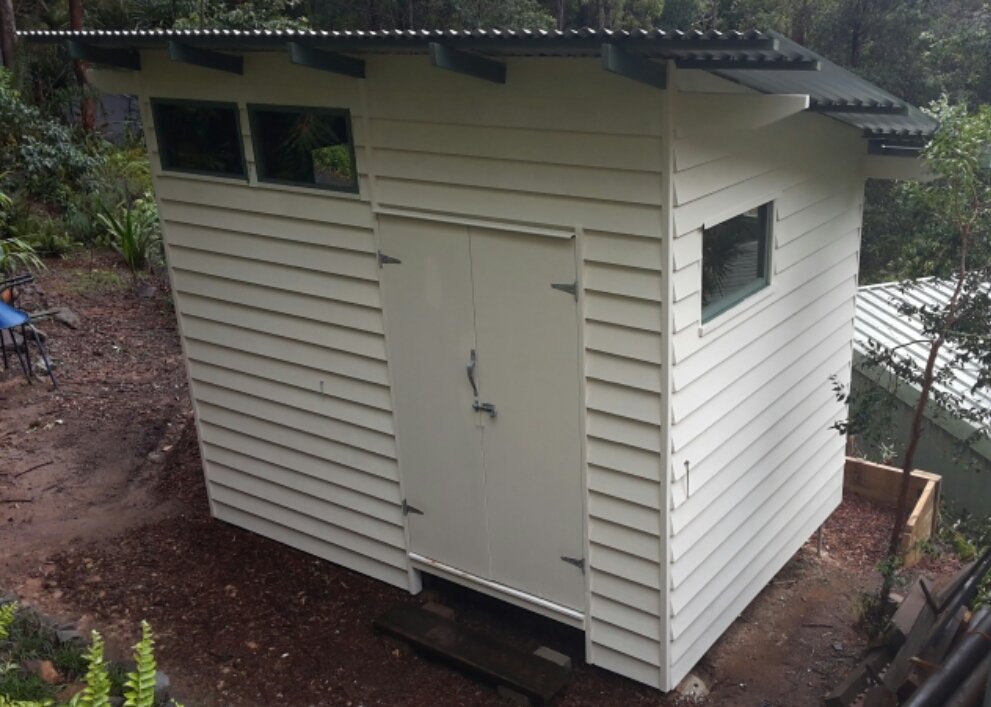
My other shed builds...
Go back to metal carport kits
or return to Kithomebasics home page.


