How to Build a Carport

Finding out how to build a carport obviously required a professional outfit to teach me, so I engaged a local shed builder. The plan was to erect an oversized and sturdy carport, capable of housing a larger ute with gear on top or a reasonably large caravan.
Getting a carport built in the wide bay area of Qld was a difficult process given the rush to build and the dirth of materials. Our carport would take 7 months to materialise.
So the agreed plan was a free standing, skillion roofed carport, with 3 metre clearance under the low side, and an 8 metre x 4 metre bay.
Metal carport frame parts
The structure would have 6 x 100x100mm steel posts imbedded in the slab to eliminate any side bracing. The structure was based on 3 x 300mm C beams, the middle one being a double, and 8 x 300mm C beams to make a grid pattern. Fascias, gutters and corro iron finished off the structure materials. The beams were attached together with bolted right angle brackets. As we live in a cyclone prone area the shed needed this upgraded framing to N3/W41- 50m/s rating ie up to 180km/h.
Cost to build a carport
- Slab build $3,000
- Kit materials $3,500
- Erection $3,300
- Total: $9,800
Gone are the days of the $2k carport! Steel is now 3 times more expensive than it was 2 years ago.
How to build a carport
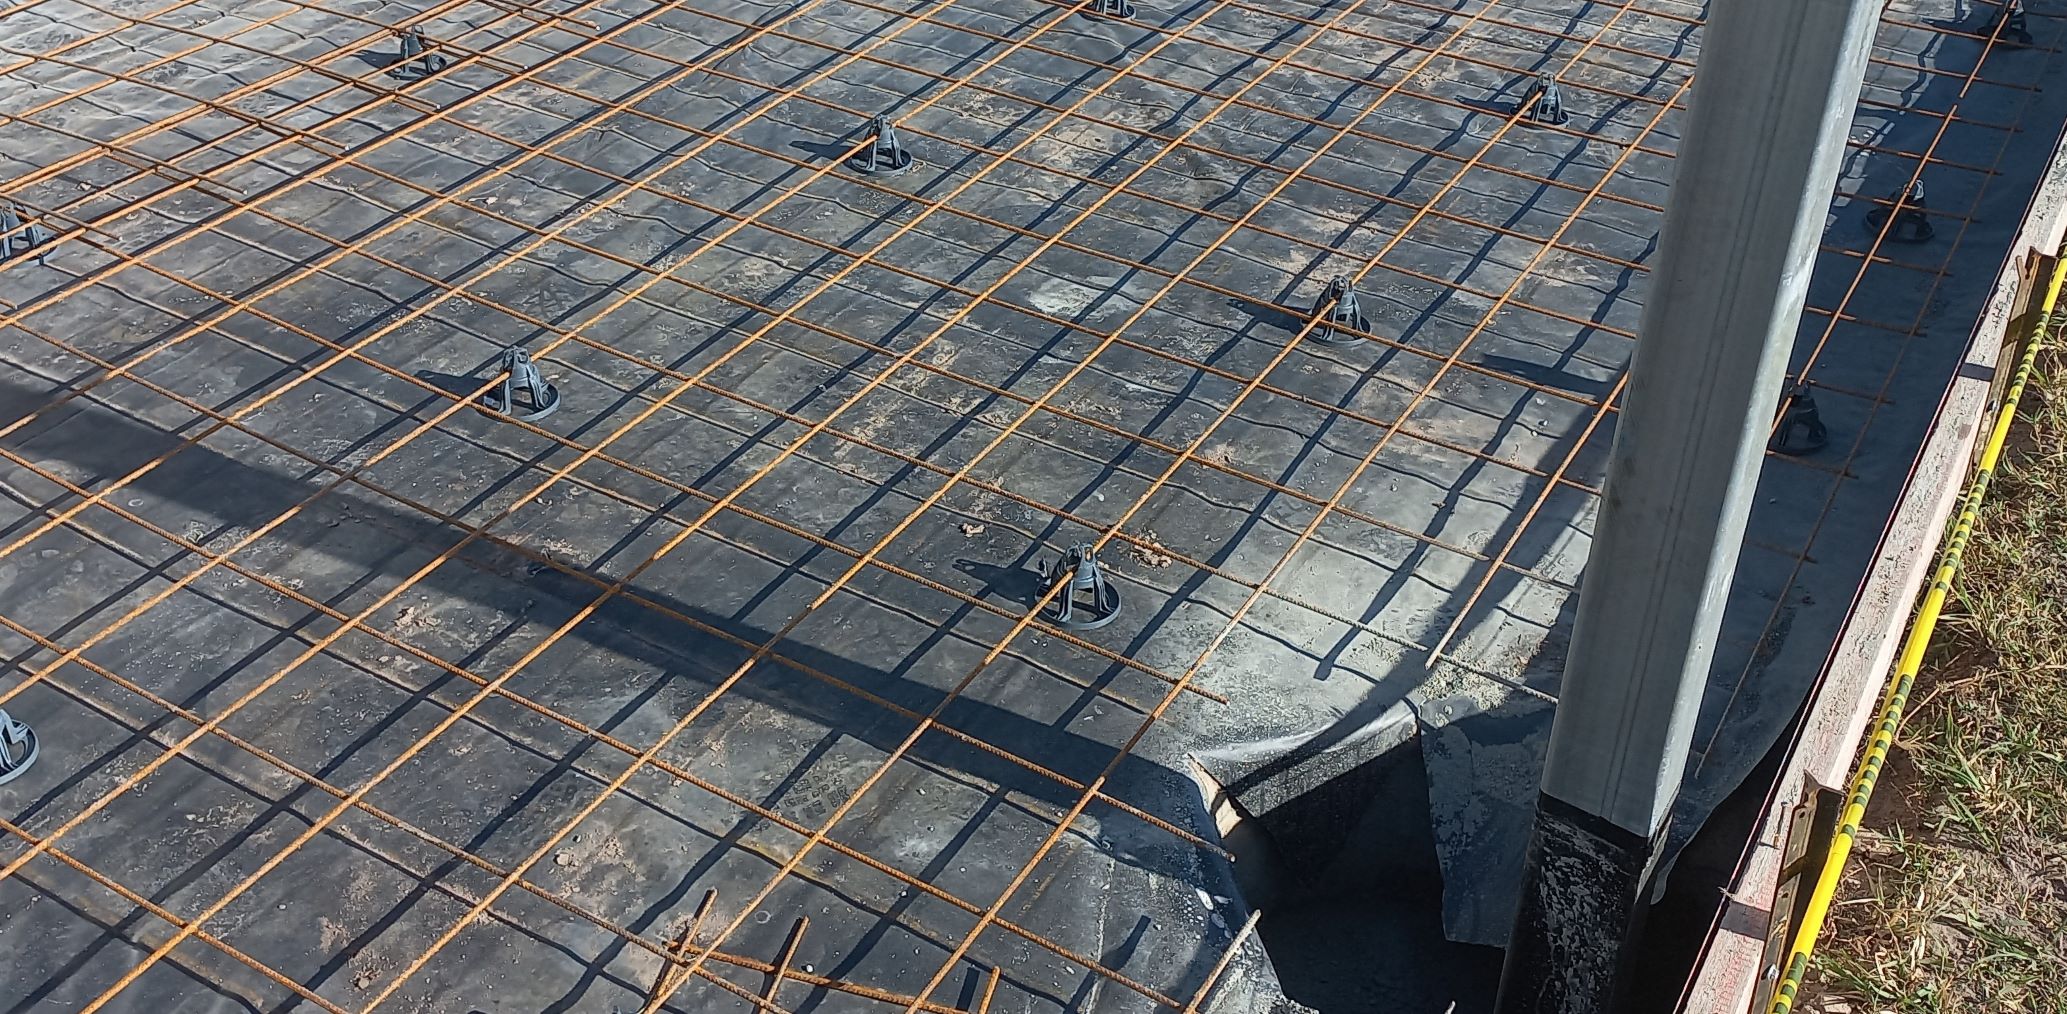
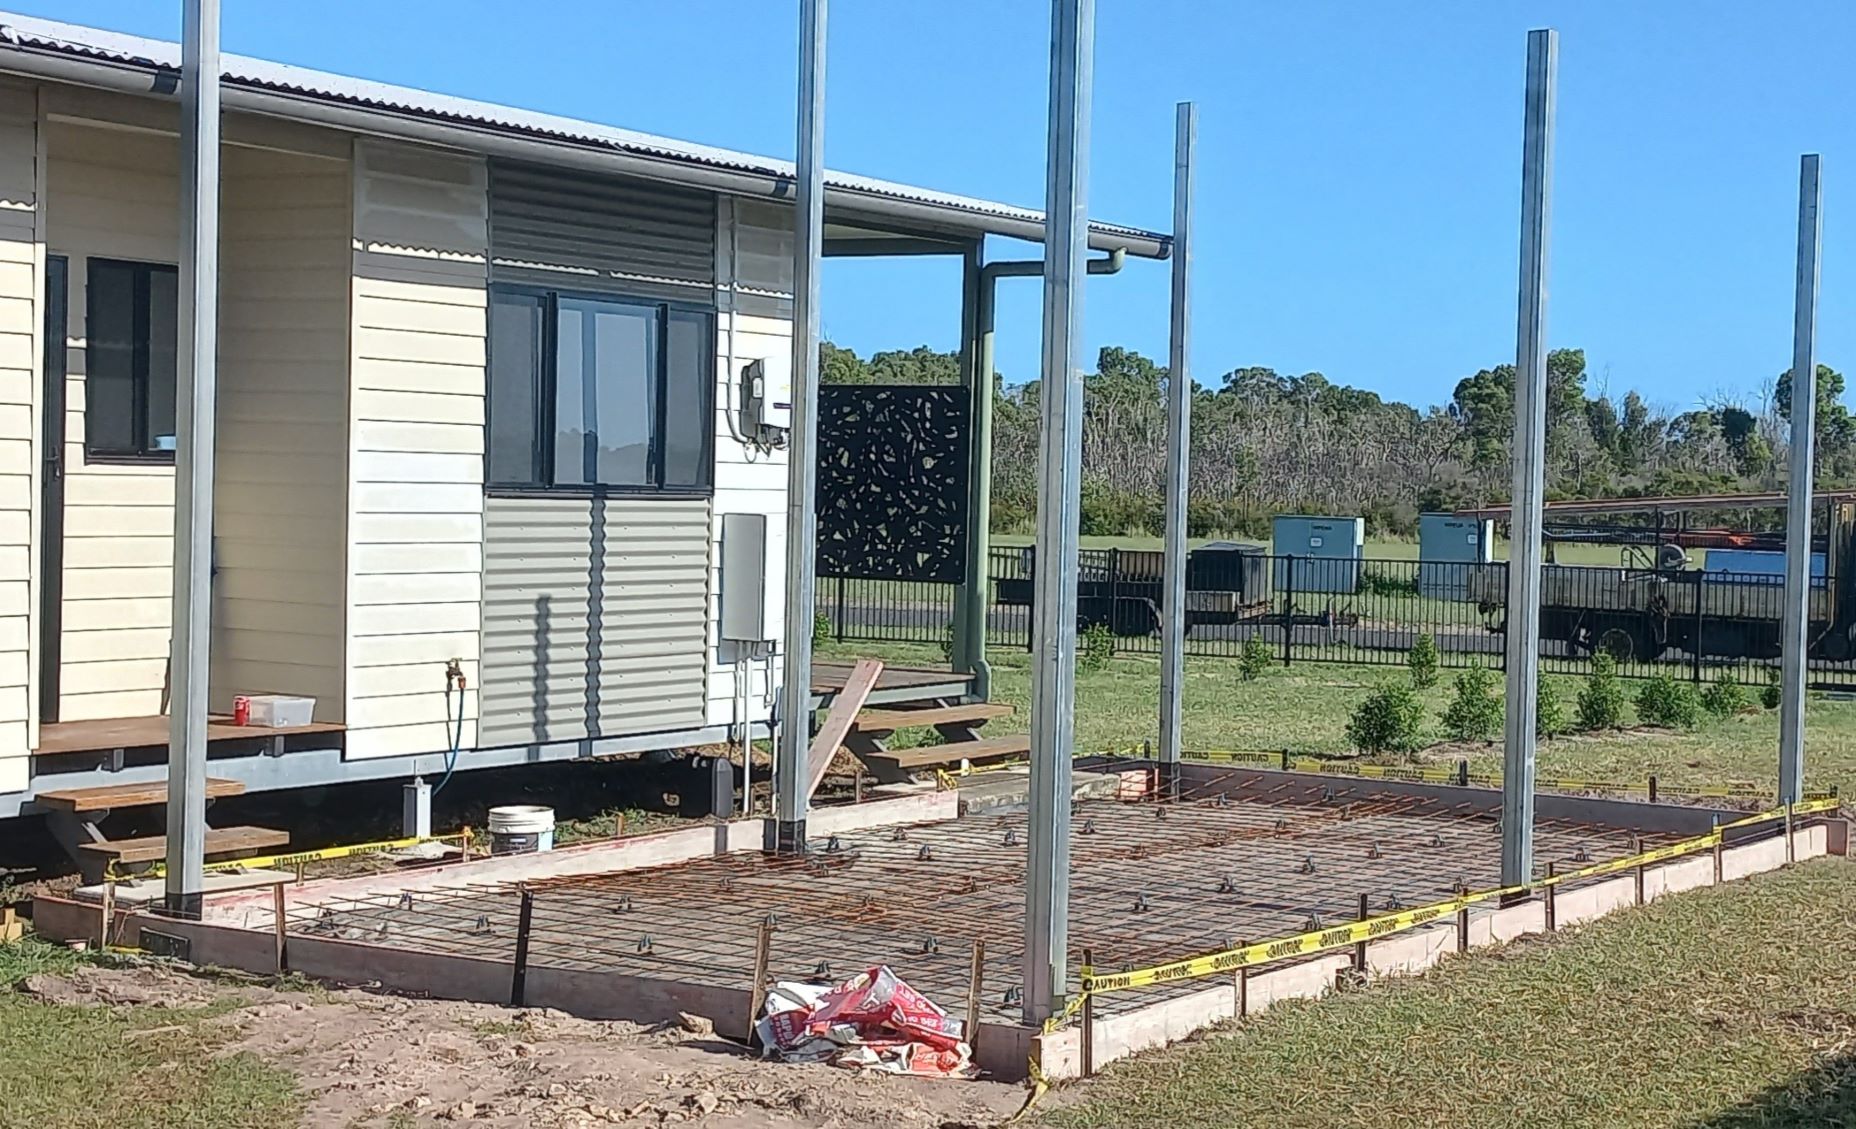
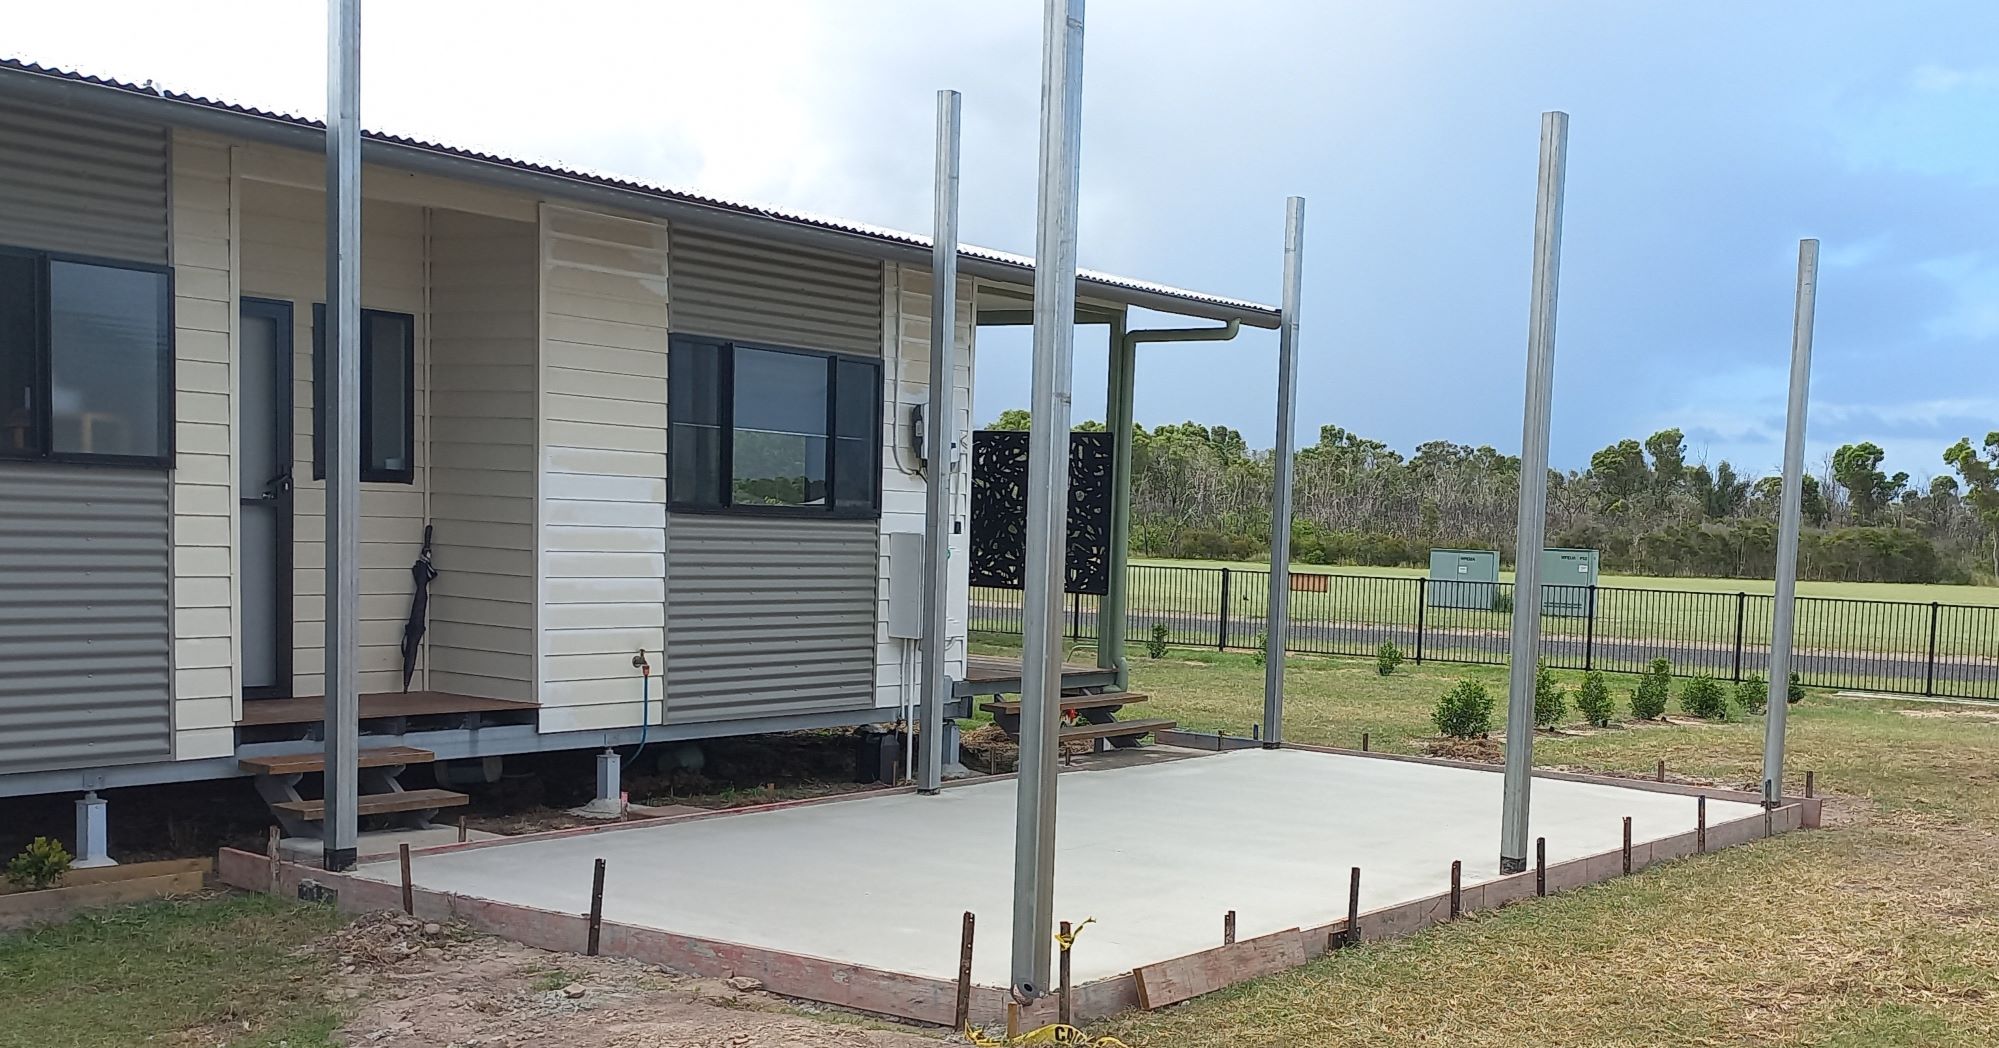
The slab build was straightforward as it was on a relatively flat surface. The top layer of grass was removed before the slab formwork was built. Plastic sheeting was added as well as reinforcing mesh and bar-stools. The steel posts were pre-concreted in 800mm deep footing holes the day before the slab concrete arrived. The concrete was poured the day after and finished with bull floats, helicopter float and hand floats throughout the next few hours as it 'went off'. The formwork came off three days later.
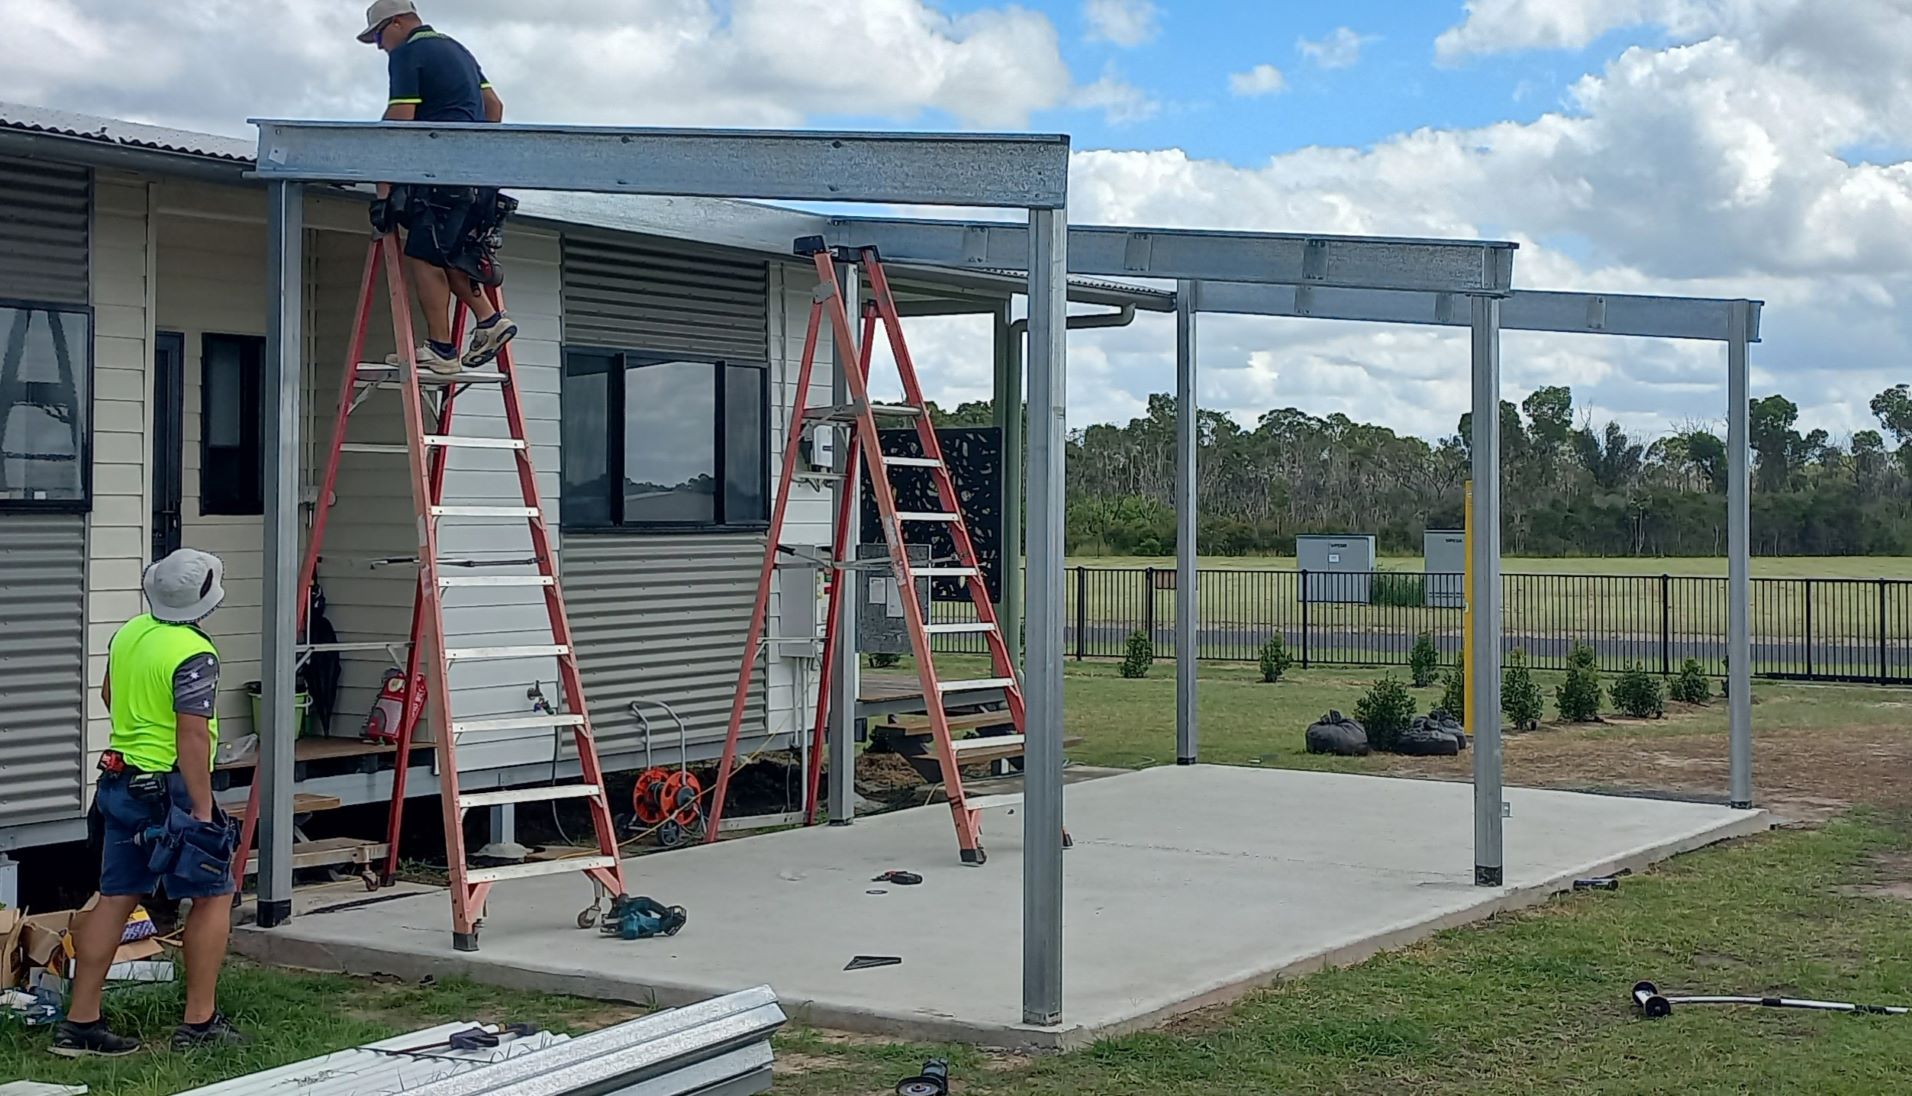
Initial setup required the tops of the posts to be cut down to size. The middle posts were cut 300mm shorter as they had the beams mounted on top with a post insert plate. The outer beams were bolted directly to the posts.
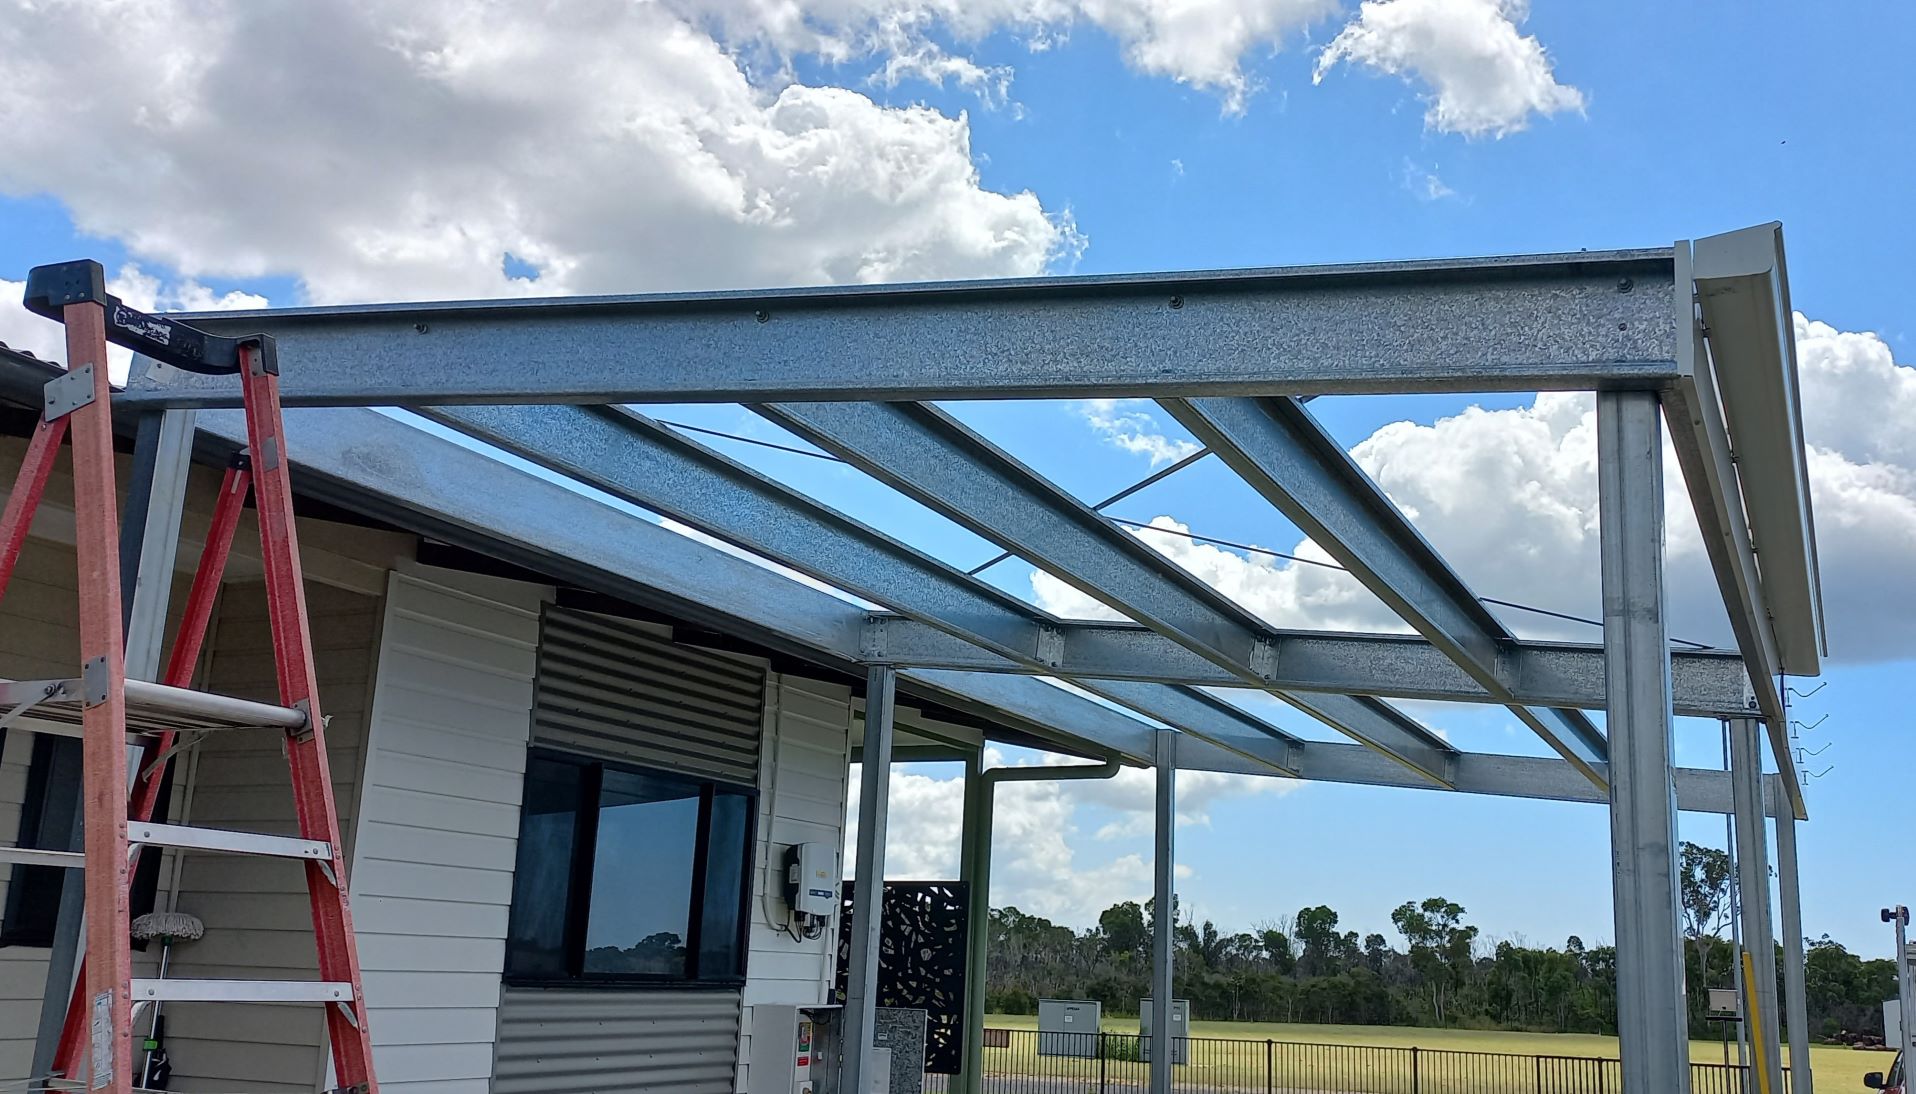 Beams and crossbeams installed Beams and crossbeams installed |
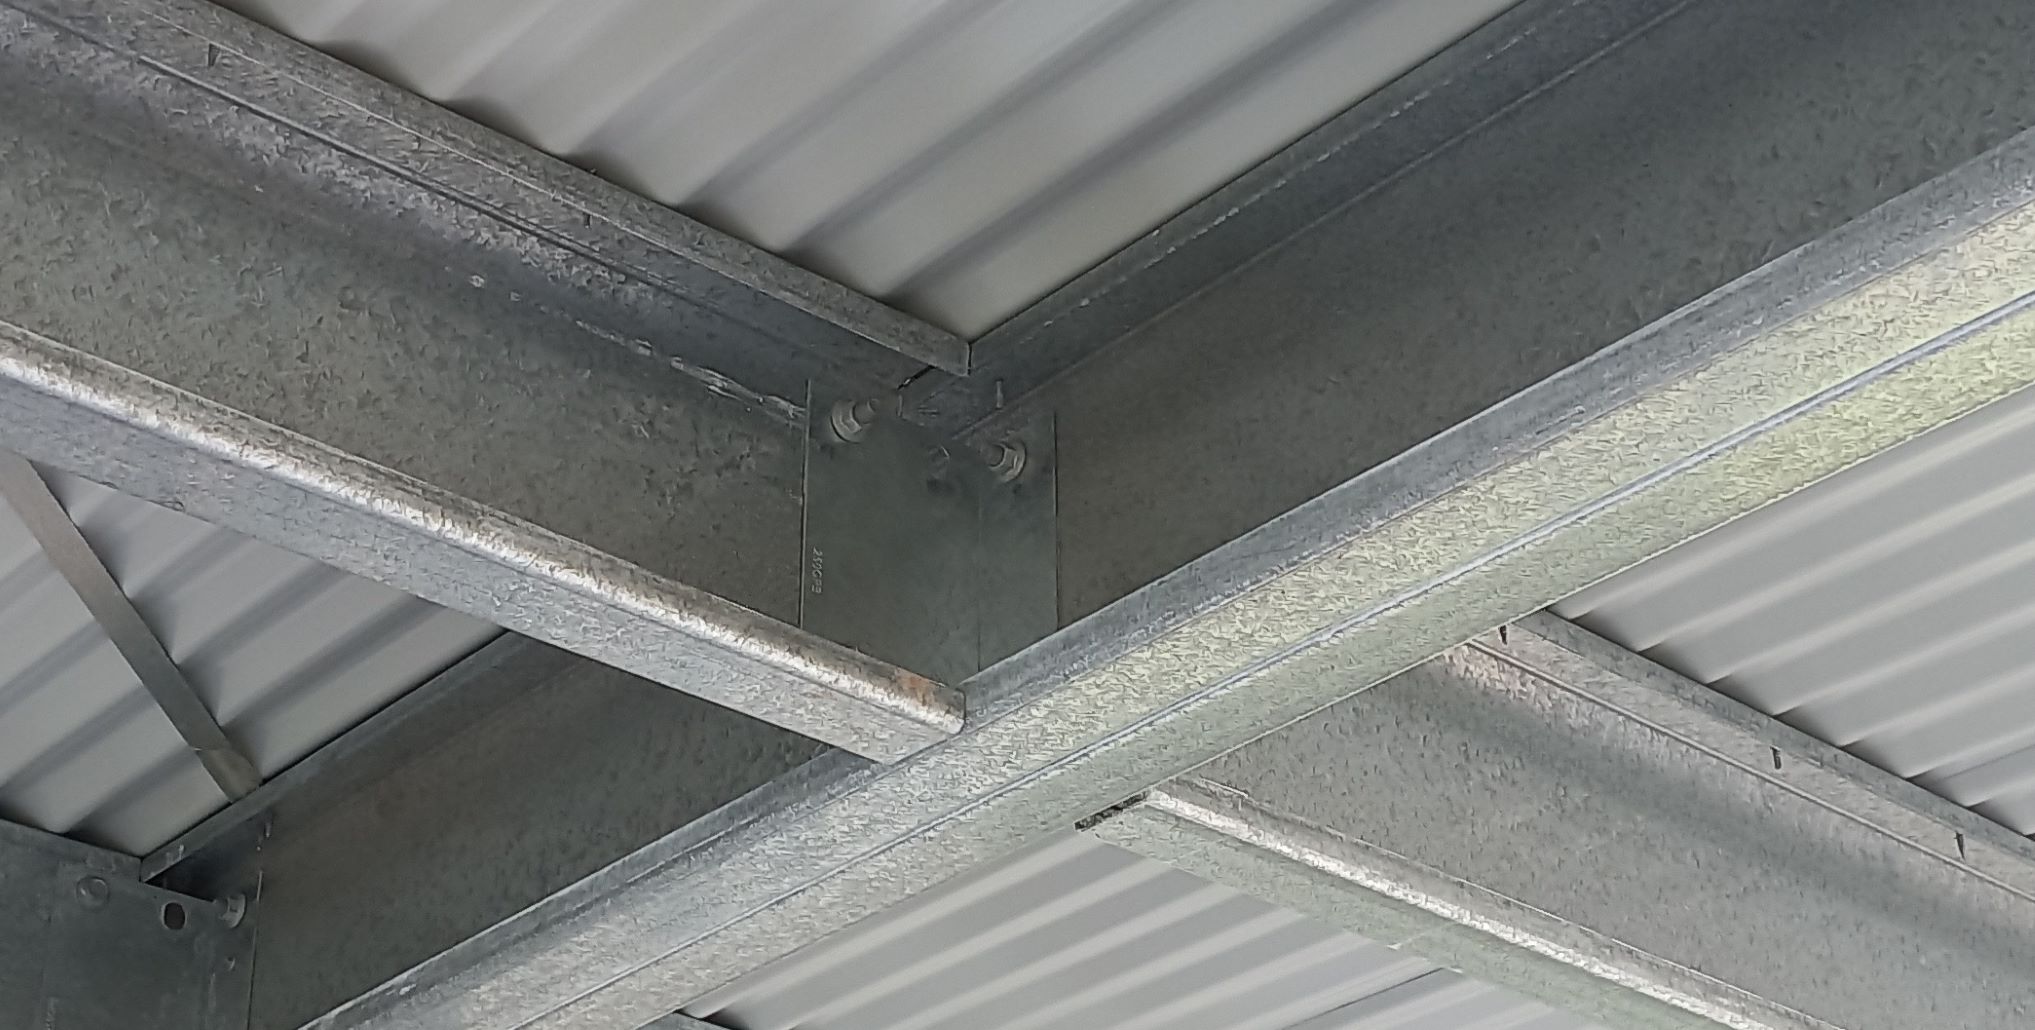 C section beam bracketing C section beam bracketing |
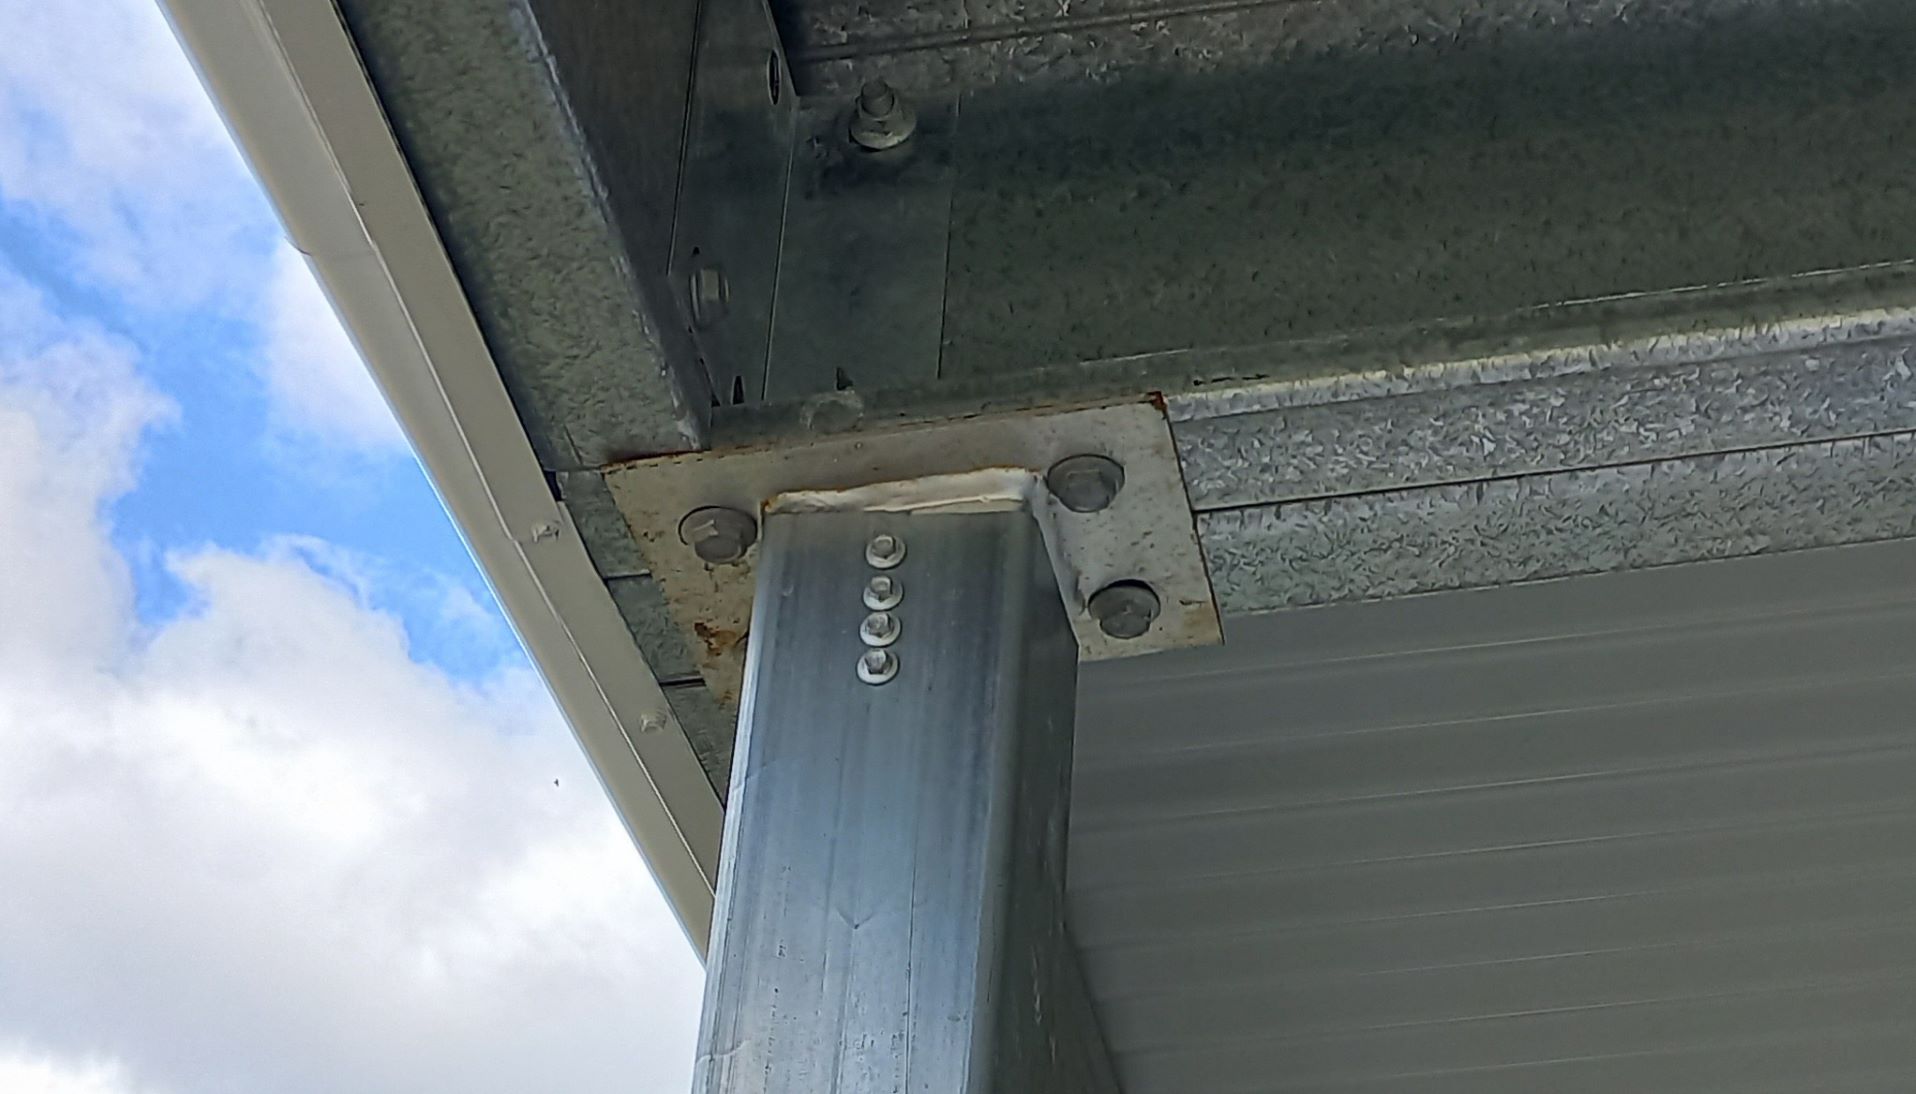 Post insert plate Post insert plate |
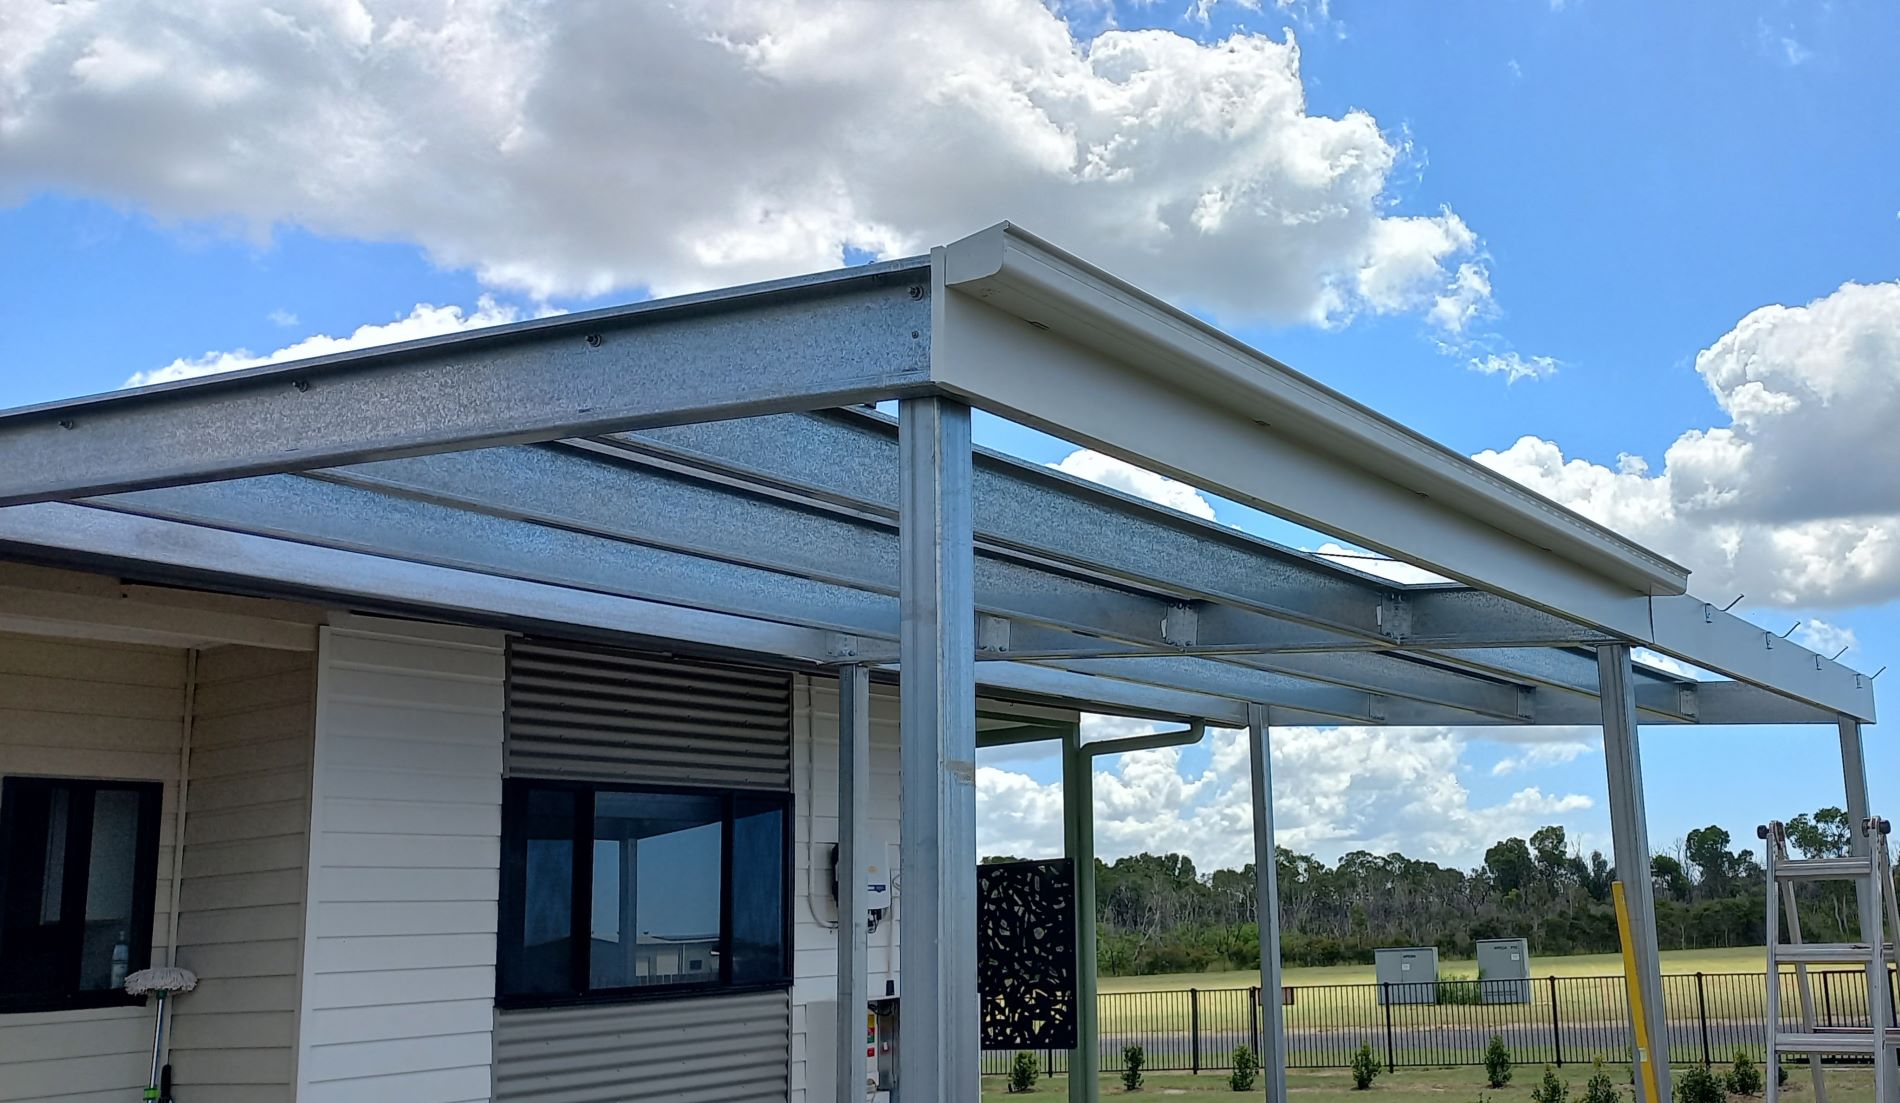 Fascia and gutter install Fascia and gutter install |
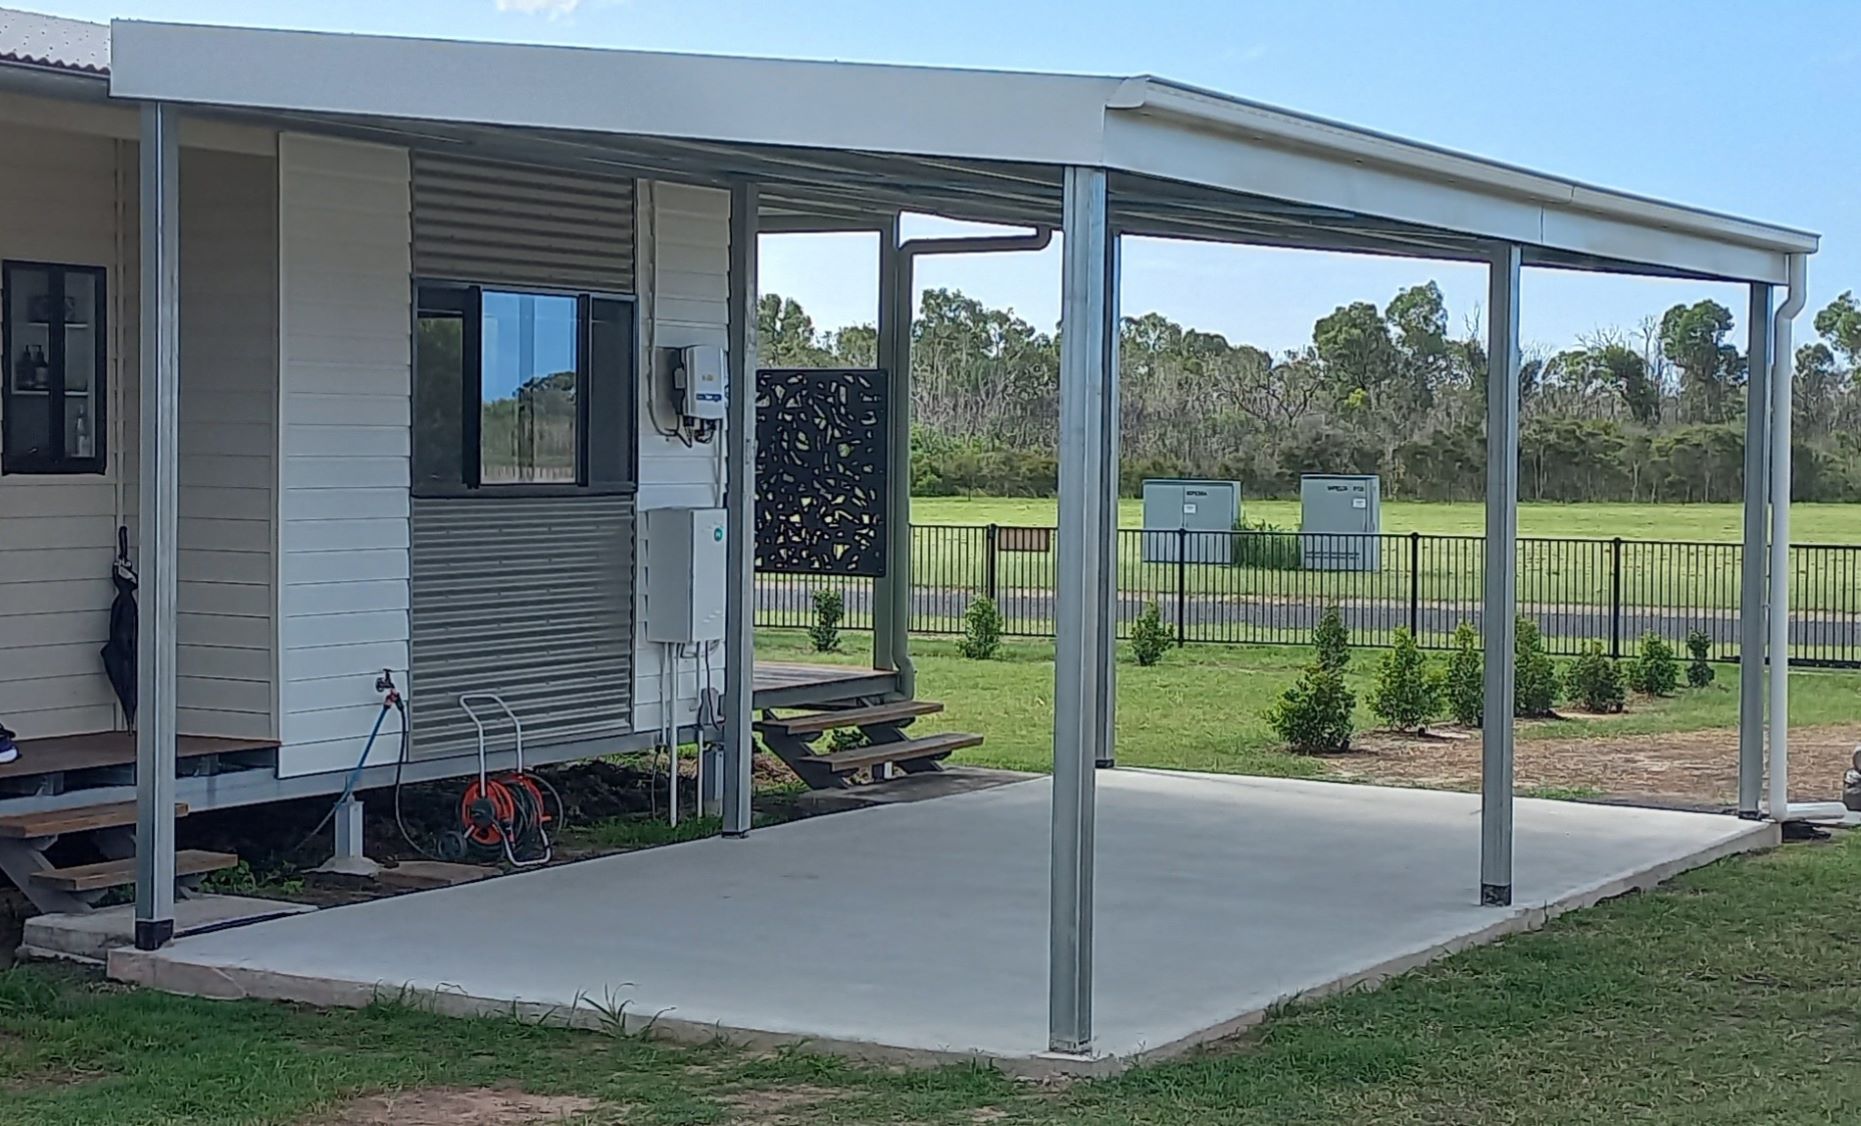
Then the cross beams were installed to bolted right angle brackets in between the three initial beams. Two lengths of steel strapping were installed as cross bracing along the roof line. The fascias were then installed, requiring some handy steel cutting, then the gutter supports and gutter was installed. Lastly the corrugated iron was screwed down.
A leaf blower was used to move the steel shavings off the roof, and a magnet on wheels was used to pick up steel bits off the ground around the site.
This carport build only took a day with two workers (not including the slab). My intention on learning how to build a carport was fruitful, but I would not attempt this project specifically. Perhaps a smaller carport with smaller components.
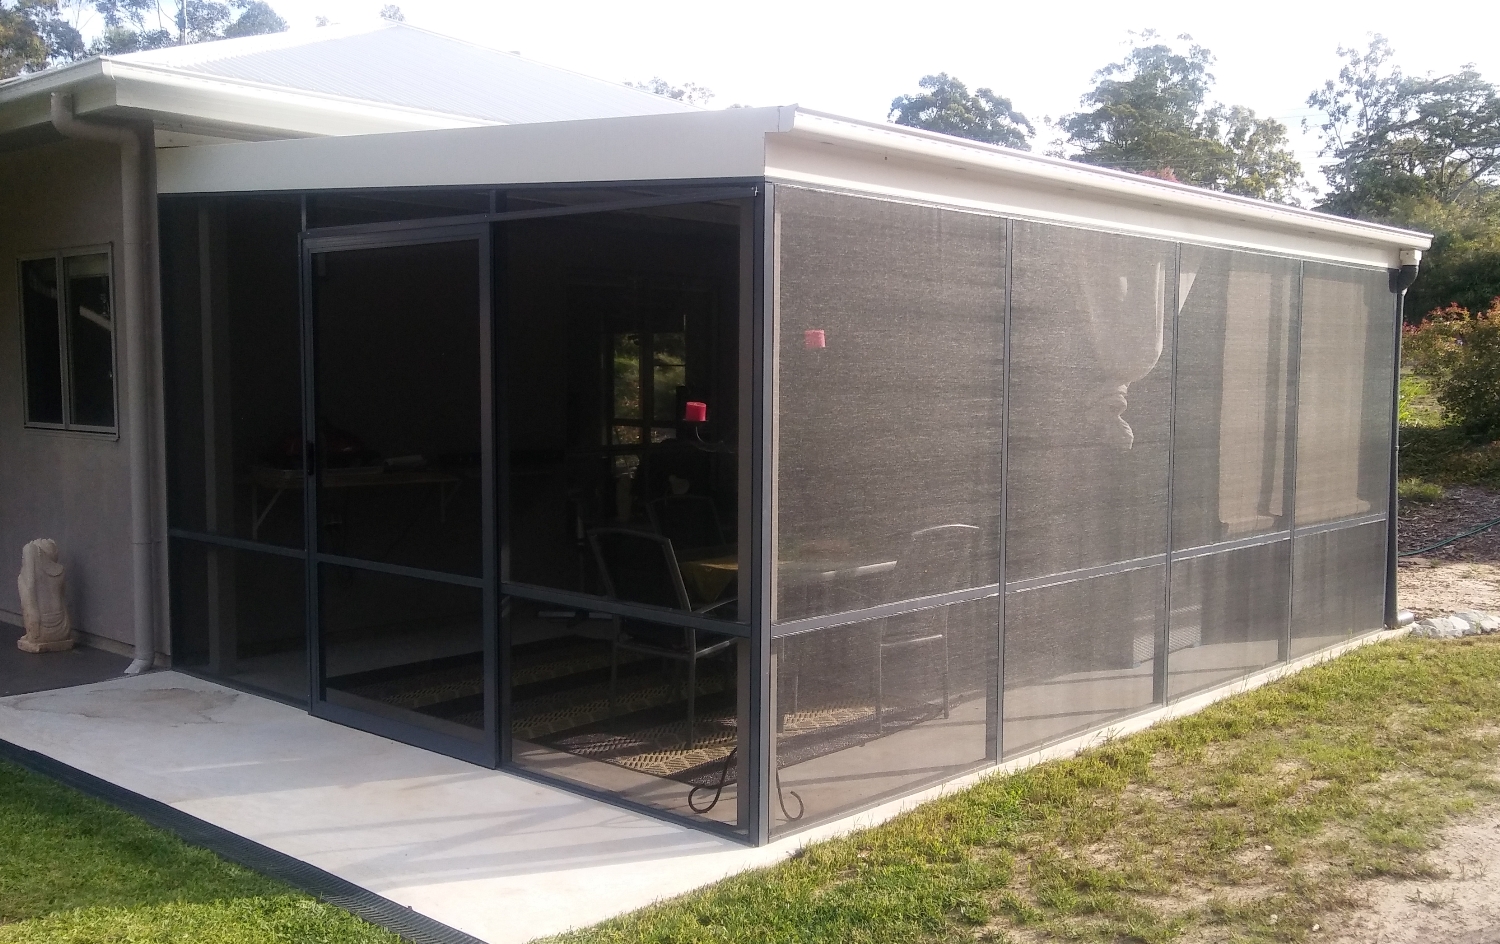
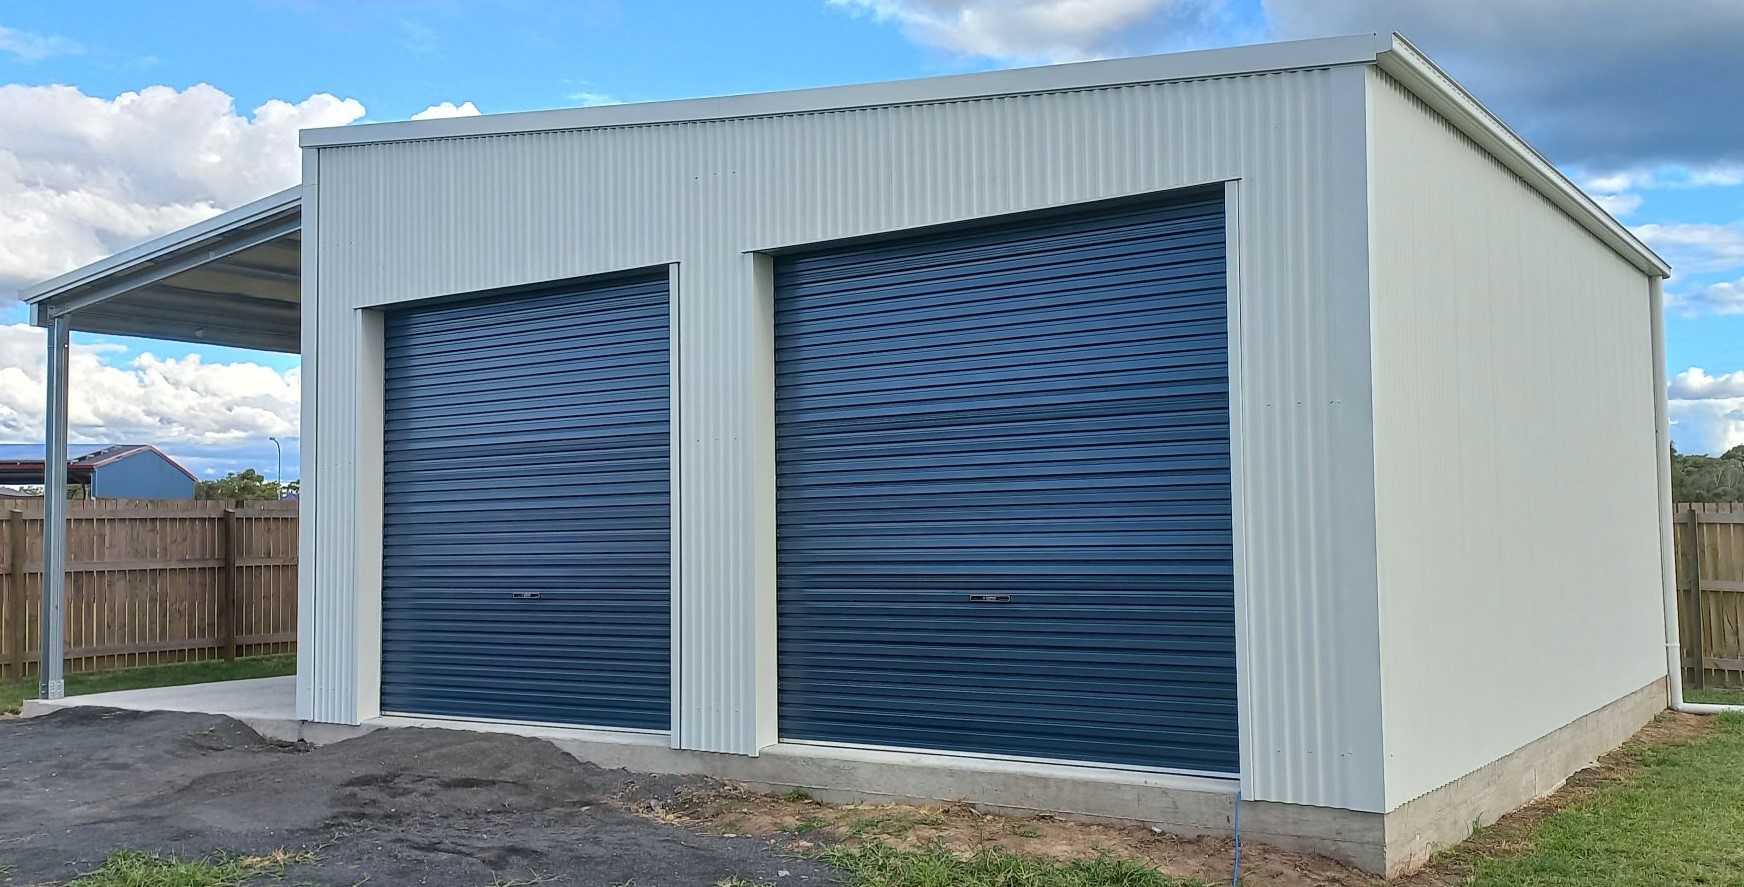
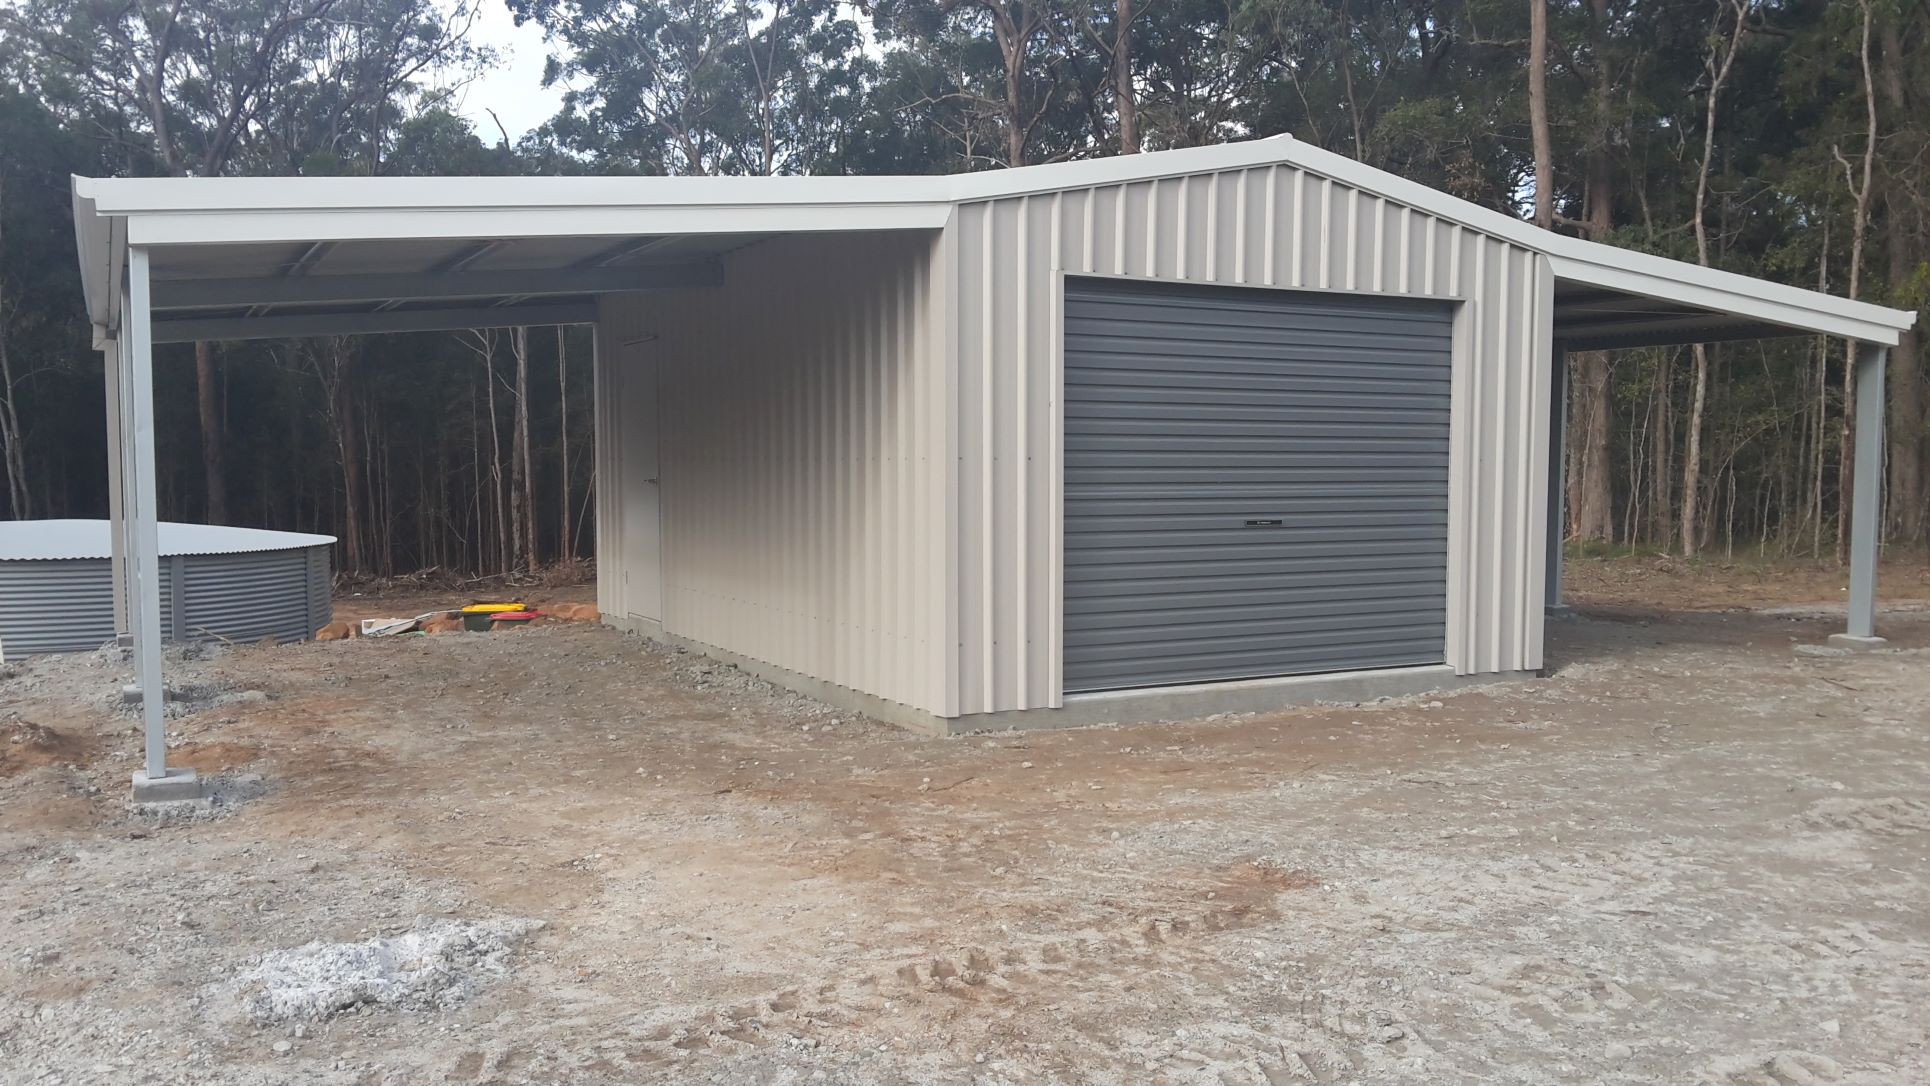
Here are some other shed projects I have done...
Go back to steel carport kits
Or return to kithomebasics home page.


