How to Build a Shed

I decided to learn how to build a shed by watching some professional shed builders do it the right way. There are lots of prefab sheds on the market with seemingly easy DIY building directions, but for a few thousand extra to build one I decided to get it done by the pros. I was also fully into building my kithome frame so didn't really have the time.
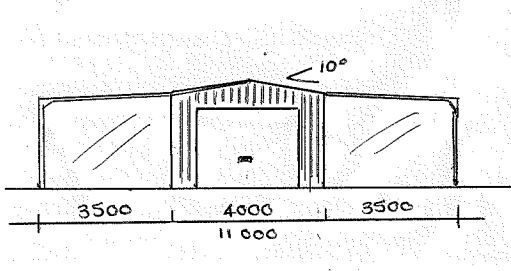
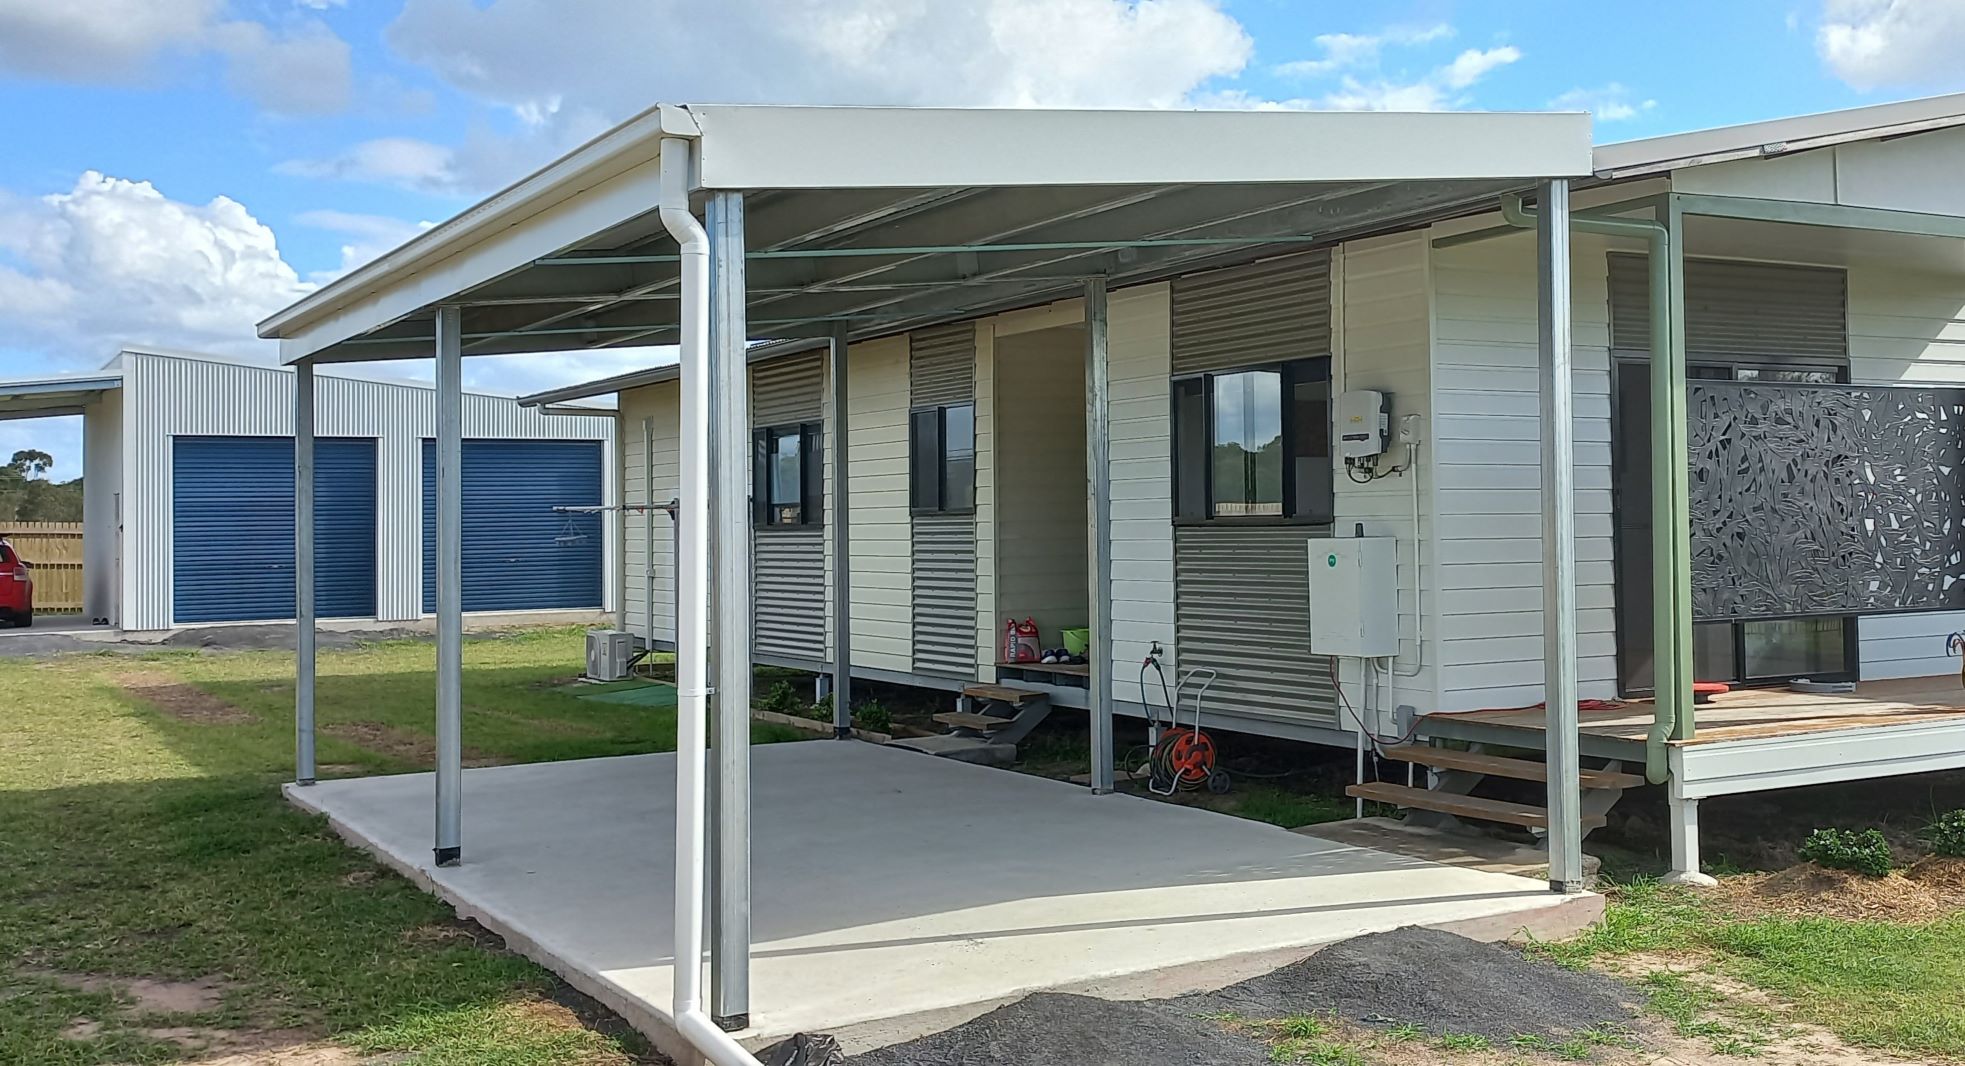
I elected to have a 6m x 4m shed on a slab with two lean to carports at 6m x 3.5m and a 10% roof slope. The cost to build a shed will vary depending on personal design. I wanted a tough shed with a high wind rating which cost about $13,000 (in 2016) including the shed materials, slab construction and erection.

The development application was submitted with the house DA and consisted of plan and elevation drawings, as well as full engineering details for the shed and concrete slab. I also needed to submit a property plan with the shed placement indicated. For my area it had to be a minimum of 12 metres from the fenceline.
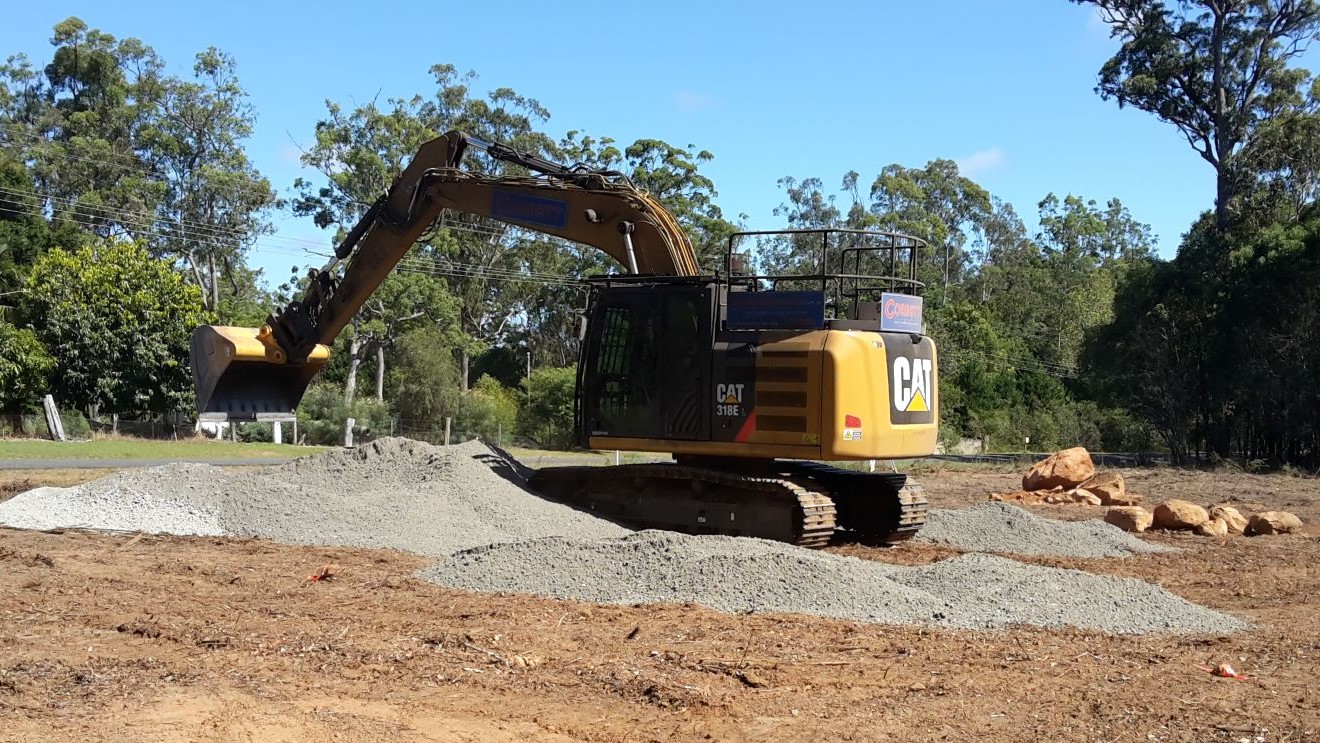

To start this project I needed a pad for the slab, so while the clearing excavator was on the property I had it spread crusher dust across the area and compact it. At the rear there was a 600mm drop that required retaining. Easy retaining wall installtion for a sloped yard is a treated wood retaining wall.
So I quickly installed that before the shed slab builders arrived. I also had elecrticity provisioned up through the RHS front corner before pouring concrete. Due to the height of the retained crusher dust, a 1.5m concrete footer was dug at the rear of the slab and for the rear lean to beams.
How to build a shed
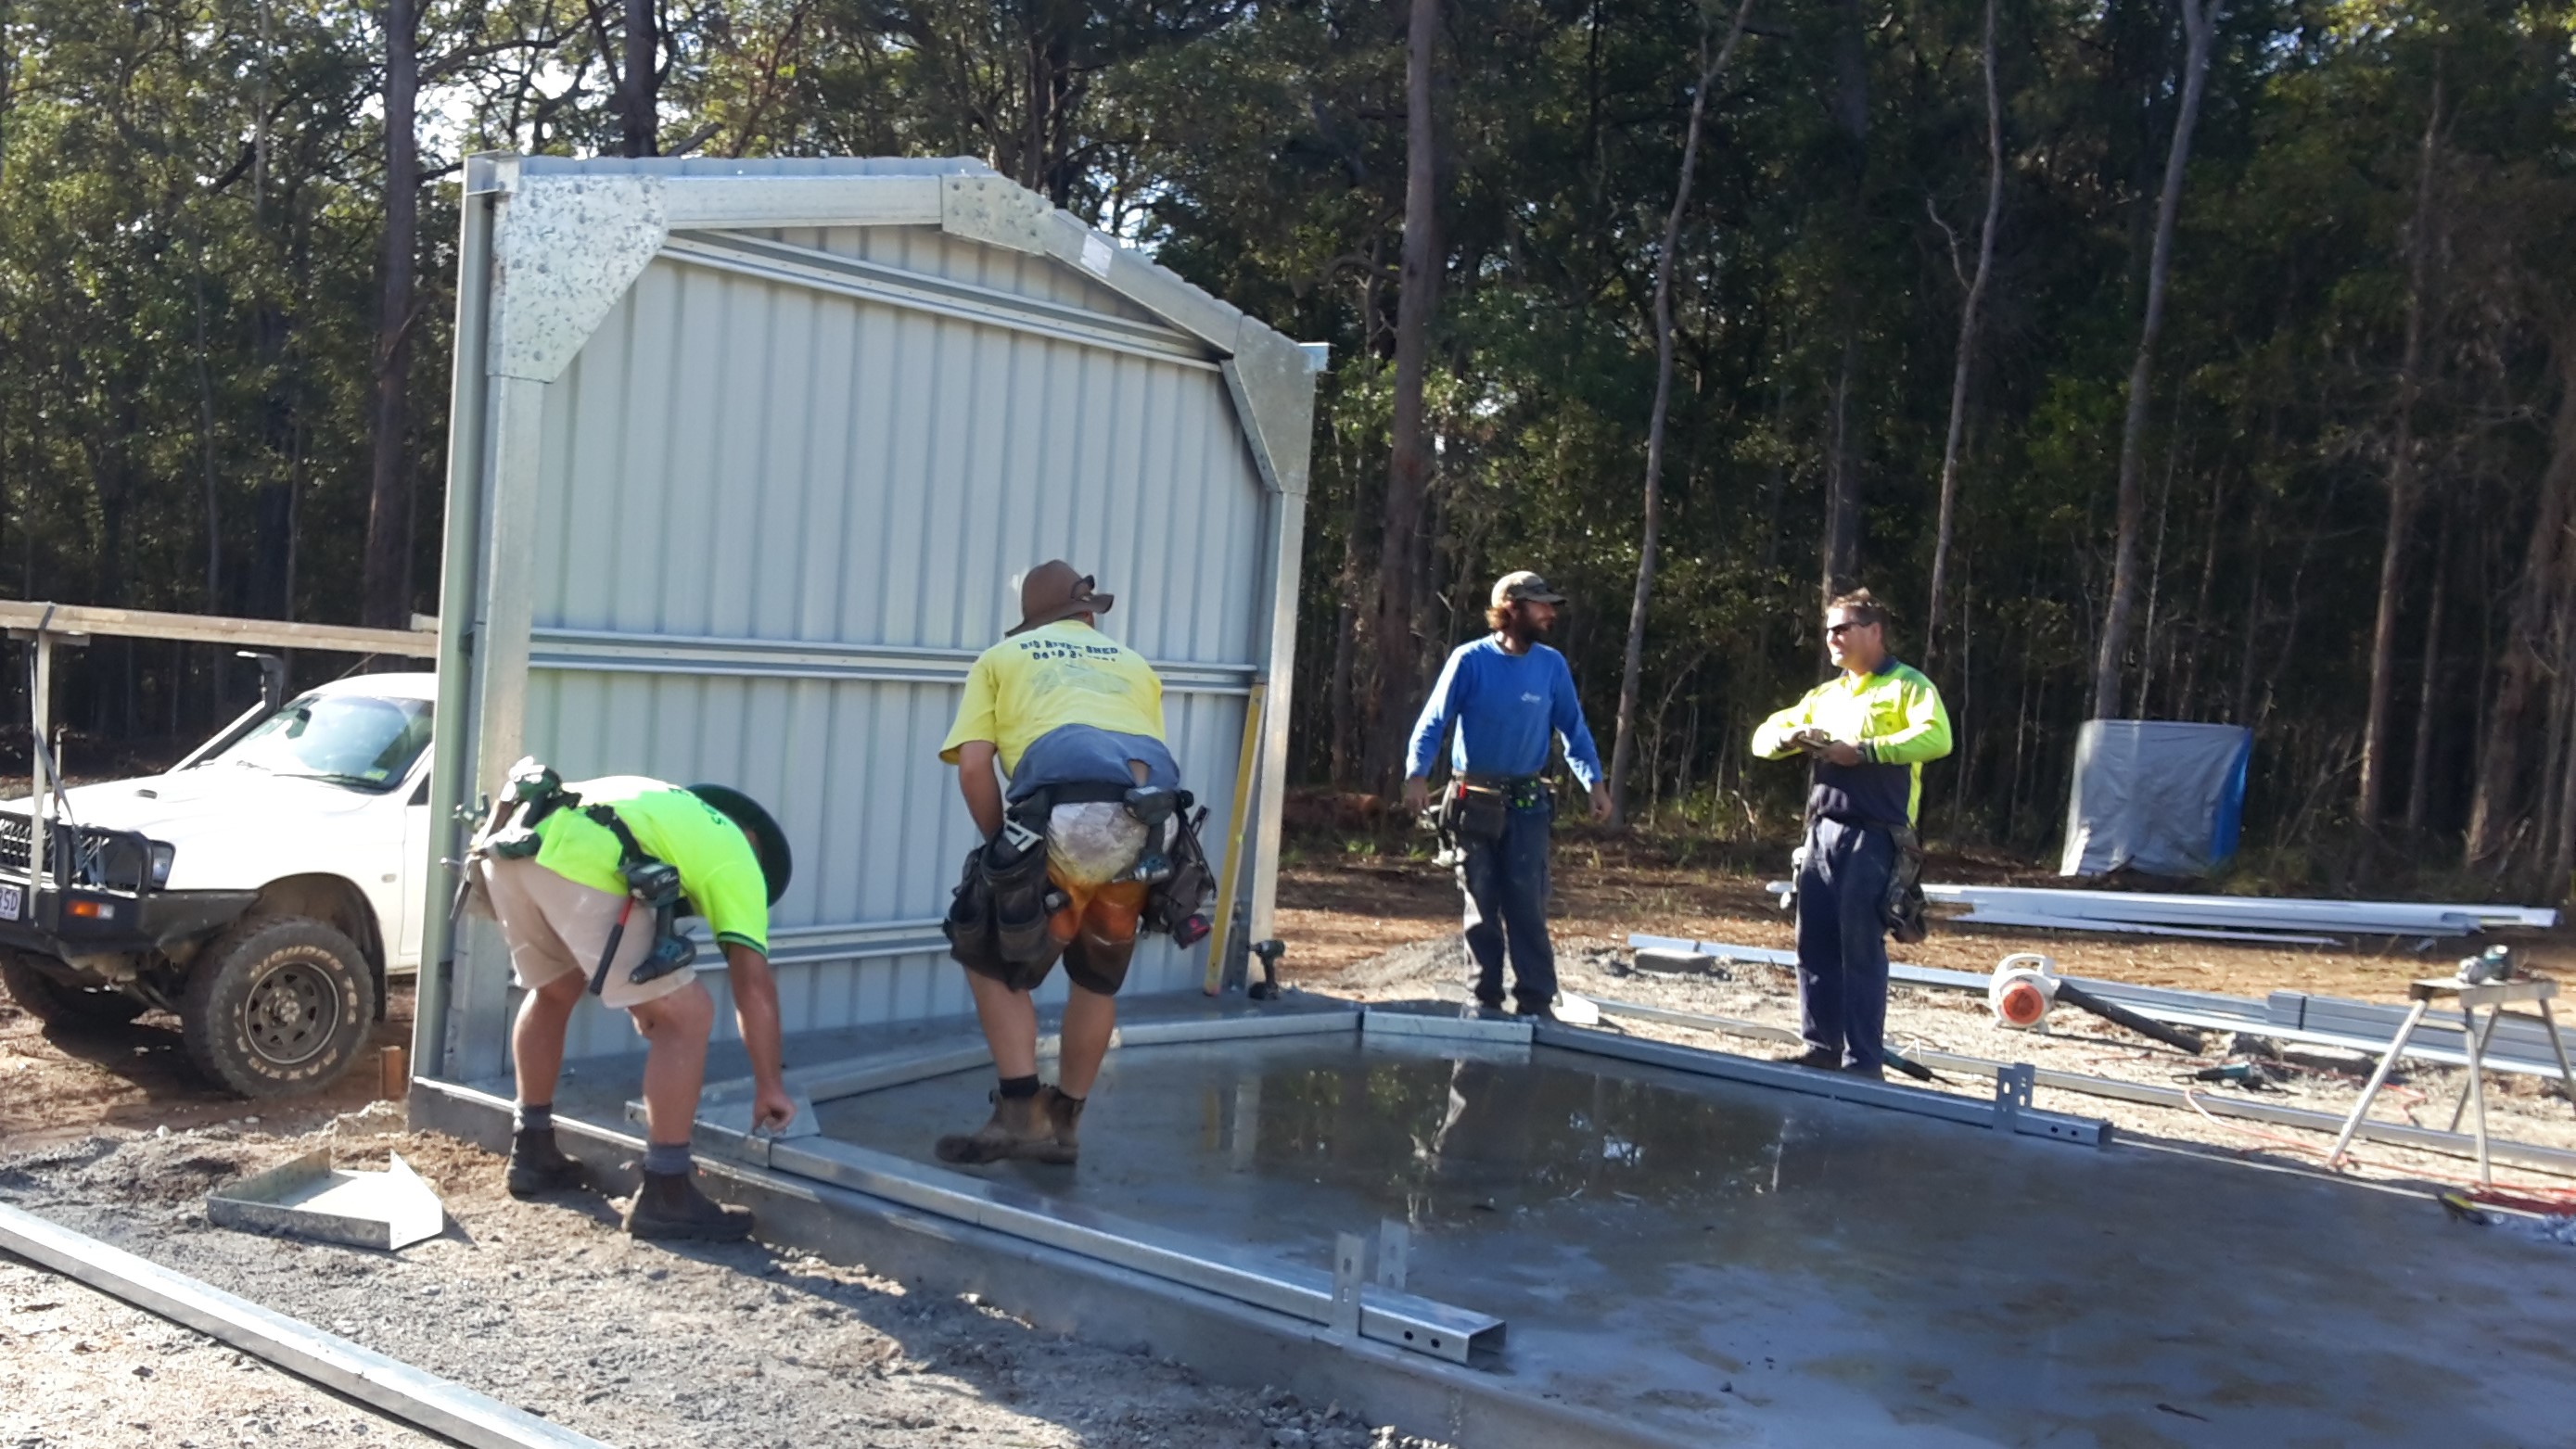

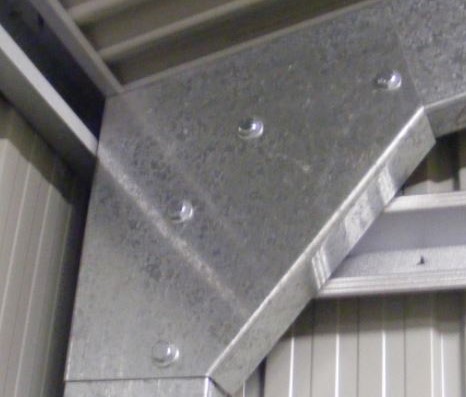
Here was where my education started in how to build a shed. The two rear columns were bolted to the top hole in the galvanised U bracket (cleat) that were cast into the concrete slab. Then the rafters were attached to the columns with 'knee' and 'apex' brackets.
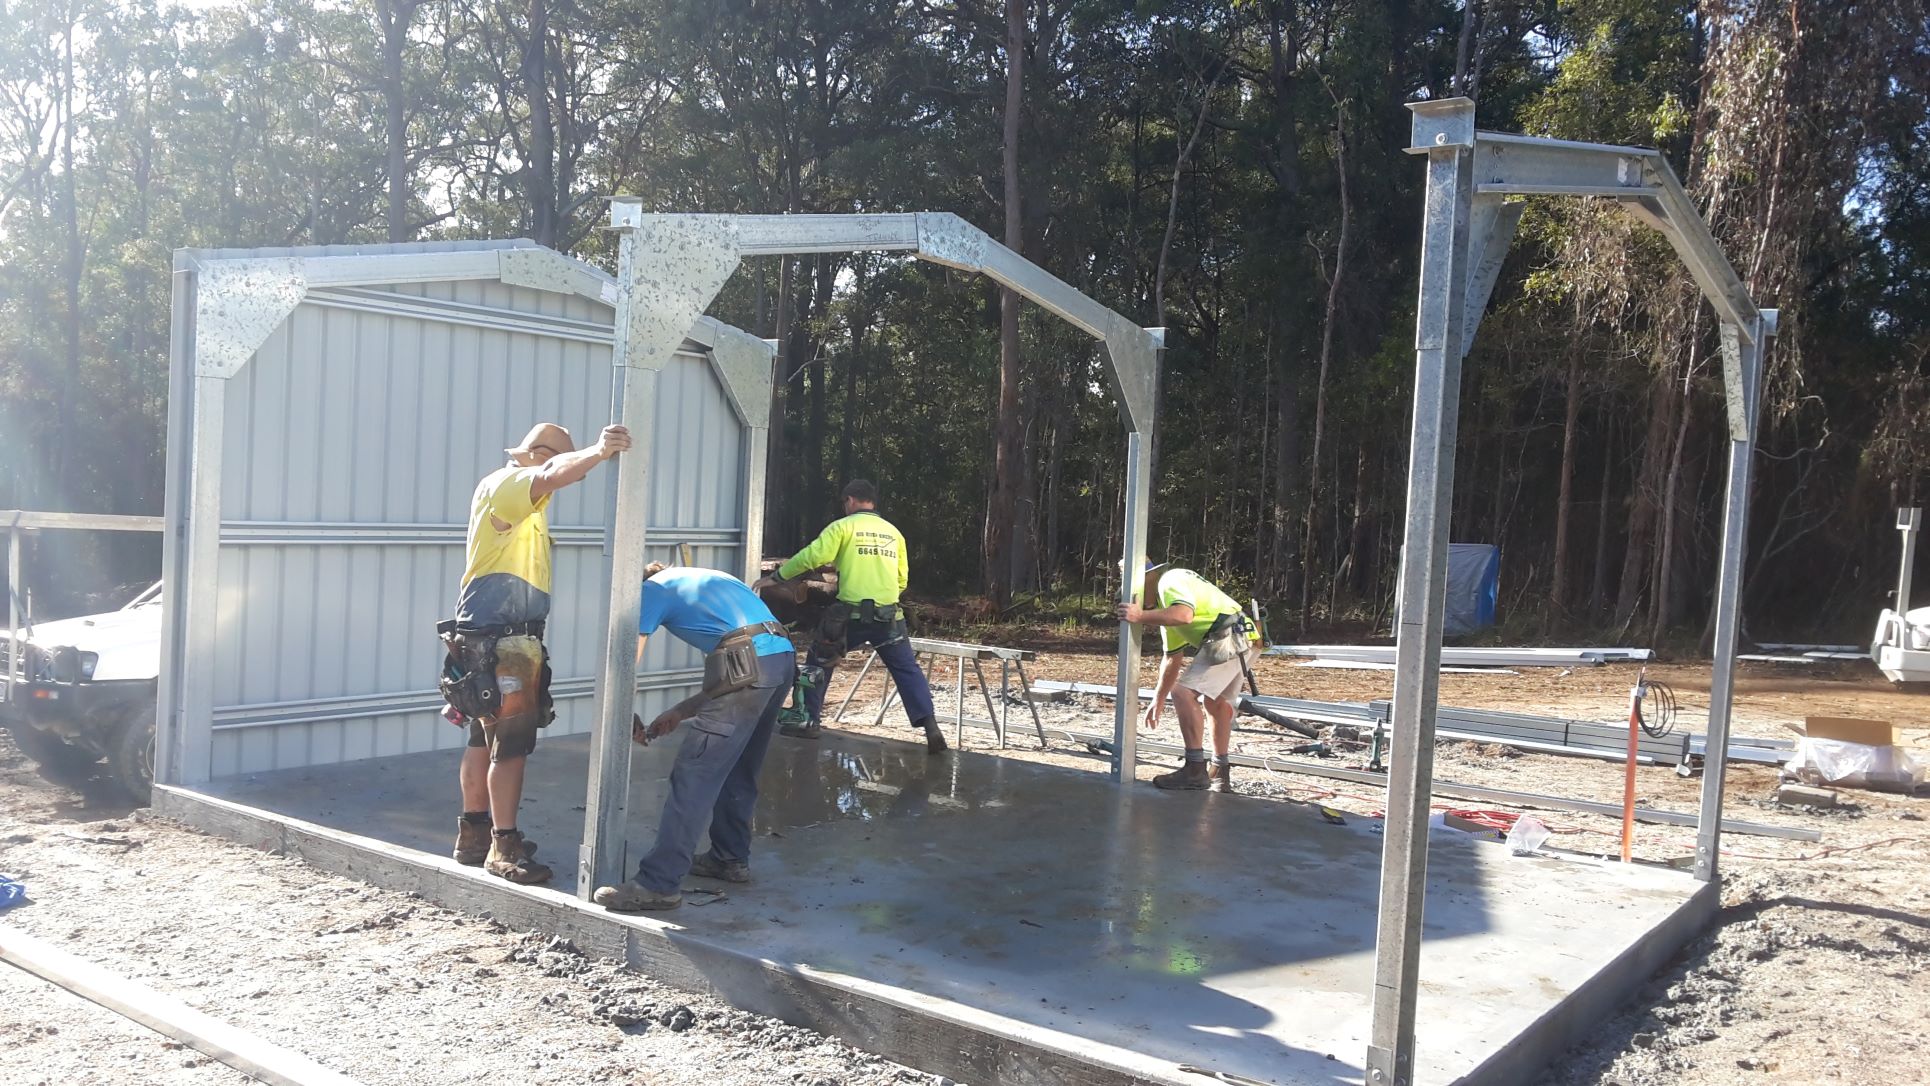
The battens were attached and finally the steel sheeting was fastened and cut at the roof line. Then the whole built end section was swung up to vertical and the second bolts fastened at the base U bracket. The centre and front end column/rafter sections were then built and raised.
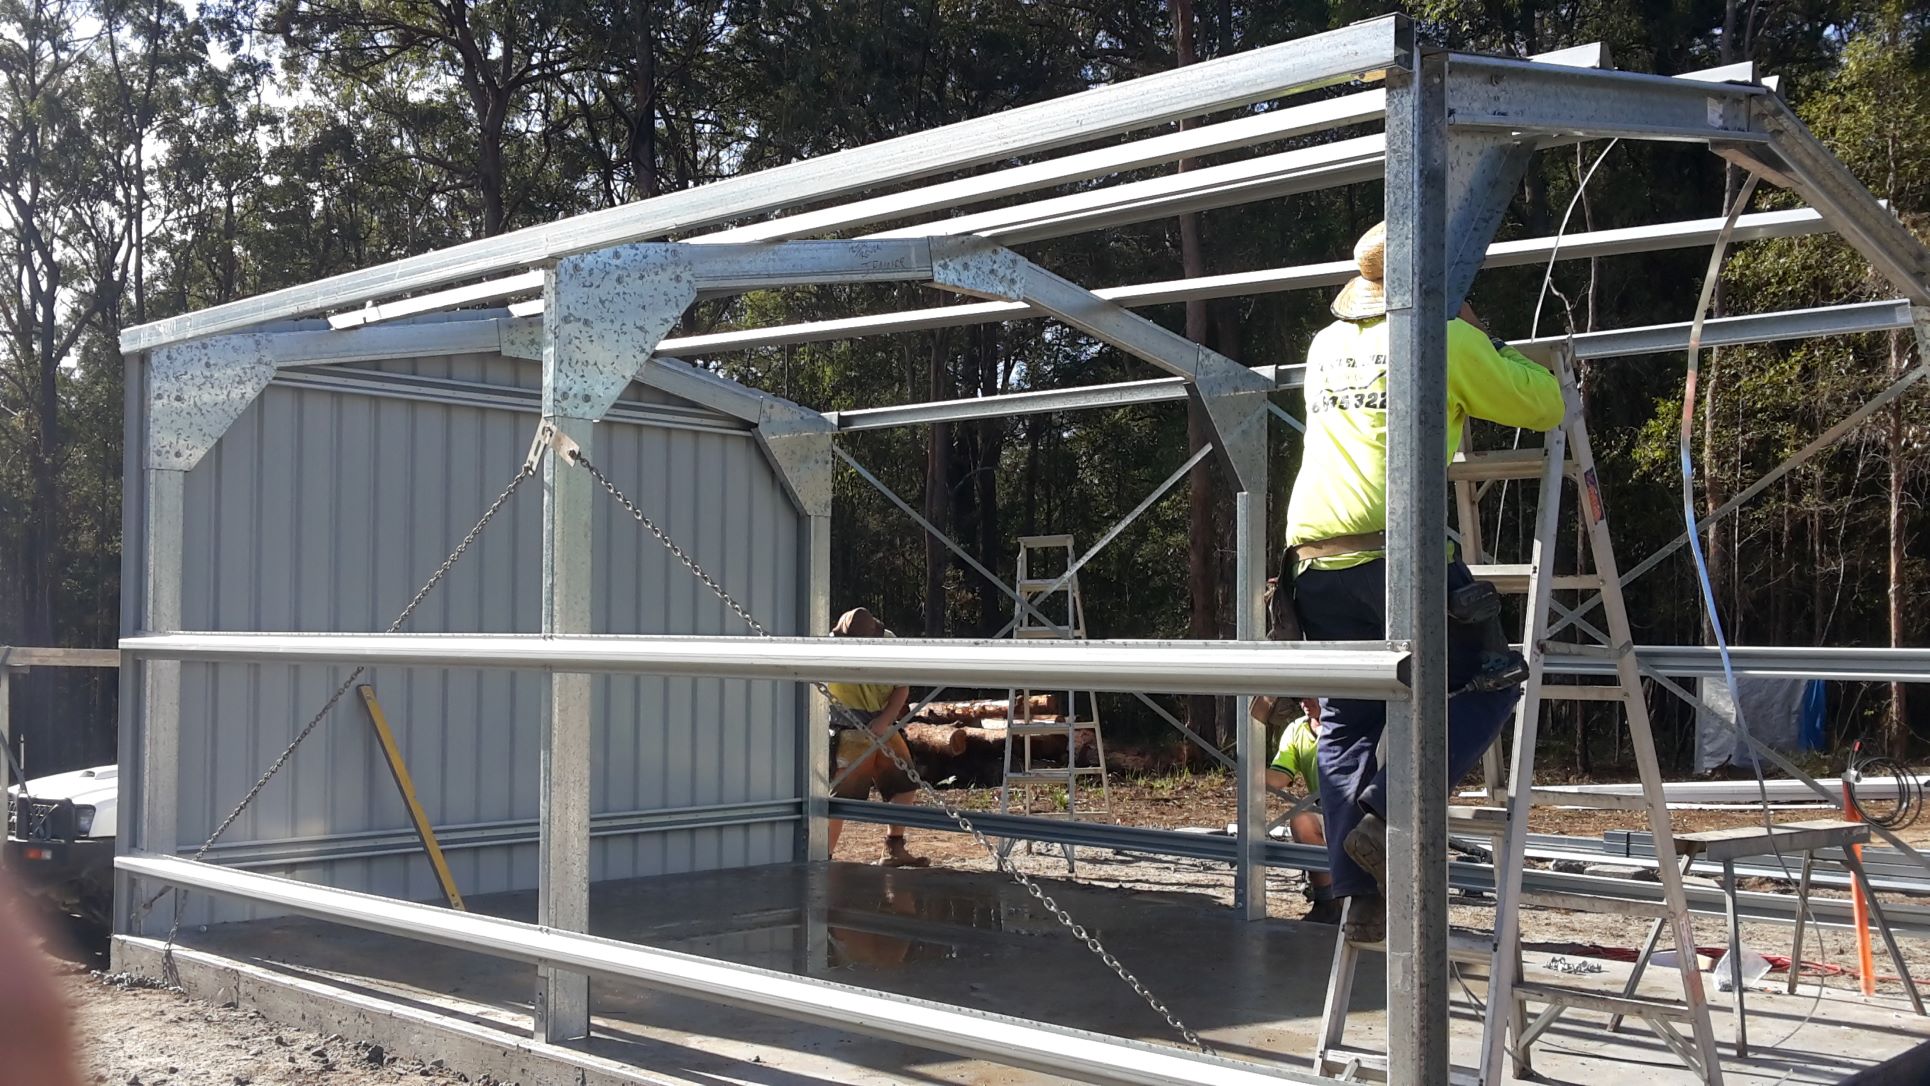
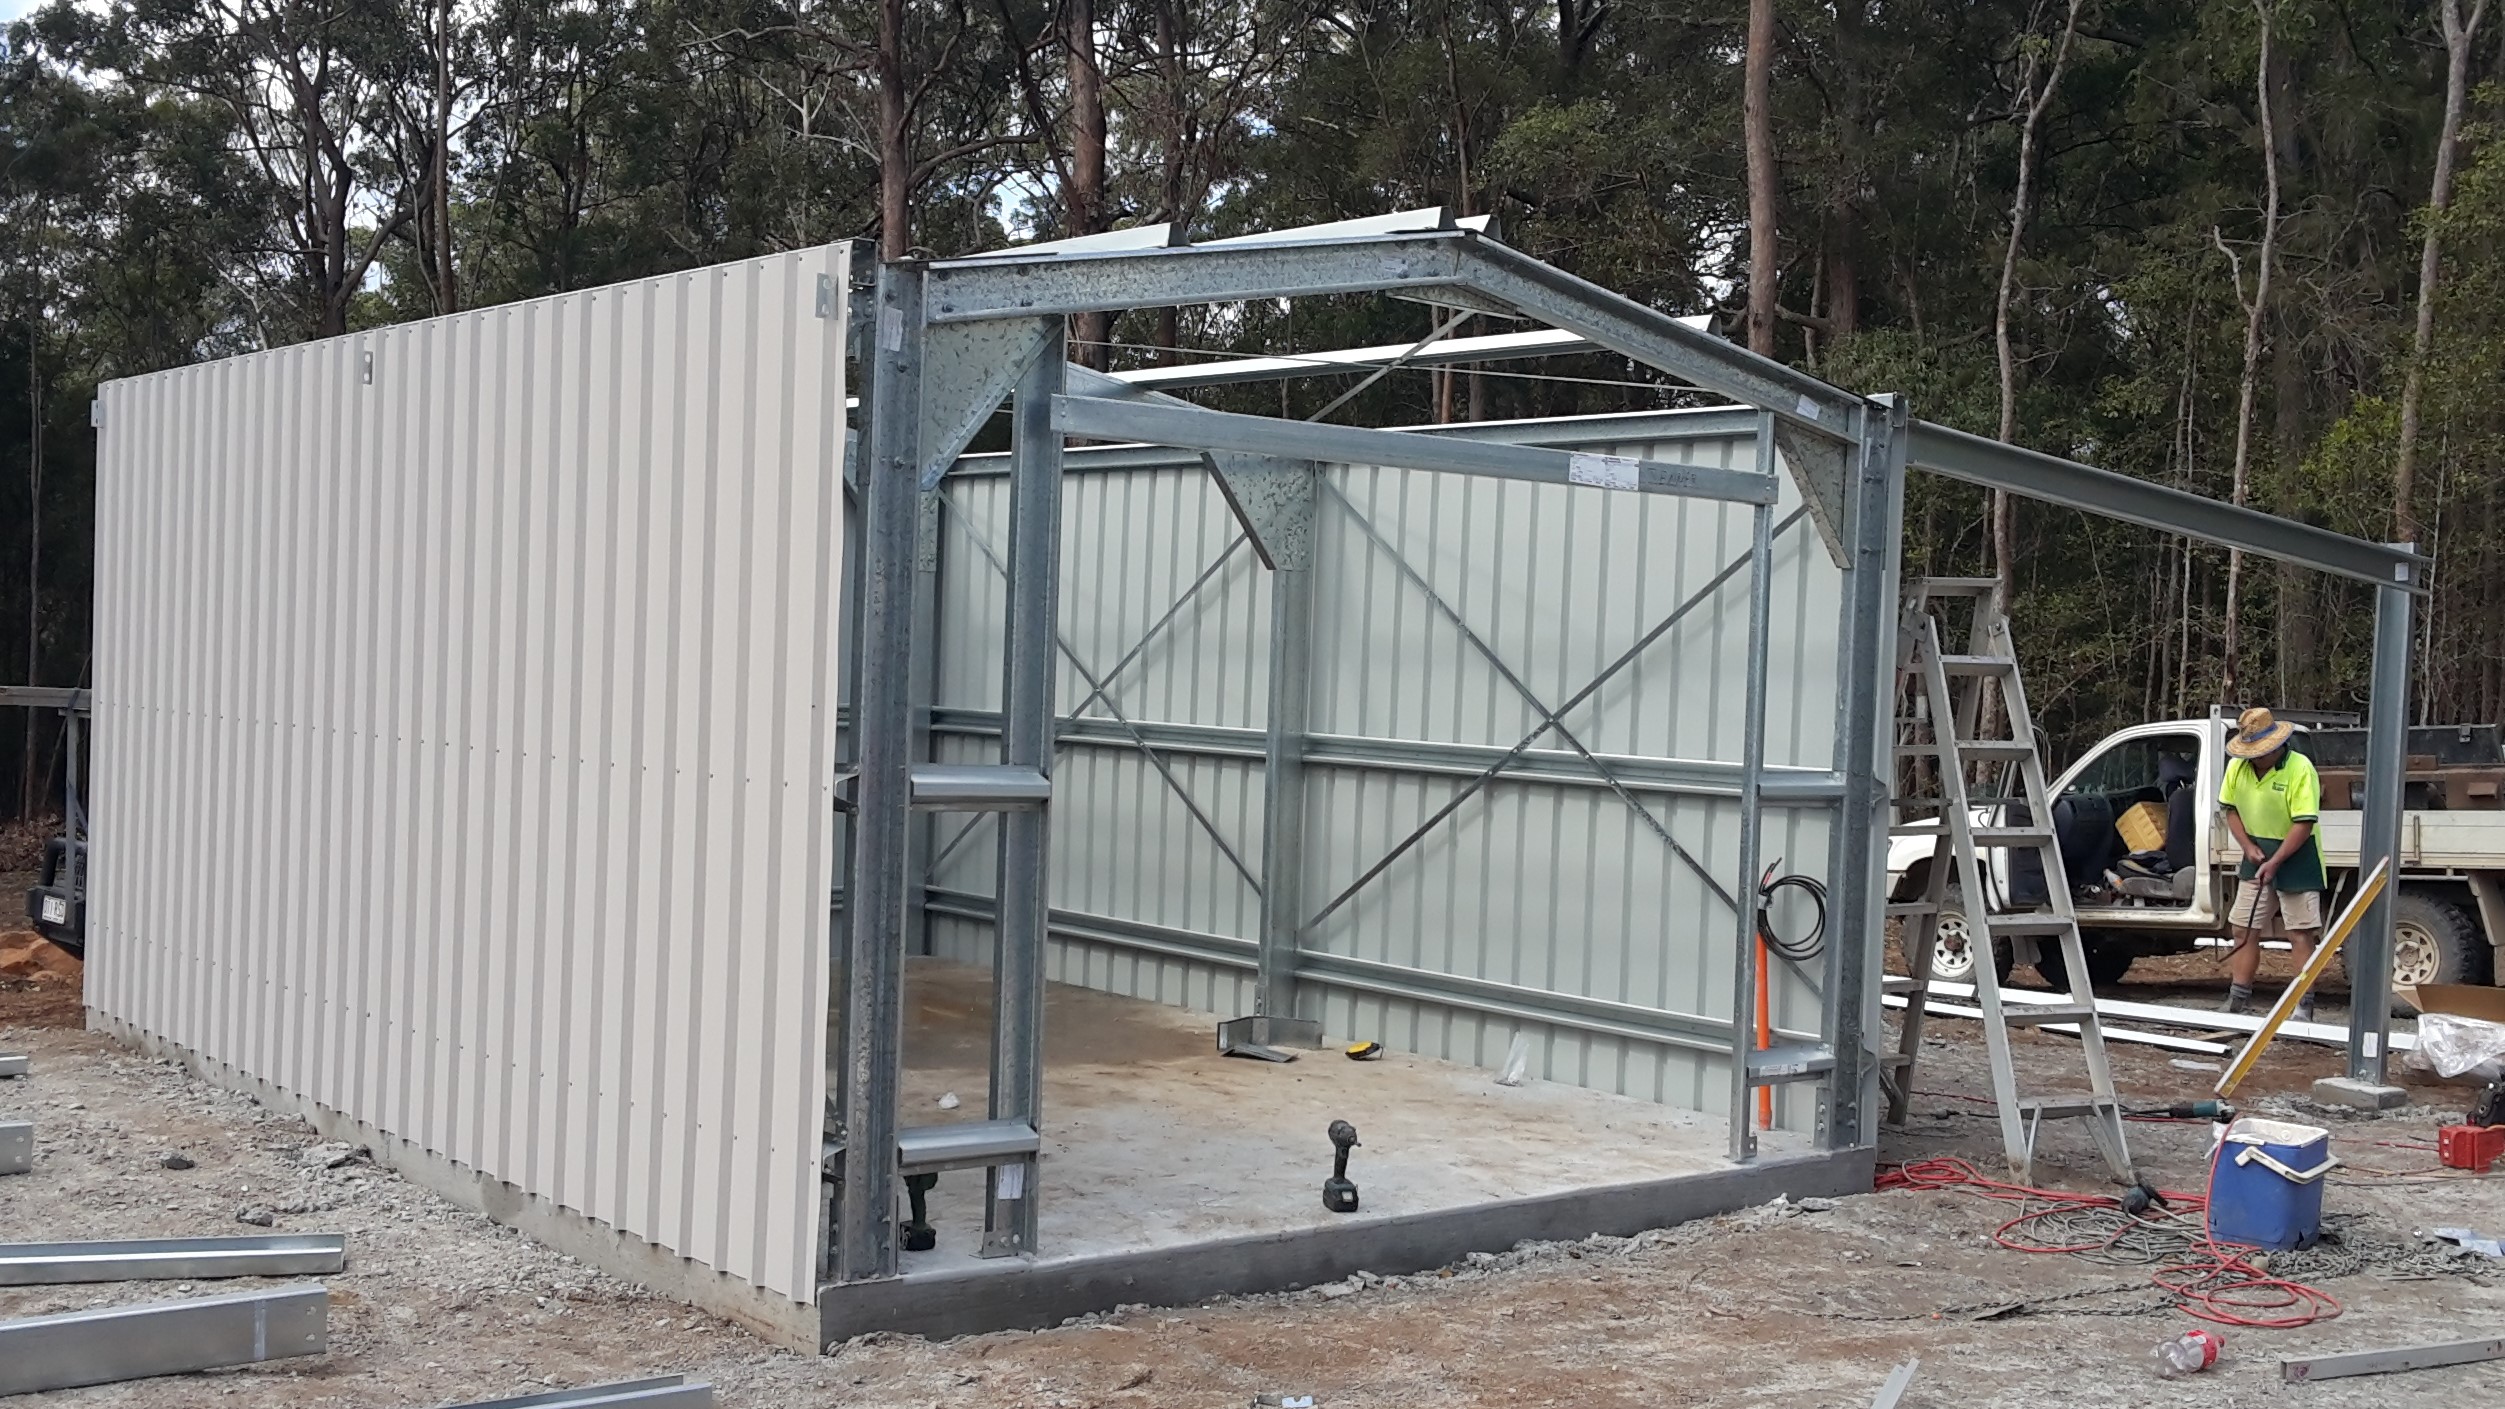
Next it was the wall and roof battens: these were larger 100mm versions to build my tough shed. Steel strap bracing was installed along each side wall and then the wall was clad in cliplock steel.
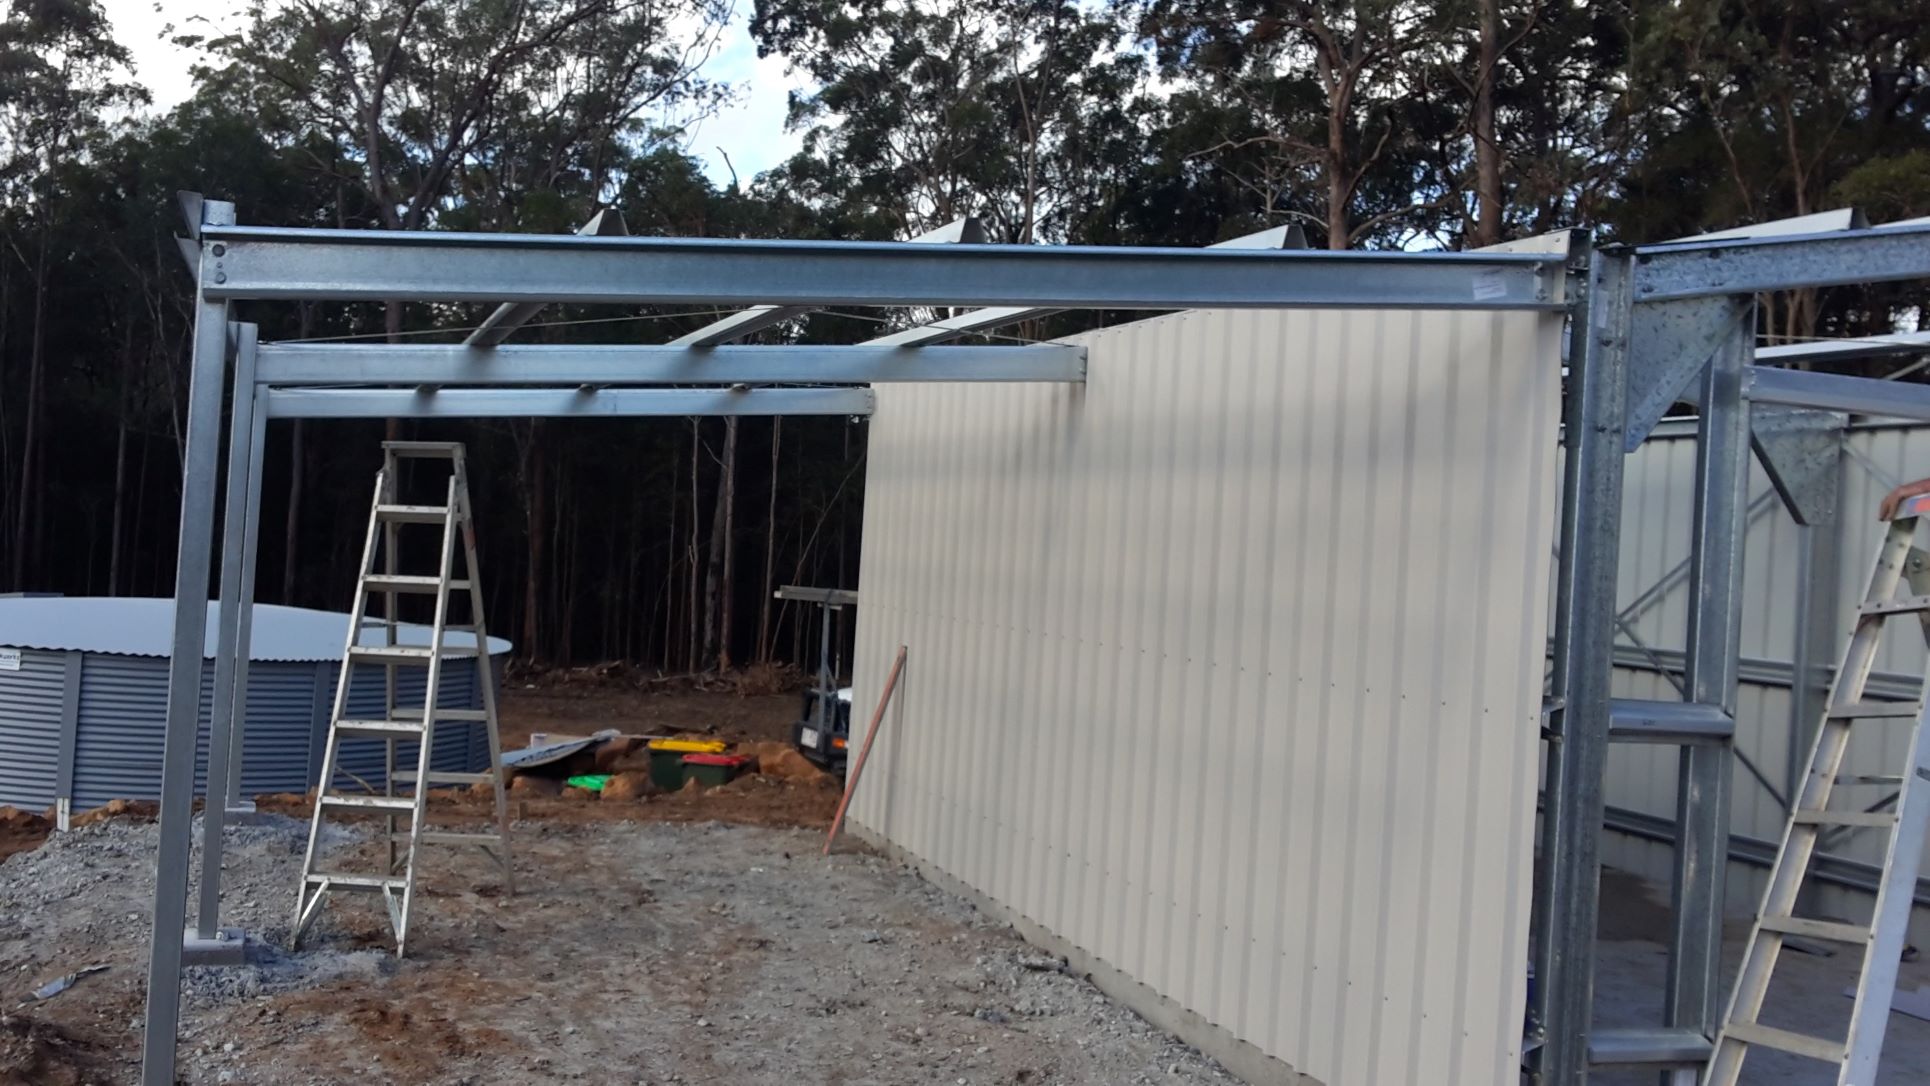
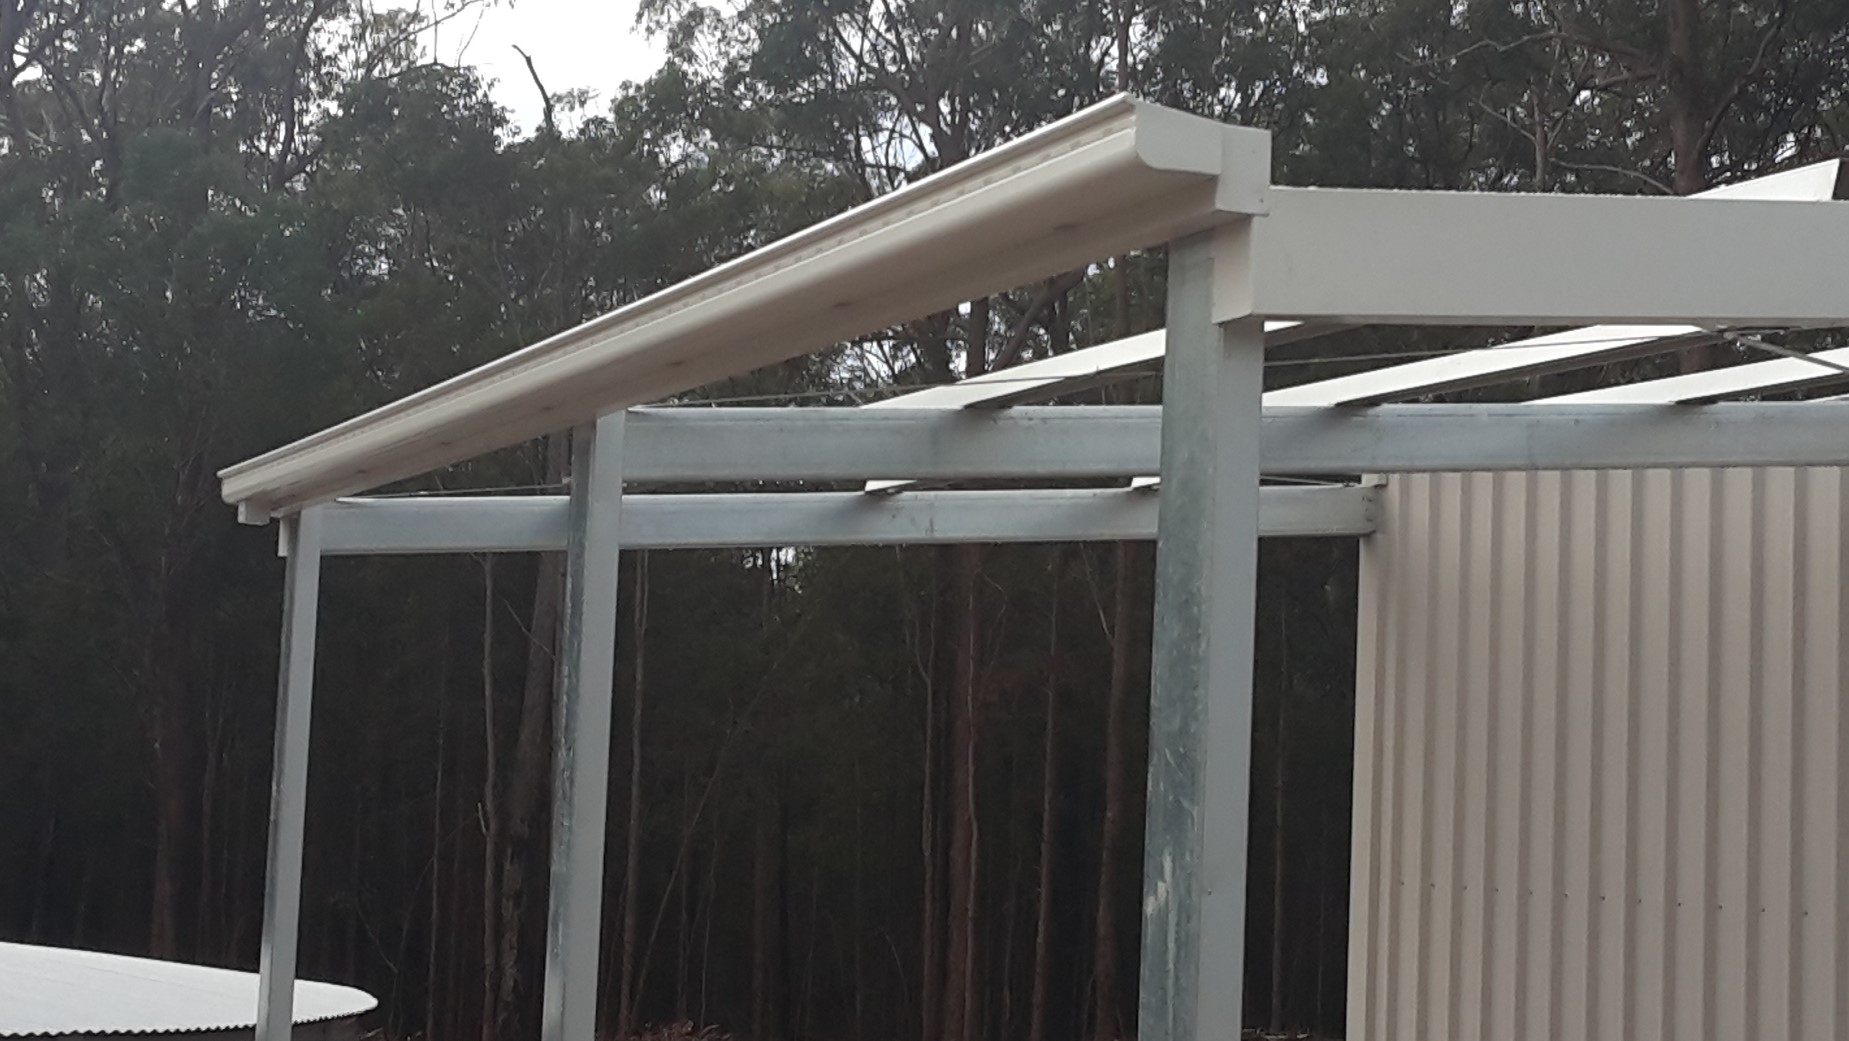
The frames for the two carports were attached to the shed and fascia and gutters installed. To finish my lessons on how to build a shed, the corrugated roof and barge ends were fastened to the battens, the door and window holes were cut and an aluminium window and door were installed. Lastly the front roller door was installed.
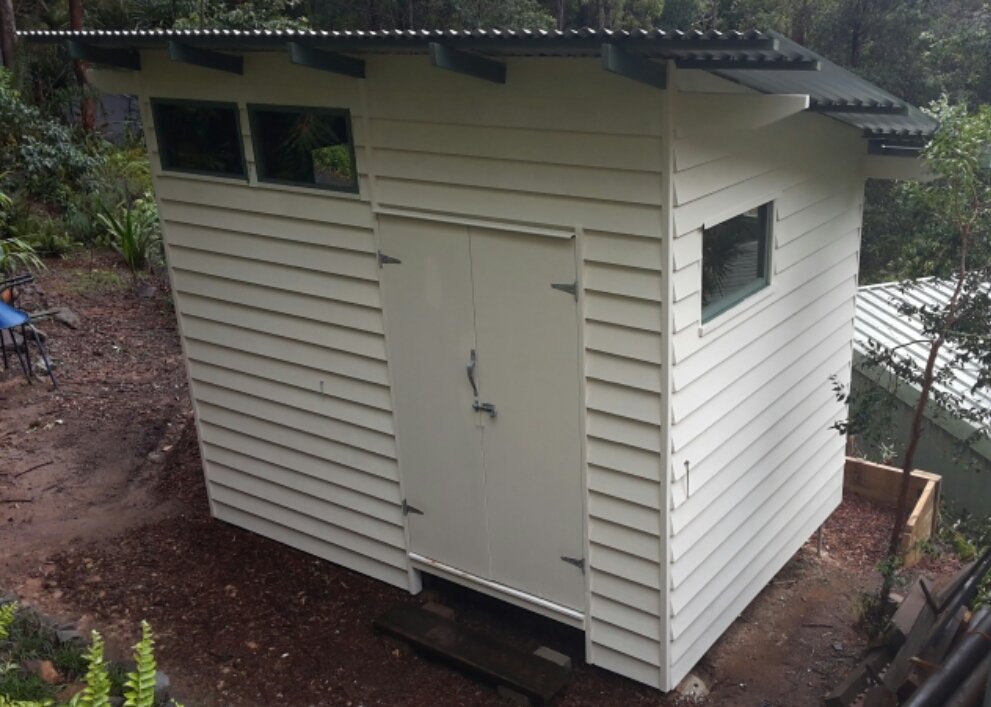
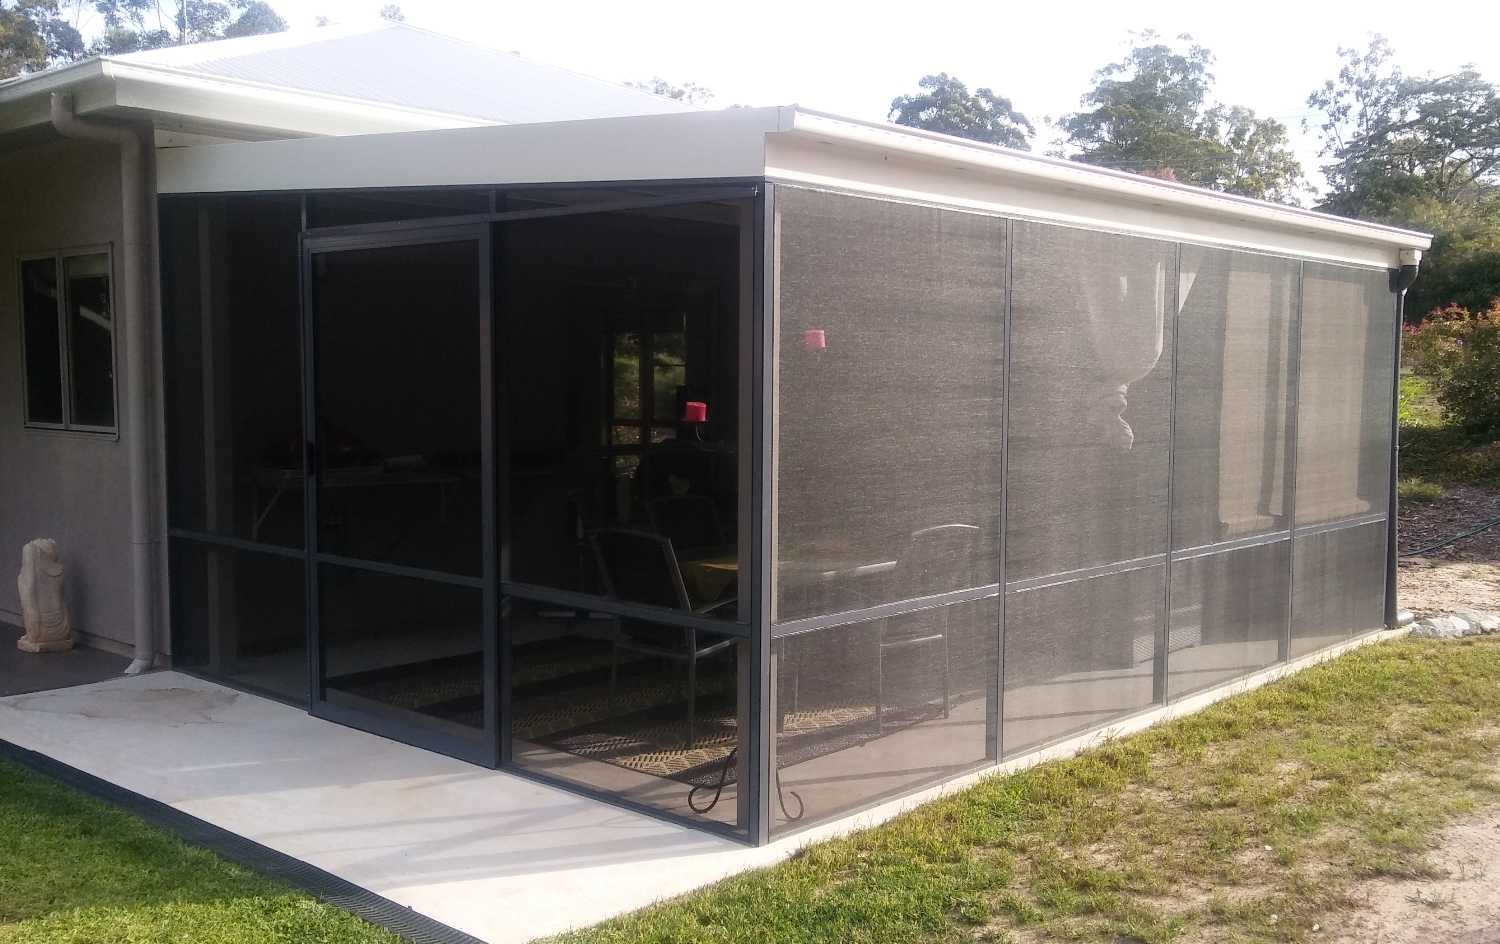
Other sheds and carports I've built...

Go back to DIY Projects or Kithomebasics home page.


