Applying a waterproofing membrane
to bathrooms
You must apply a waterproofing membrane your bathroom. There is no way around this. Many districts demand certified installers and certificates so check your local standards first. If you are a diy waterproofer, read on. Wet area floor sealing consists of a primer to coat pourous walls, a coat of wet seal, fibreglass waterproofing membrane, and a top coat of sealant. When cured it is a seamless membrane and will never leak.
It is specifically designed to seal all surfaces including concrete slab, cement render, concrete and masonry walls, compressed fibre-cement flooring, fibre-cement flooring overlay, fibre-cement wall lining, water resistant plasterboard and particleboard flooring. Drainage flanges are recommended to be installed on suspended floors prior to application of the membrane.
Don't forget to check my pages on Bathroom Layouts and Tile Floor Patterns I also have pages on Tiling and Grouting
When waterproofing bathroom areas, surfaces must be clean, completely dry and without any trace of residue or permanent dampness. All grease, oil, wax, curing compounds, dust, loose material, paint and any other contaminants must be removed. Is that clear enough???? It should be done before drains go in as well.

Applying waterproofing membrane
Prime all areas including shower walls and hobs with a proprietary
under-sealer primer according to the instructions. Some porous walls
such as brick or block will require a second coat. Leave 24 hrs to dry.
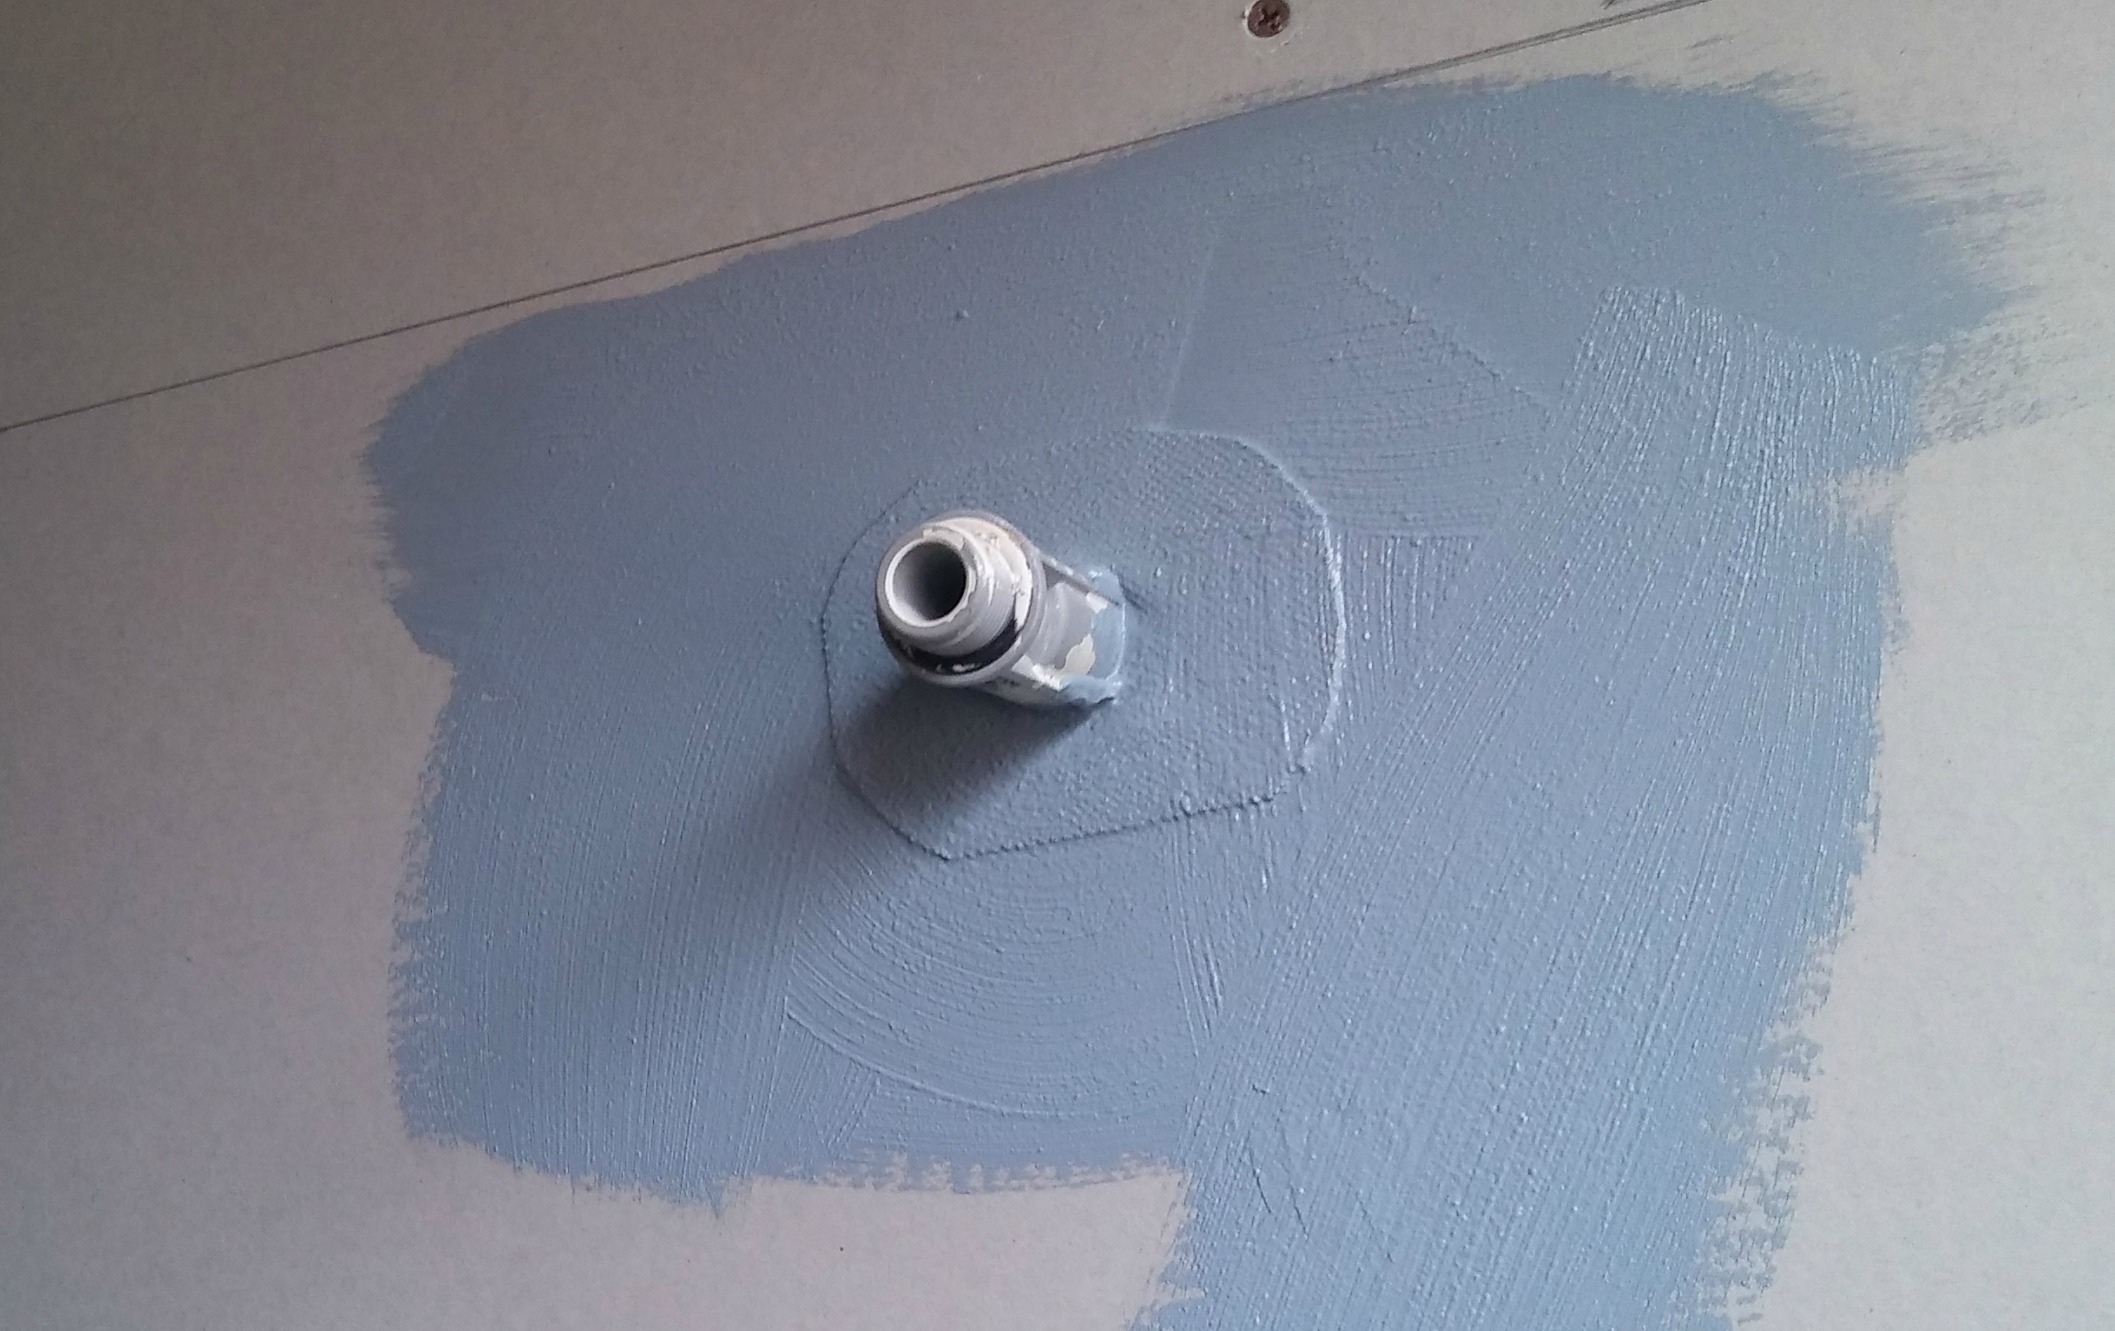
Apply the first coat of the under-tile sealant with a large clean
paintbrush or roller so that all surfaces are fully covered.
While the first coat is still wet, install (bed) the reinforced waterproofing membrane on all walls, floor area and over shower hobs. Remove any wrinkles in the mat and then immediately apply a second coat of the sealant. Most of these sealants dry in 4 hours, but need to cure over 24 hours. Usually you can clean up in water but do it before the brushes dry.
Return to Bathroom Layouts
Or return to the Kit Home Basics home page

 Shower Base Install Shower Base Install | |||
|
Tiling Bathrooms |


